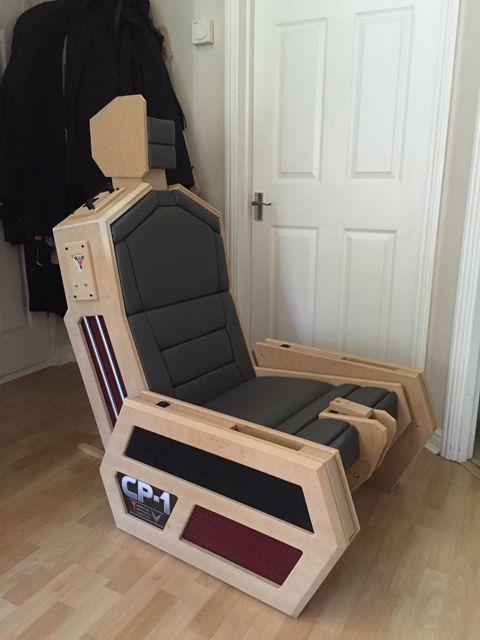
Community Event / Creation The C-Pod: A DIY Command seat (build log)

I really should get myself a laser guide, they look very useful.

Good luck if/when you start your project and more than happy to compare notes.
 
Gotta love MAME (and other emulator) cabs. What frontend are you using?

I went the repair/clean-up and mod an original cab route: https://www.flickr.com/photos/mu77ley/sets/72157623624788773

View attachment 37585

All non-destructive so I can easily put it back to the original game.

Needs an update really. It's still running Windows XP with the MAMEWAH frontend.


Nice crossover for me......Had a beer with Steve (Minwah) many years ago.....Dropped off an Atari 270 yoke.....which I refurbed......

XP is great to hide the boot sequence.......

My little piece of mame.......

http://orc.mameworld.info/Mame.html

Moved on a bit now.......

Although the cab has got to be dismantled soon as we are moving.......

NOT looking forward to that.......

Or the sale of my Gottlieb "Strange world" pinball......Which the Mr's has insisted I sell.....

:(
 
Last edited:
Nice crossover for me......Had a beer with Steve (Minwah) many years ago.....Dropped off an Atari 270 yoke.....which I refurbed......

XP is great to hide the boot sequence.......

My little piece of mame.......

http://orc.mameworld.info/Mame.html

Moved on a bit now.......

Although the cab has got to be dismantled soon as we are moving.......

NOT looking forward to that.......

Or the sale of my Gottlieb "Strange world" pinball......Which the Mr's has insisted I sell.....

:(

What a wonderful job on the arcade mate!
Reading and watching things like this is really motivating!

I have so many projects unfinished so starting another one is out of the question. But some day :)
 
Since the seat got a mention in the newsletter, I feel shamed into picking this up again this weekend. Nevermind, anything to break the stagnation.
 
Since the seat got a mention in the newsletter, I feel shamed into picking this up again this weekend. Nevermind, anything to break the stagnation.


Well done on the mention in the news letter! and I'm glad it's stirred you in to action! Looking forward to the next installment!
 
Since the seat got a mention in the newsletter, I feel shamed into picking this up again this weekend. Nevermind, anything to break the stagnation.

Haha, that might be their plan all along ;)
Craving some updates mate, dont want to rush you into anything, but really do crave some updates!!
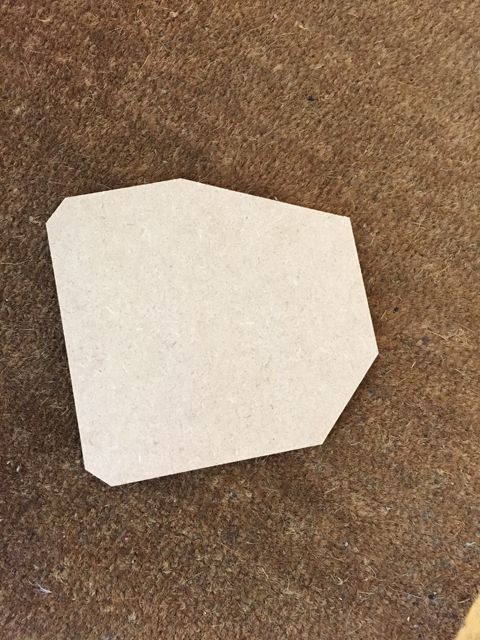
 
I cut the main box sections for the headrest pillar. This will attach to the back of the upper seat panel and the main, padded headrest section will attach to this.

Pieces:


Loose assembled:

 
Cut the first side piece for the headrest. This will be cloned 3 times to allow for double thickness sides and have a ribbed rubber inlay:


The pads have been straightened up as well.

Edit: I'll be carrying on with this tomorrow. I hope to have most/all of the headrest done. Progress ... yay :)
 
Last edited:
Anyone who's followed any of my projects knows the drill with these steps.

Cloned the side pieces (2x12mm and 2x18mm MDF):


Cutouts for the outermost pieces:


Still work to do on these - bevel the outer and inner edges and route out the area for the rubber inlays.
 
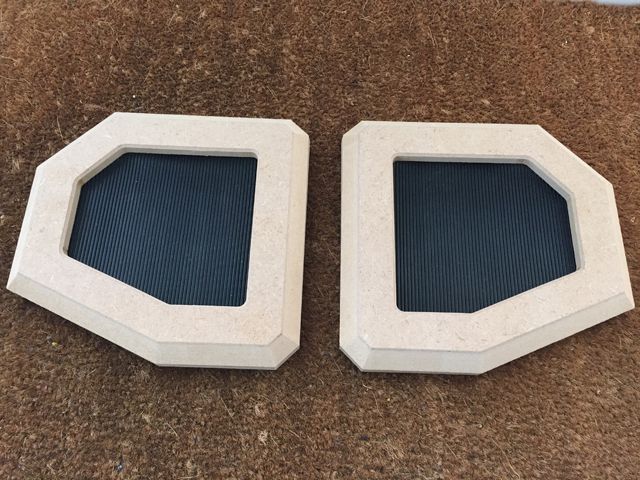
I've completed the main outer MDF panel sections for the headrest.

Inlay area:


Light bevel for the inner piece:


Inner and outer panels together:


Close up:

 
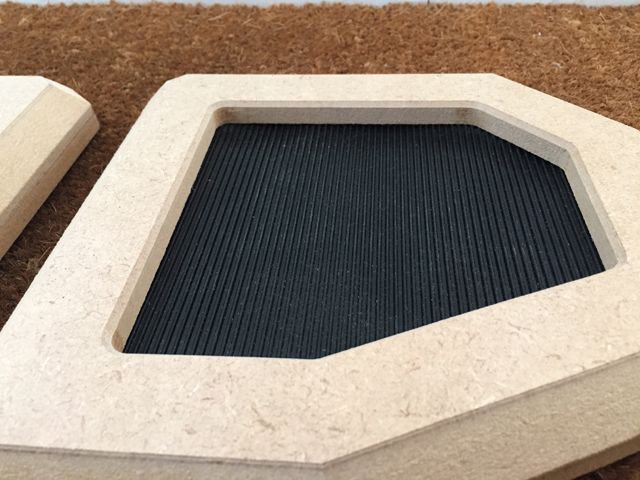
I've made the rubber inlays for these panels:

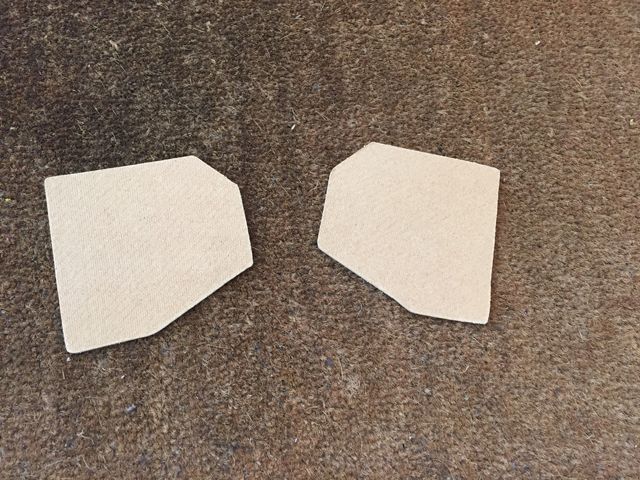
Backing board:


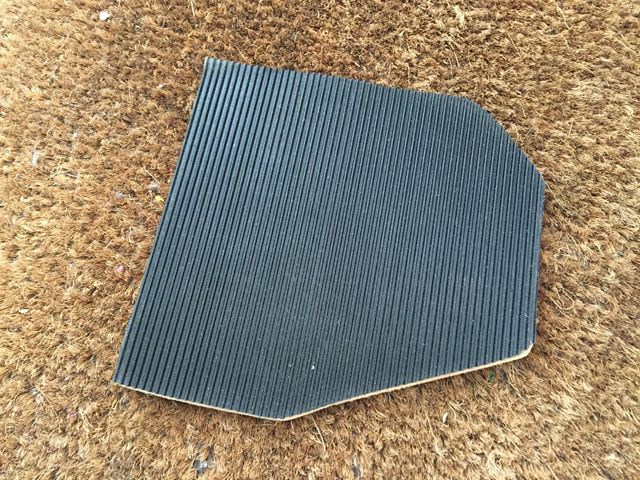
Ribded rubber sheet cut to size and stuck to the backing board:


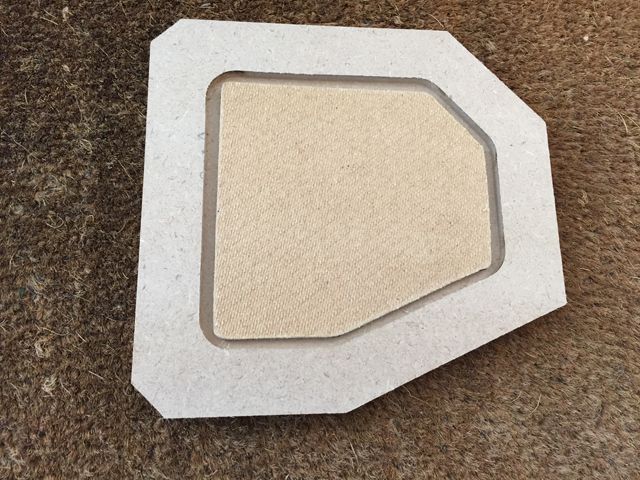
Inserted into the panel:


Close up:


I still have to cut the window into the inside 12mm panel.

Edit: Done for the day, I have most of the day off tomorrow so I will continue with the build then.
 
Last edited:
Back
Top Bottom