Community Event / Creation The C-Pod: A DIY Command seat (build log)

You know I am quite curious as to the weight of it all considering I know MDF is not exactly light. Can it easily be moved around or will you eventually have it on Rollers?

Its amazing to watch it come together from your posts. I wish I had the space and tools to do something like this.
 
I think you can call that a "very productive" day .. headrest looks great,
as ever Commander

Cheers Winterwalker. I'm glad I've got the urge to get moving with this again and really enjoyed the progress. I guess I needed a break to reinvigorate myself.

You know I am quite curious as to the weight of it all considering I know MDF is not exactly light. Can it easily be moved around or will you eventually have it on Rollers?

Its amazing to watch it come together from your posts. I wish I had the space and tools to do something like this.

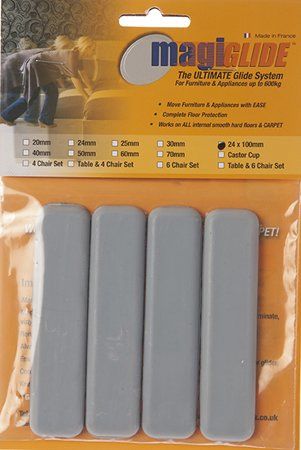
Thanks Loriath. This is going to be monumentally heavy but I'm not too fussed. I'd rather build sturdy and heavy than light and flimsy. I have these magic pads to attach to the base when it's done. They work a treat on heavy wardrobes so this will be a breeze comparatively:


The build will be modular. There will be the main seat section, the side pods, the HOTAS setup, the base and the rudder pedal mount - all ow which will be detachable to it can be moved even more easily.

I am very lucky to have the room for these project builds.
 
Last edited:
You make progress so quickly and everything comes out looking professional!
Extremely glad to see you back on the project!
 
Thank you very much PF and Enride, I'm getting back into the swing of things again now.

I cut the fiddly bits to complete the basic heeadrest shell. I will still need to make some internal bracing sections for these to help keep the shape together.

Flat sections:


In position:


Side on:


I will probably get this headrest part of the build completely finished before starting anything else.
 
I've cut the inlay access panels:


An am currently gluing the sections I cut earlier (epoxy will also be used once this is dry and additional braces added):


Last edited:
A couple more badges arrived in the post. I'll embed one of these in the top front of the headrest. Haven't decided which one or what to do with the other one yet ...

 
Just discovered this today, created an account just so I could follow it. I'd love to see 3D models in the future so I could CNC some of these...
 
Wow, awesome to the extreme. So when do you start accepting orders? XD

But seriously....haha

And the Fed emblem clearly will fit better. Too many Imps in this game as is
 
Last edited:
Just discovered this today, created an account just so I could follow it. I'd love to see 3D models in the future so I could CNC some of these...

Thanks Shrukan, I'm flattered :) 3D modeling is definitely a skill I need to acquire.

OBVIOUSLY the EMPIRE badge when you're in imperial controlled space, the Federal badge when ..

Haha, that would be awesome - I had thought about making these interchangeable but I'm going to go with fixed.

Wow, awesome to the extreme. So when do you start accepting orders? XD

Thanks Memoocan!

C-c-can I b-b-buy one?

I need to seriously think about doing something in that department.
 
Thanks for the offer Shrukan! Once I've completed the project, I'll give you a shout if that's ok?

The headrest side panels have been prepared:


First undercoat applied:


Bracing has been made for the central shell panels:


Holes drilled to fit the badge :

 
Back
Top Bottom