ED and the Rift.... OMG doesn't really cut it.
After VR playing 2D is now only for the pretty screen grabs, imo.
The anticipation builds even more ... thanks @BigF !
ED and the Rift.... OMG doesn't really cut it.
After VR playing 2D is now only for the pretty screen grabs, imo.
Thanks @Panticus, it's appreciated.
I saw some talk about Arduino boards. There is some really cool stuff you can do with these. I used to work with a young racing driver who had a full mock up of his car for practice sessions (full force feedback, fire extinguisher - the works.) We built a fuel gauge for it using an Arduino Uno, an LCD screen, and a project we found online. It even recommended when he came in to refuel. Amazing stuff.
For the new guys on the forum, i built my simrig with Arduinos mostly (check signature). The selfmade HOTAS runs on a Arduino pro micro, and so do the 2 additional switchboards. My project leans heavily on mechanics and looks but the actual electronics bit was dead easy. I now have over 100 assignable switches in my setup.all you need is the right $3 arduino clone, toggle or push switches, and some wires. You can have a working switchboard prototype in maybe 2 hours.
Thanks! Please remember that i'm not trying to hijack this awesome topic. I'm just trying to motivate people to make the controller/rig of their dreams! The roads is easier than you might think.That project really was beautifully executed.
Thanks! Please remember that i'm not trying to hijack this awesome topic. I'm just trying to motivate people to make the controller/rig of their dreams! The roads is easier than you might think.


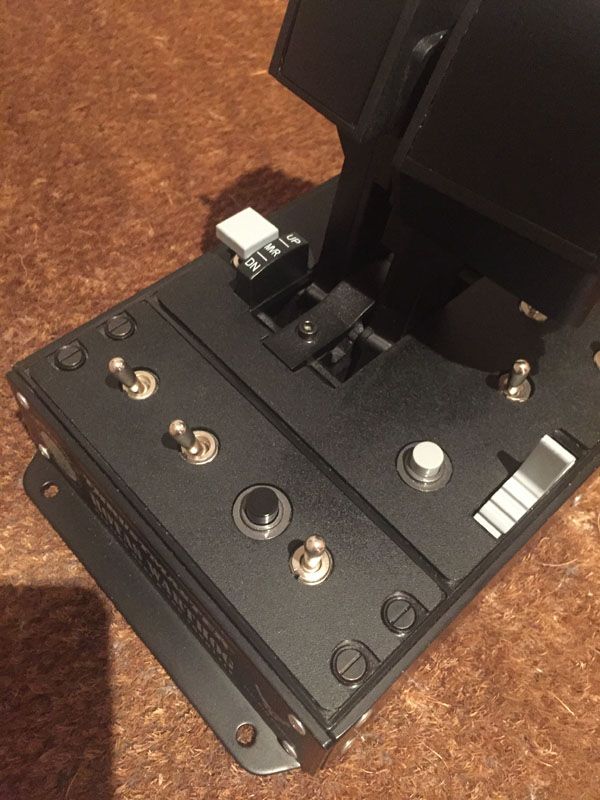
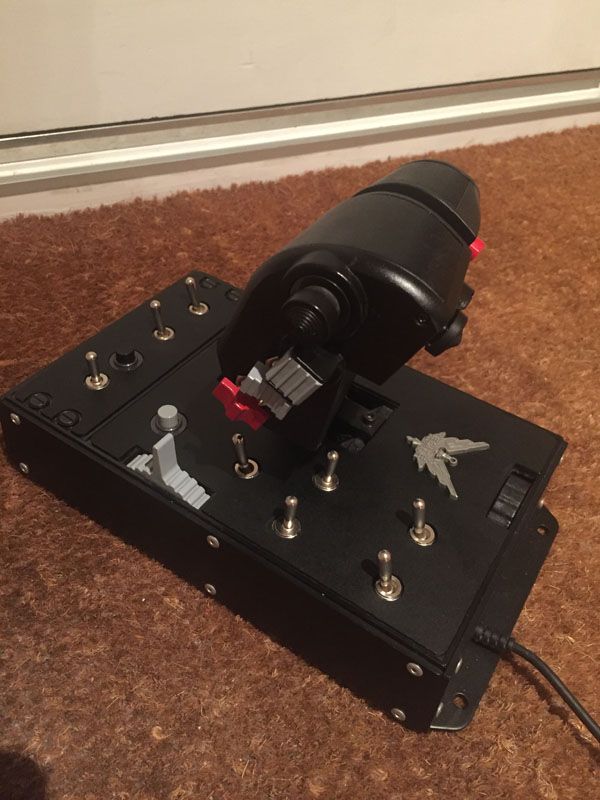
So having had a lot of time to think about getting everything as sensibly configured and comfortable as possible, I re-evaluated the control boxes for the HOTAS. Whilst I was very happy with these from a design perspective, I've always considered these too wide to be practical and look somewhat awkward sat on the side pods. Time to consider slimming things down. In order to make the throttle fit in, it needed to be de-warthog'ed. The fascia panels were the primary issue so I thought about making another cover. I considered that it would be too complicated to undertake so I decided to figure out how they were attacked. It turns out they're simply stuck down. After carefully peeling them off, I covered them with vinyl and trimmed to shape and painted around the acrylic edges with matt black paint. After a minor fiasco involving kicking half a pot of paint on the floor followed by 20 mins of cleaning up, I ended up with this:
Lower panel removed and covered with vinyl:
[url]http://i218.photobucket.com/albums/cc26/SpaceHedgehog/recover3_zpsnddrfdoe.jpg[/URL]
Panels re-attached to the throttle:
[url]http://i218.photobucket.com/albums/cc26/SpaceHedgehog/recover1_zpso9shljhg.jpg[/URL]
[url]http://i218.photobucket.com/albums/cc26/SpaceHedgehog/recover2_zpswrd5xeus.jpg[/URL]
This may be helpful for anyone who simply wants to make their throttle more generic.
I'll be making some custom labels for it at some point.
Wow, love the nice and clean look of the Warthog!
WANT IT TOO FOR MY WARTHOG!
