Hardware & Technical My New X79 Watercooled build.

Thought i would share this with you guys, im building a new rig, not just for Elite but its about time i built a new one even though my current rig is more than enough to play ED at 120fps maxxed out.

Anyhow here goes.....
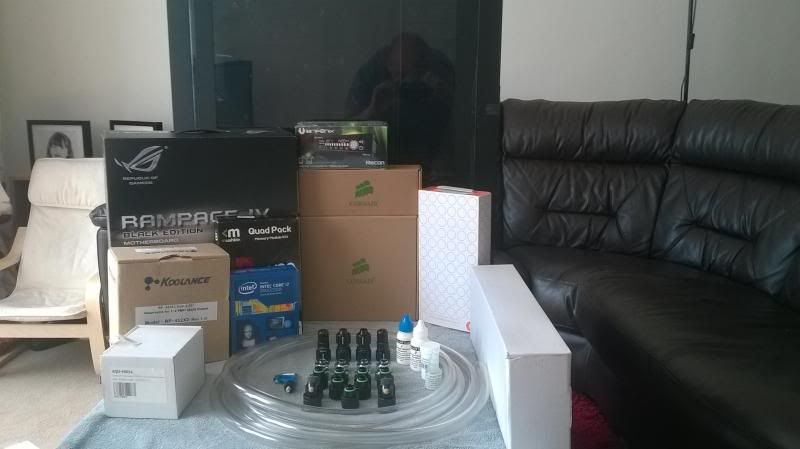
Its about time i built a completely new build from the ground up. So far i have these.....

Hardware.
Corsair 900D
Rampage 4 Extreme Black
4930k (Golden batch Cpu) Thanks RPG!
16GB Ram
Xonar Xense
Sennheiser 350
GTX 690
Corsair Ax1200i


Storage
1xSamsung SSD 840 Evo 128Gb
1xSamsung SSD 840 Evo 256Gb
3x3TB Samsung 7200rpm
1x1TB Western Digital
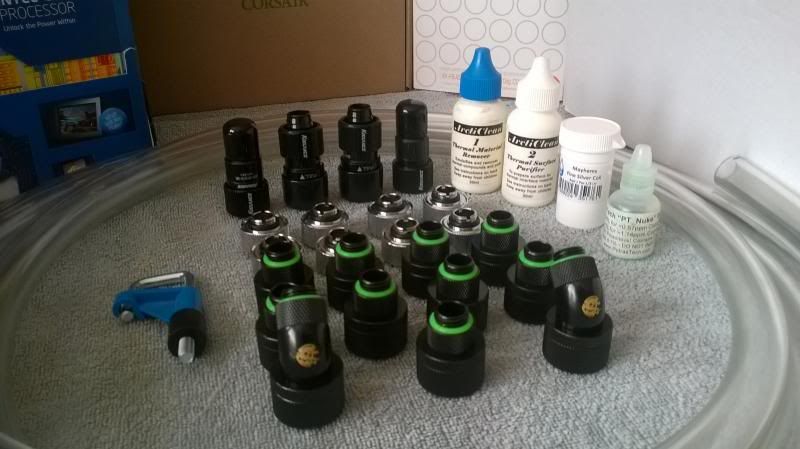

Watercooling gear.
3xRx360 triple Radiators.
1xKoolance RP-452X2 Dual 5.25" Reservoir v1.3 (Dual bay/Dual pump)
2xD5 Swiftech Vario Pumps
3 meters of clear Primochill "Thickest" Tubing-1\2" ID - 3\4" OD (13-19mm)
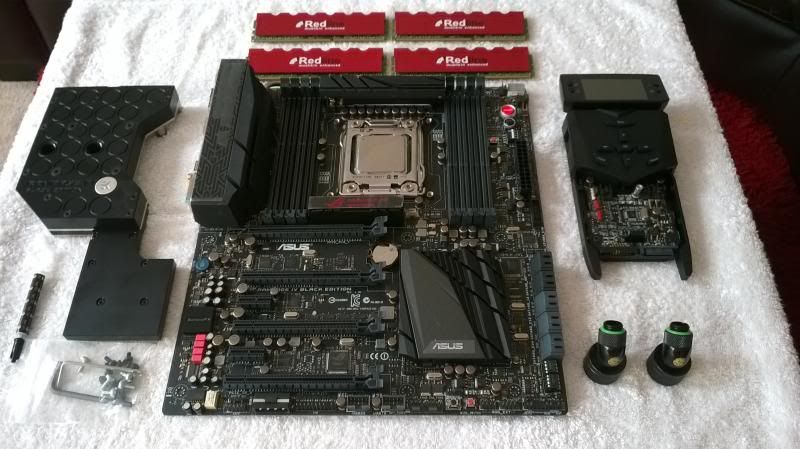
EK-FB ASUS R4BE Monoblock
2xKoolance QD3 Male Quick Disconnect No Spill Coupling with G1/4" Thread black
2xKoolance QD3 Quick Disconnect No Spill Coupling Female G1/4" Thread Black
Koolance VID-NX690 Water Block
20xXSPC 1650 RPM fans (There better performing than Gentle Typhoons and
cheaper)
Mayhems Silver Coil.


2xBitspower 1/4" Thread 45 Degree Rotary Compression Fitting for 1/2" ID - 3/4" OD Tubing Matt Black

10xBitspower 1/4" Thread Rotary Compression Fitting for 1/2" ID - 3/4" OD Tubing Matt Black

1xBitspower 1/4" Thread 90 Degree Rotary Compression Fitting for 1/2" ID - 3/4" (13-19mm) OD Tubing Matt Black


Other bits and pieces
Bitfenix recon fan controller
Individually Sleeved PSU DC Cable Kit,Type 3 (Gen 2), for AXi1200 Black
Individually Sleeved RM/ AX(i)1200i Black


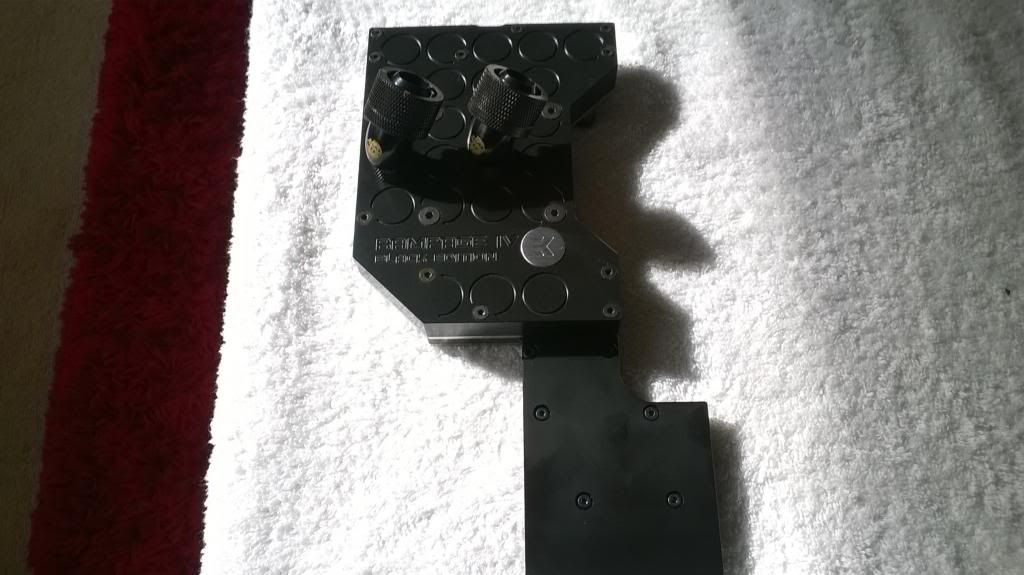
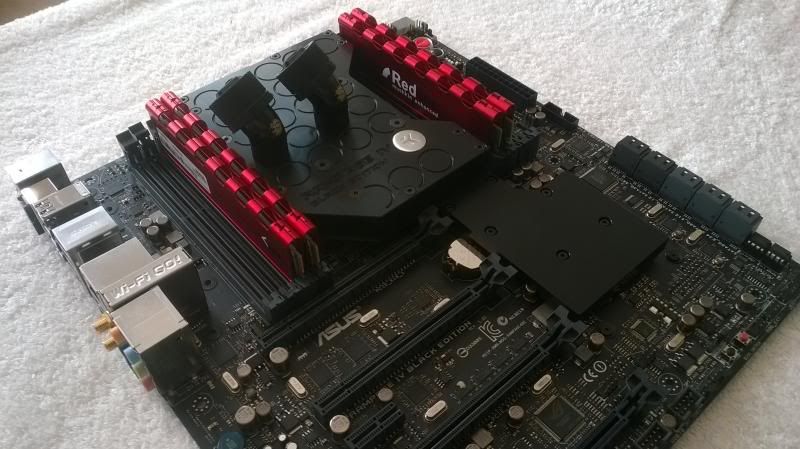
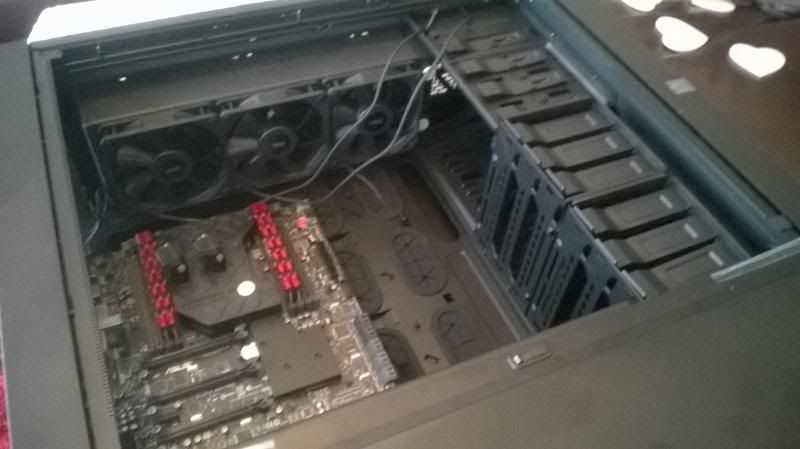
Anyhow some more pics, i got the motherboard monoblock mounted along with installing in the 900D. This waterblock covers the whole cpu, vrm/mosfets and PCH chip (SB). The benefits are that theres only 2 ports an inlet and oulet instead of the usual 6 ports when cooling the same architecture. Also should be lower temps as heat is spread of a large wide area.

If you going X99 Haswell E i would definitely look out for one of these waterblocks in the future as its a brilliant idea.

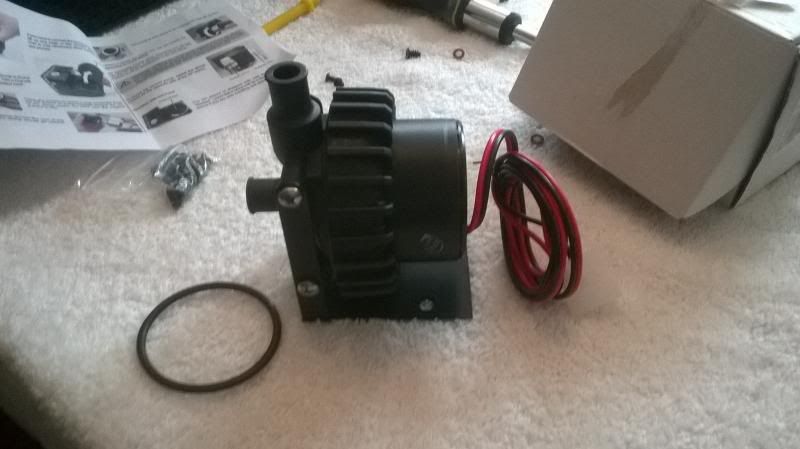
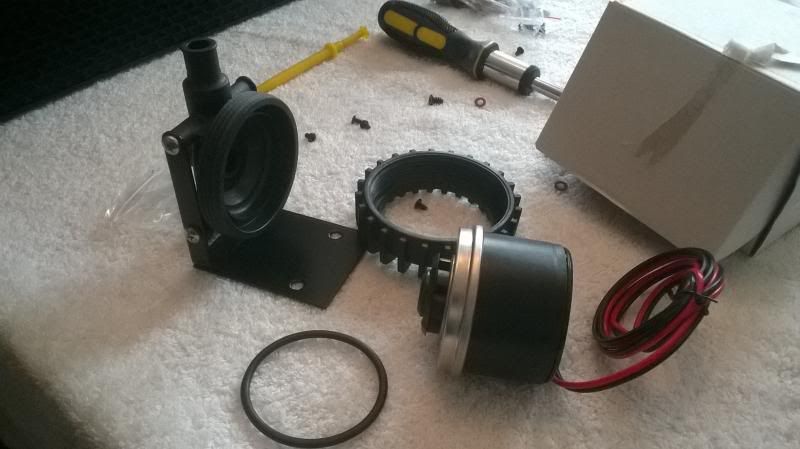
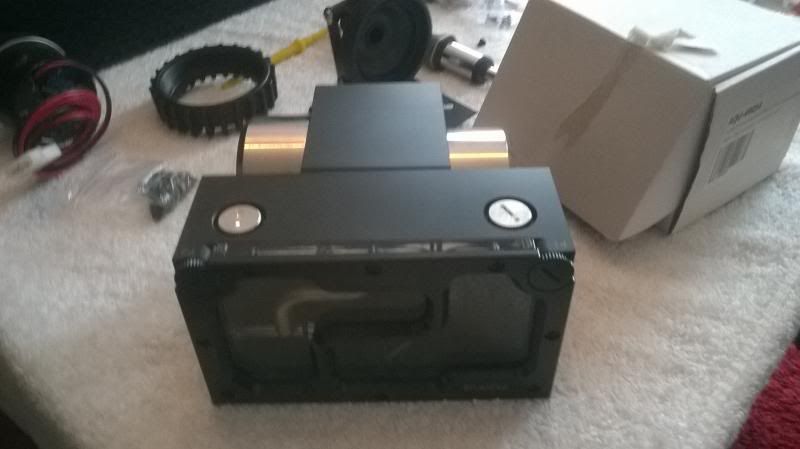
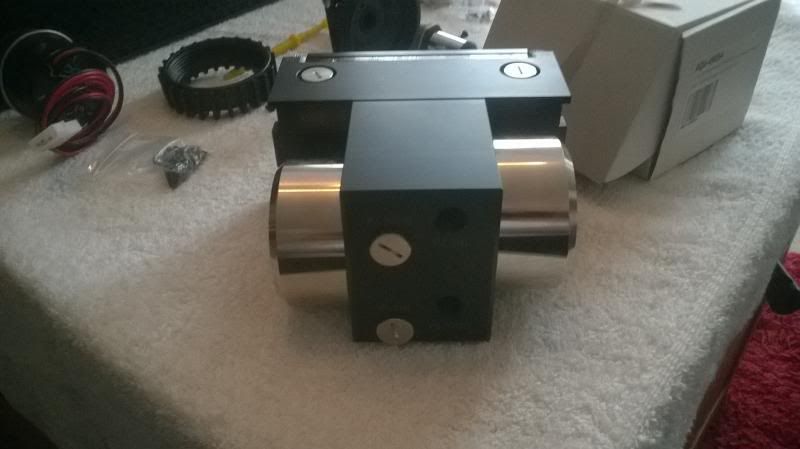
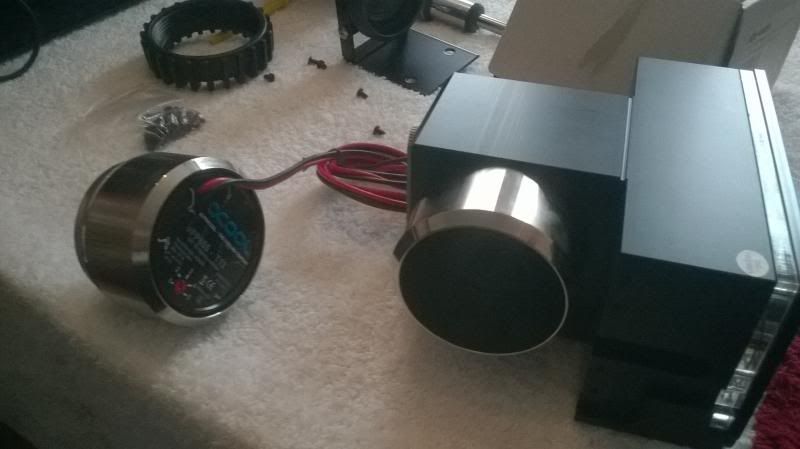
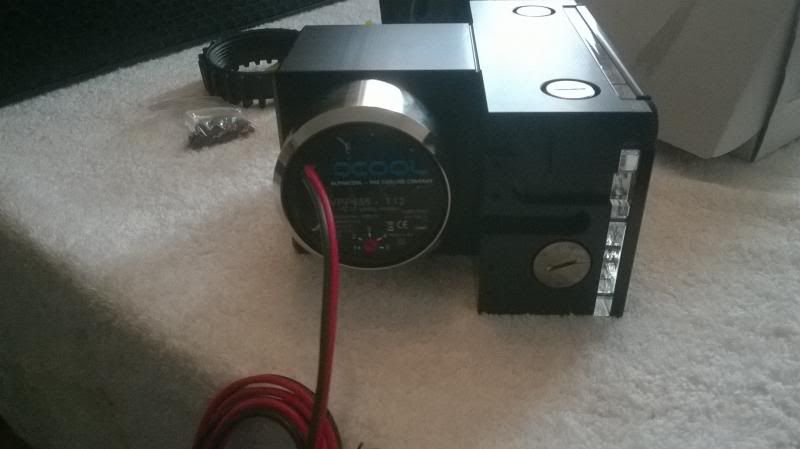
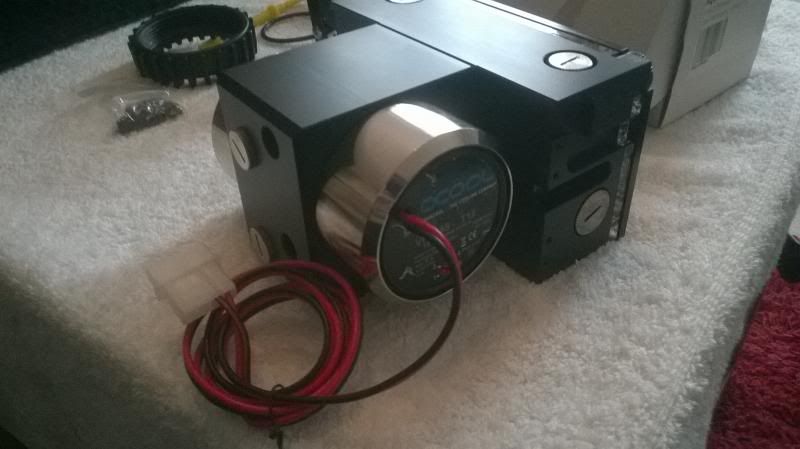
Also assembled and attached the Pump to the Koolance bay reservoir. I have another one of these pumps in my current rig, a swiftech one. The Alphacool one is able to pump more litres of water around per hour than any other type of D5 variation at the same speed.

Need a 90 degree Bitspower fitting and a Bitspower Ball valve so build is on hold for short while.


WP_20140610_003_zpscbaf0416.jpg
[/URL]


Yaffle

Volunteer Moderator
Hmm, looks like they've improved the reservoir there.

My version lacked that metal pipe in the left had one, and it was impossible to bleed, you had to lay the PC on its back.

What liquid are you going for? I like the Mayhems stuff (if they still make it).
 
Hmm, looks like they've improved the reservoir there.

My version lacked that metal pipe in the left had one, and it was impossible to bleed, you had to lay the PC on its back.

What liquid are you going for? I like the Mayhems stuff (if they still make it).

Yeah i think you may have had the v1.1 of the res. This one is v1.3, the latest one is a v2.0. Im going to use just some distilled water around 2 litres and silver coil.
 
Been on holiday and was waiting for some pieces to arrive, anyhow...

Braided the cables on the waterpump.


Cable braid and heatshrink.


Aquaero fan controller.


Waterblock for the Aquaero, Bitspower Ballvalve, 90 degree Bitspower Elbow, couple of Bitspower Barbs for Aquaero waterblock and Bitspower Rotary.


Bitspower 3 way connector and Bitspower blanking plug.


3 way Fan splitters.


Aquaero with thermal pads and Waterblock installed.


Fan controller connected to Reservoir/Pump


Koolance QDC threads, these will connect to the GPU which will allow me to hot swap GPU without draining the whole loop. Very handy!


Corsair Ax1200i Full set of Cable Braids in black.


Corsair 900D Nvidia Midplate.


Midplate installed, this is what it will look like when finished. The Midplate makes it my own and hopefully makes it alittle different to all the other 900D builds. I may have to drill a hole in this to allow the tubing to go through to another XSPC RX360 Rad which will be in the bottom along with the PSU.


Ill be taking out my PSU and GPU from X58 rig tomorrow and installing in 900D. More to pics to come.
 
Impressive.

I'm running my first liquid-cooled CPU in my first proper new rig in about eight years, and it's a revelation. I don't think I've seen the CPU temperature go above 38C even when all the supplementary fans are screaming like banshees, whereas I've had traditionally cooled systems running into the 90s at the height of summer even with the best radiators and fans.

I wasn't confident enough to DIY though. I got a specialist builder to assemble and test the core components (H100i on the CPU, traditional cooling on the GPU) then added my own supplementary HDDs and other bits and bobs later. All of those gubbins in the photos look terrifically exciting in a nerdy sort of way but I don't think I'd be brave enough to switch on anything I'd built with them.

And I've been reading up on the potential problems with home-brew water cooling. Algae?! I have enough of that with my fish tank.

Maybe my next PC will be fully water-cooled although at the rate I upgrade I reckon we could all be using room-temperature superconductors by then and all of this will be moot.

I'm going to subscribe to this thread. I'd love to see some more pictures as this project comes together.
 
Very nice, very cool. Myself I am running 4770 + 2x GTX 780 in a loop with only 1x360 and 1x 240 and my temps are very low even with medium overclocks, but if you have place where to put those radiators, why not :D

I am in watercooling for over 15 years now, so I gave up on looks and now I purely bet on practical things. My setup is purely practical and its well hidden under a desk and closed, so I am not having to buy this eyecandy stuff :D (translated, it looks ugly with cables and tubes chaotically everywhere, but no one can see that and it works like a charm).

Just a question, why did you chose that GPU ? Is it remnant of your old rig or for some reason you prefer dual gpu card over SLI ?
 
Good basic loop for 1 cpu 1 and gpu with radiator, pump and reservoir will range from 350 EUR. for other GPU add another 100 EUR.
 
Looks interesting but somehow water never appealed to me. Not sexy or geeky enough to me. Just plumbing :) I miss the good old cryocooling days of Asetek Lightspeed and Prometia. Where have they gone? Good waterbuilds now cost the same - but only yield slightly better temps than air?

Nice looking pictures.
 
Only slightly better than air ? It is a complete nonsense. With SLI, there is even more need for water, as one card blocks the access of air to another.

To add is not just about cooling capabilities, but with air, you generate much more noise, which is not good when you have a wife and 2 kids sleeping behind the thin doors. My other reason is, that I play in rather small room, so I have all my radiators behind the wall in a living room, well hidden behind the speakers of my home cinema and all the heat dispenses there so I do not boil here.
 
Last edited:
Quite cheap then..wish i had the know how

It is about unscrewing and screwing few things. Its very hard to screw it up as all the blocks come with everything you need and a good guide. The fittings are very simple and safe, so it only comes to cut the proper lengths of the tube, so the do not bend.

Really, there is nothing to be afraid of. There are also few very good forums dedicated to it, where you can find all the guides and reassure yourself you are doing the thing right.
 
Last edited:
It is about unscrewing and screwing few things. Its very hard to screw it up as all the blocks come with everything you need and a good guide. The fittings are very simple and safe, so it only comes to cut the proper lengths of the tube, so the do not bend.

Really, there is nothing to be afraid of. There are also few very good forums dedicated to it, where you can find all the guides and reassure yourself you are doing the thing right.

Its the fear factor..you got a link to a good guide please prasak
 
Impressive.


I'm going to subscribe to this thread. I'd love to see some more pictures as this project comes together.
Thankyou, i will post more pictures as the build progresses.

Just a question, why did you chose that GPU ? Is it remnant of your old rig or for some reason you prefer dual gpu card over SLI ?
My GTX 690 i purchased the day it was released for £900 in may 2012! Also it smashes all other video cards even in 2014 as ive volt modded it and its running at 1372mhz!! Here is proof playing some Payday 2. The Video Quality is not great because its MP4 but you can see the OSD and the temps and speed etc.
https://www.youtube.com/watch?v=PAPSiGAyCik

This is fully stable in games, im probably the only person that has taken a 690 over 1.3v as it previously wasnt though possible due to architecture. By using a custom bios flashing the card, altering the MSI Afterburner .cfg and using a .bat file with some specific text (which is the real trick) i was able to take the voltage above 1.3v to 1.6v which is danger territory! Im running my 690 at 1.38v 24/7 use at 1359mhz, i do not know of anyone else anywhere running one at this speed.

Even if you put it on LN, Liquid Nitrogen, you still need to run the correct .bat which is what a friend and myself have been working on for months and we finally cracked it a few days ago.

Considering that the 690 only goes to around 1150mhz on air at 1.175v before failure, ive achieved a huge milestone. My card smashes the 780, 780Ti and Titan! I dont even need to upgrade it as i play lots of games at 120hz (120fps which is much smoother than 60)
how much does something like that cost?
Quite abit, ive kinda forgot how much it cost, when build is complete ill tally up the final cost. The Bitspower fittings alone have cost me around £300.

Good waterbuilds now cost the same - but only yield slightly better temps than air?

Nice looking pictures.
If you was to try running my 690 on air at 1215 mhz it would crash my machine in seconds, so water is much better than air if you do it correctly.
When i say correctly i mean a custom water build consisting of selective parts. Do not mistake custom water cooling for something like an All in one cooler like the H100.

Thankyou for the compliments on the pictures.

Only slightly better than air ? It is a complete nonsense. With SLI, there is even more need for water, as one card blocks the access of air to another.
That depends on your motherboard and what slots you use but in general yes you are correct. I would never go back to air cooling tbh. Ive been watercooling for around 10 years now. The positive side of watercooling is that it creates longevity of your hardware. The negative is that it can be expensive and if you dont know what your doing youy can destroy your hardware. Dont let that put you off though as most of it is common sense.

If anybody need any help with anything water related let me know and ill do my best to help.
 
Last edited:
Update!

Very tight fit down by the 2nd Rad at bottom of case, had to use a half a bitspower compression fitting and a spring mounted clip, they dont look as good as a full compression fitting but you dont get any leaks with these.

Full compression would not fit unless i took one of the fans off. I may do that at a later date, dont know yet. Not gonna make a difference anyhow.


Other side


Coming together nicely now


I need to drill a hole through the midplate to allow another compression to connect to 3 way bitspower connector and also route the tubing to the rad.

Once this is done ill use a 90 degree elbow to make the final connection in the loop and connect to the bottom rad.

Im going to leave the Bitspower ball valve on top of Nvidia plate for bleeding when the need arises.


Still work to do but thats enough for now, more pics to come.:)
 
Update!


Drilled hole for tubing down to lower compartment.


Need a compression fitting to connect ball valve


90 degree elbow to connect to the second rad in the bottom, it was the only way i could fit a fitting down there.


90 degree elbow is connected to rad which you cannot see here. Also a right angled bend allowing connection through the plate and routed to the rad.


Rear of reservoir and fan controller


Front of reservoir with silver coil in the right hand bay.


Silver coil here and the reflection of my daughters toys on the table.


I changed the fans on front and rear from stock corsair fans to XSPC fans 1650rpm. Nothing worng with corsair fans i just wanted all black but stock fans are white.


Changed 140mm rear fan also.


Graphics card in place and slight slanted, dont know why its just the way it is with this board. I have a Backplate on order to eliminate this slight problem. Too much slant can destroy the PCIE slot overtime as ive experienced this years ago.


This loop is now complete and ready for leak test, i have a blanking plug to close the 3 way connection were i drilled the whole until i get 1 more compression fitting. I have a silver compression fitting that i can use until the bitspower arrives so i can leak test and get that done while i wait a couple days.

More pics to come but its literally finished almost.:)
 
Last edited:
Back
Top Bottom