Does all the MDF get filled and painted?
Very impressed btw.
Hey Rog, yes it does. Here's a mini tutorial:
This is a technique I've used frequently and provides consistent results. There are doubtless many other ways of achieving similar results but this is one which I'm happy with. Preparation is always key for a good finish.
Tools and product used for this are as follows: P38 car body filler, sanding block, sandpaper (40/80, 180 and 300 grit or thereabouts), water based undercoat, water based blackboard paint, water based polyurethane varnish, paintbrush, small foam roller and tray.
The first step is to address the cut and beveled edges of the MDF as this soaks up paint and firs up horribly. Other people have recommended various other options such as sealing with PVA glue and using various 2-pac paints - by all means use/try these. Taking some P38, mix thoroughly and apply fairly liberally to the cut edges. This stuff dries very fast so you will need to work quickly. I would suggest working on larger pieces in sections and re-mixing/applying more as necessary rather than trying to cover the entire piece in one pass.

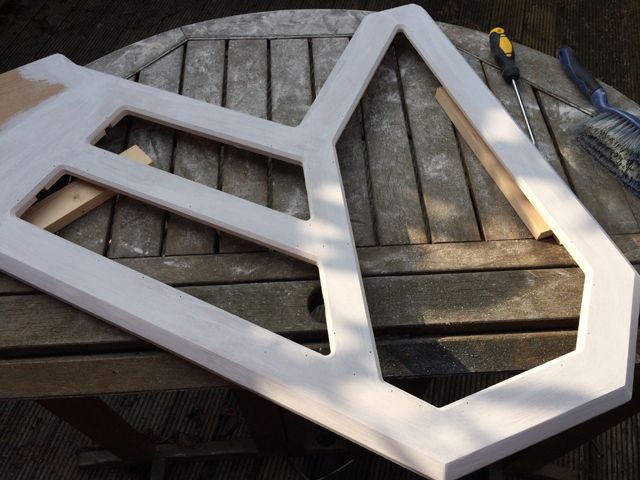
Take the sanding block (a sensibly sized piece of MDF will do) and sand the initial inconsistencies using 40/80 grit sandpaper. Once done, use 180 grit to achieve a smooth finish 40 or 80 grit will leave lines/marks in the finish so using the higher grit for a second pass is important. You should achieve a result like this:

Inspect for blemishes/inconsistencies and apply some more filler and sand again if necessary.
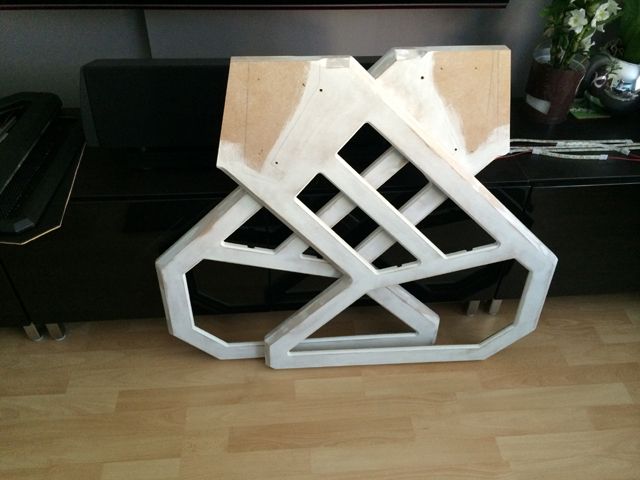
Apply some undercoat using a brush or roller - I tend to use a brush as it's faster. This will likely show up some additional inconsistencies so again apply small amounts of filler and sand (the holes from the wood strips from the router guides can be seen in this picture):
Repeat the undercoating process a further 1 or 2 times, sanding with 300 grit in between.
If part of the piece isn't going to show, I don't bother painting is as it also gives me somewhere to handle the piece throughout the finishing process. Sand the undercoat with 300 grit to achieve a nice smooth finish. The paint may be fairly inconsistent at this point but it's certainly nothing to be concerned with:
Next, using a foam roller, apply 3 coats of blackboard paint sanding lightly in between the first 2 coats using the 300 grit sandpaper:
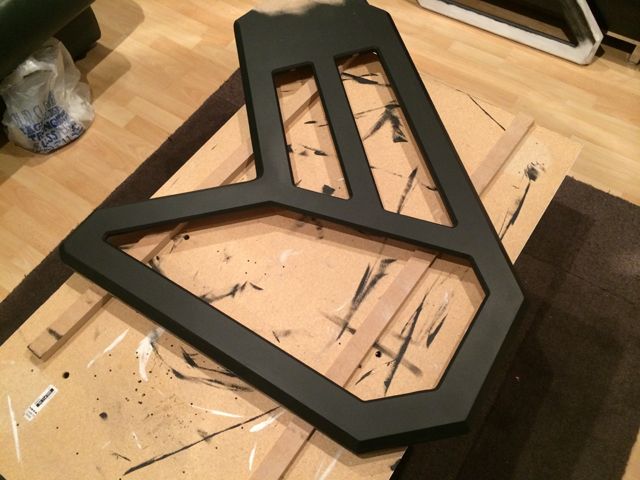
You should now have a nice smooth finish on the piece which is ready for varnishing;
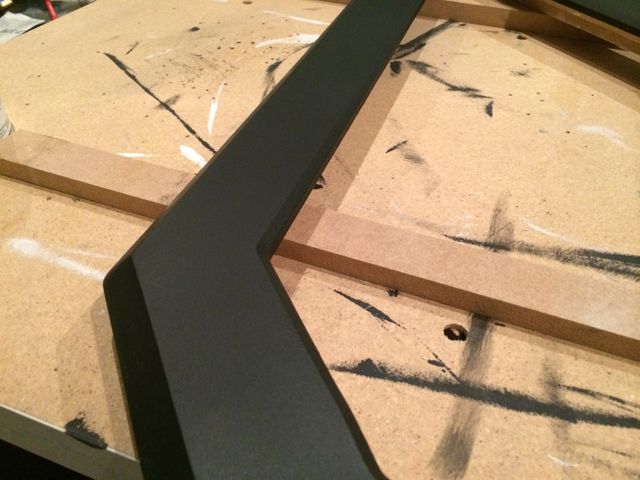
Application of the varnish is moderately tricky. The varnish itself is milky in colour and has a tendency to bubble slightly when using a roller. It's critical to use this sparingly. Pour a little varnish into the tray and use your roller to pick a small amount up. Roll it on the raised area of the tray a few times until it's consistently saturated on the foam. Working on the outer edges first, apply the varnish, checking for bubbles as you go. Most of the bubbles will disappear but if the varnish is too thick, some spots will remain - these will remain opaque if not addresses. To resolve, simply draw the roller over the area a few times. I tends to use a single stroke across the edges to ensure consistency and remove nay potential patchiness. The piece should look a little like this after the first coat:

So there's some initial patchiness to the finish here. Further consistently applied coats will resolve this. Here is the same piece after 2 coats:

A third coat will be better still:


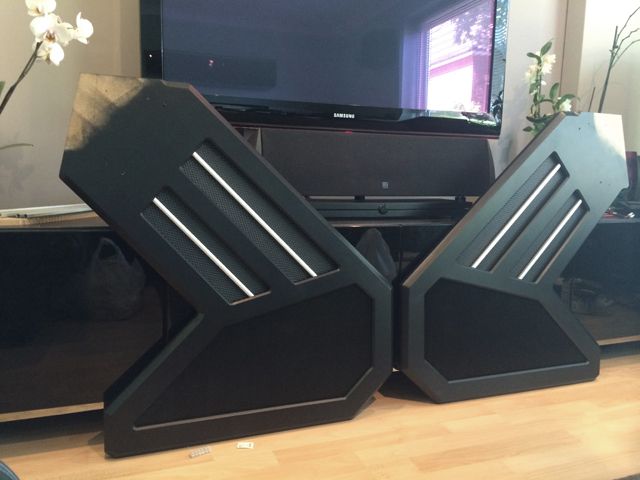
The varnish application is actually a quick process once you get the technique down and I usually only leave to dry for around 30 minutes between coats. It leaves a lightly textured finish which I do like. You may not! Once done, the panel is complete and the inlays can be placed in the windows and glued and screwed into place. There is now a single panel to work with:
A fair amount of work is involved but the finish is relatively good in my opinion.
My wife read over my shoulder and asked if I was going to build myself a "chair". Bless her, if only I could build like that, I would

Edit: Forgot to add: Headrest can play havoc with OR/DK2 and a headset. I constantly bump my headset from turning my head with the DK2 on, it turns the volume down on my G903's.
Edit2: Have you ever done a cost analyst vs. pine or maybe a hardwood? Imagine that in a Honduran Mahogany with brushed aluminium accents and charcoal grey upholstery........or like it is now which is equally as nice, just different
Thanks Sanderson! I plan on making the headrest adjustable; it will move forwards and backwards by a few cms so I will be able to move it out of the way if necessary. I'd love to be able to do something like this in hardwood and looking forwards to working with something other than MDF in the future. I haven't really investigated the cost of other wood tbh so I haven't a clue


