Community Event / Creation The C-Pod: A DIY Command seat (build log)

It already looks amazing but im really excited seeing youve begun work on the "hull"!

Yup, begun and then began again as you shall see ...

The CP-1 already looks amazing, you are doing an amazing job! I would love to build something like this! Unfortunately, bought a house that needs renovating! So in the wife's opinion, that has to be done first!

Enjoying the build and looking forward to the completed Pod!

Thanks Cadw, always best to get the credits in by attending to the wife's considered and correct opinion ;) I've decorated our house from top to bottom about 3 times over the last 11 years so have some credits to spend :)

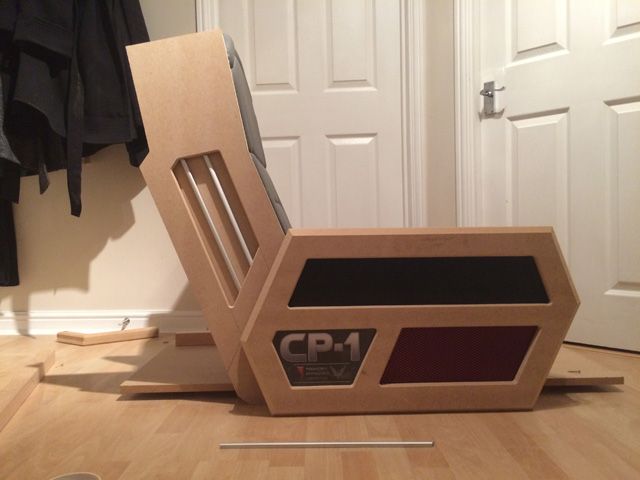
Draw everything up, drill access holes, rough cut the insides cut and attach the guides and flush trim. Things are going well. How wrong could I be:
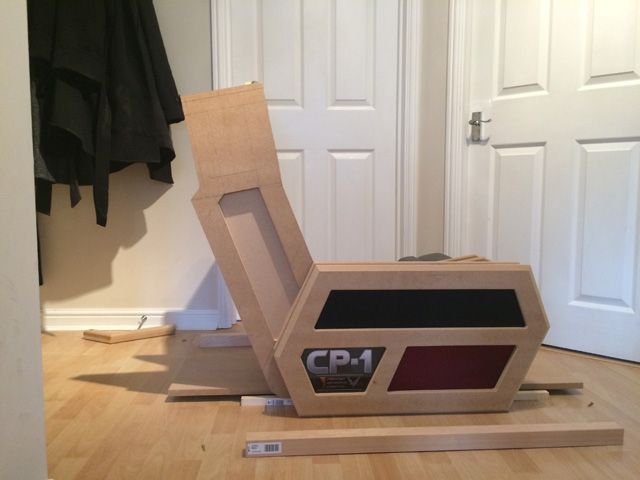


Aaaaaarrrrrrrrrgggggghhhhhhh. The window is massively overcut, extending down to the side pod.

Options:

a. Stuff it and carry on
b. Do it again

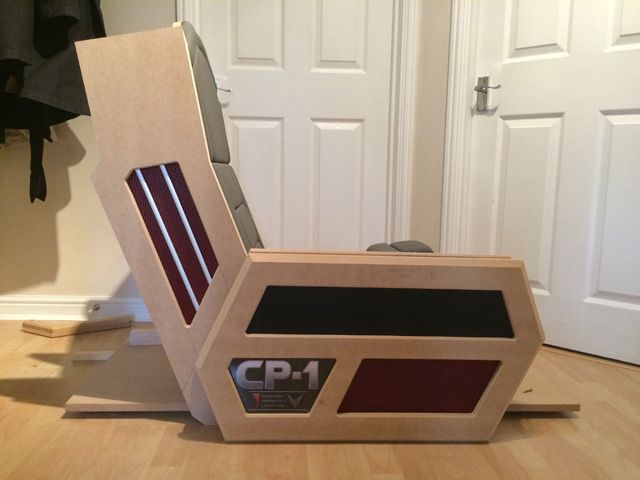
I did it again, correctly:
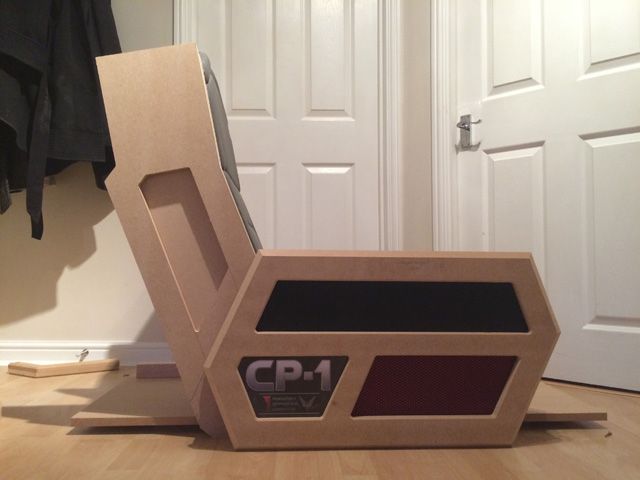


I'm glad I did.
 
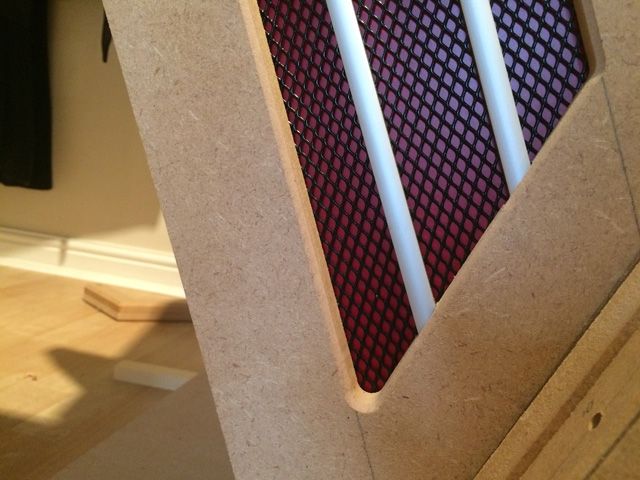
I've routed the inside bevels on the windows and also inserts for both the mesh and the aluminium bars which are now fitted:


I still need to cut the bars for the other side. I'm almost out of mesh - just enough for one side - so will have to order some more of that.
 
And you say when it's finished we can all come round to the launch party for it and give it a test ride... great!
 
Last edited:
Wicked. Commercial companies should be taking notes on this.

Thanks Sanderson, I'g be game to see this going into production tbh!

It's so good to see this taking shape. Good decision on the windows I think. Quality, as always!

Thanks PF. Nothing worse than doing something you're not happy with and compromising. Leaving it as it turned out initially was only an option for about 5 minutes.

Great work mate, and kudos on the recut windows, it all works together so well!

Thanks Enride. Extra work but when measured with the amount of time taken to get to the current build state, I figured it'd be a relatively small percentage overall.

And you say when it's finished we can all come round to the launch party for it and give it a test ride... great!

I need to get it into my games room to start with! That's going to be a challenge in itself.

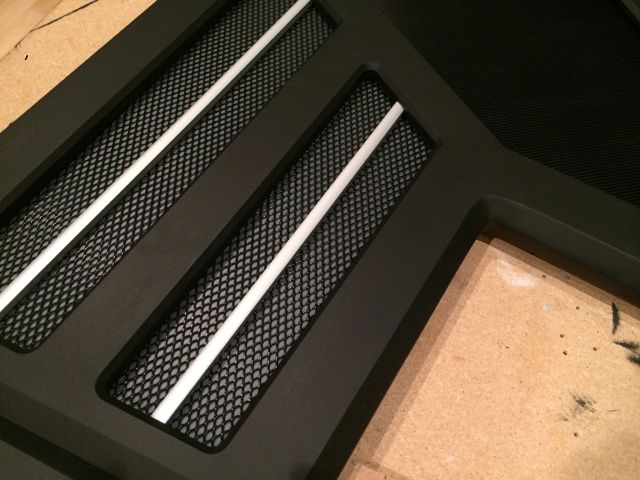
I completed the vinyl backing and mesh on the right hand side window:


If memory serves, you were going to colour the wood black. Those white alu bars will stand out a lot.... Intended or are they gonna get a new colour as well?
 
If memory serves, you were going to colour the wood black. Those white alu bars will stand out a lot.... Intended or are they gonna get a new colour as well?

Hey Tyrope, the bars will remain as they are. They key in with a metalic coloring on the CP-1 font on the artwork. I also want something which stands out a bit, almost organic/cyborg-like with the blood red colour contrasting with an aluminium skeleton so to speak. It will look much more effective once painted black. I posted this on the first page from recollection and this is the effect it has (with different coloured vinyl):


wow, just wow. It's looking good mate :cool:

Thanks MarOzzy. Digging the Hawkwind avatar :)
 
I was overwhelmed of custom cockpits, that were built for Kerbal Space Program, but seeing this... it dwarfs anything i have seen so far. Very impressive.
 
Thanks Frank :) You got me interested in what people have been up to over there so I went and had a look. There are some nice control panels people have put together!

Edit: Just posted over there to see what people think its usefulness might be.
 
Last edited:
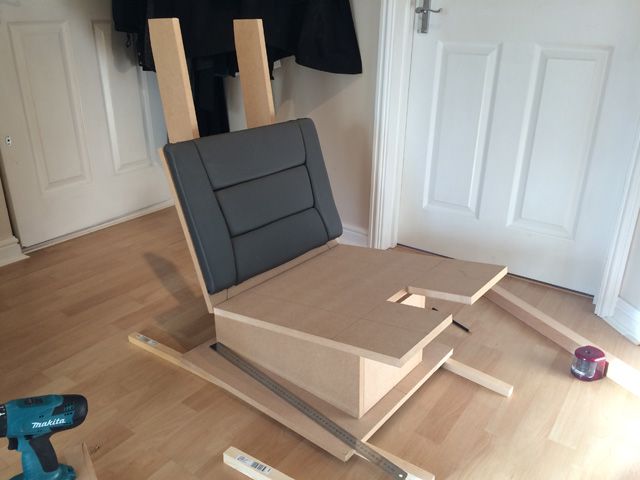
The time has come to start dry assembling. A lot of measuring to do to make sure everything lines up correctly. Hopefully by the end of today I will have the structure screwed together. The first job has been to correctly size the base which has now been completed. About 10 steps backwards seemingly at the moment:

 
Dry assembling is going slowly but well:


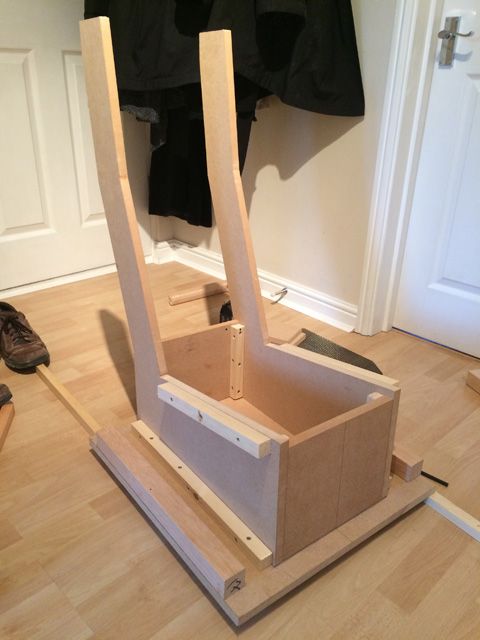
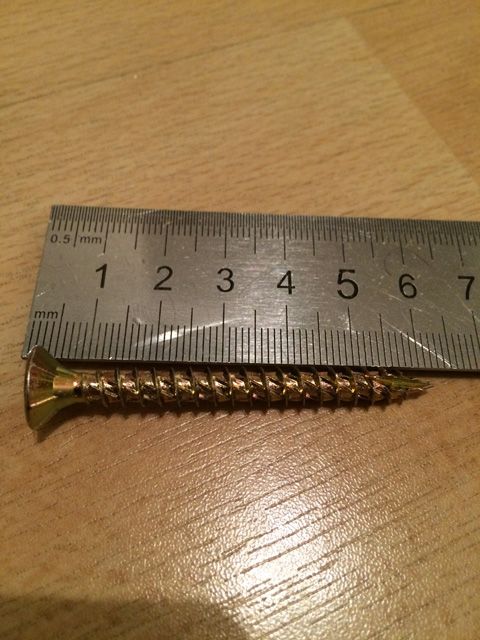
I use some very large batons and 6cm screws for the connection into the base. This structure isn't going to shift or creak:

 
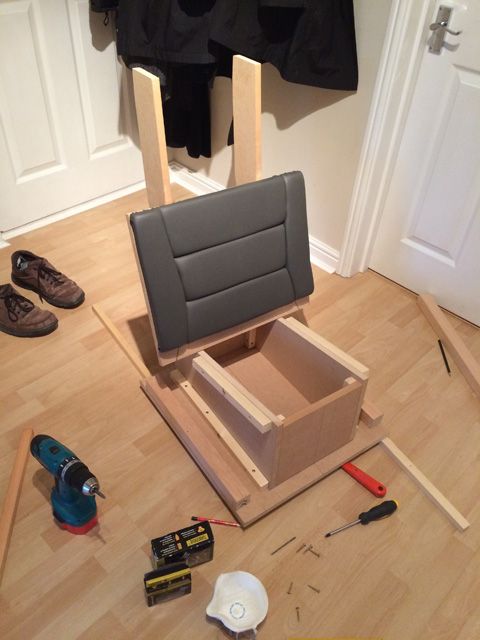
That's me done for today. Just a couple of batons I needed to complete but I will do those tomorrow:


The seat raiser will need to be re-cut. It's too wide.
 
Yessssss! It looks better and better. Nice progress. Good work, TIOO!

Thanks Txakal, no bling today or anything that looks impressive but it's feeling nice and solid. It gives me a position where I can start on the shoulder sections and the back of the seat.

60mm screws? That will never shift! Nice work as always, good to see the 'inner core' taking shape! :)

Cheers PF. Yes, it should be on securely :)

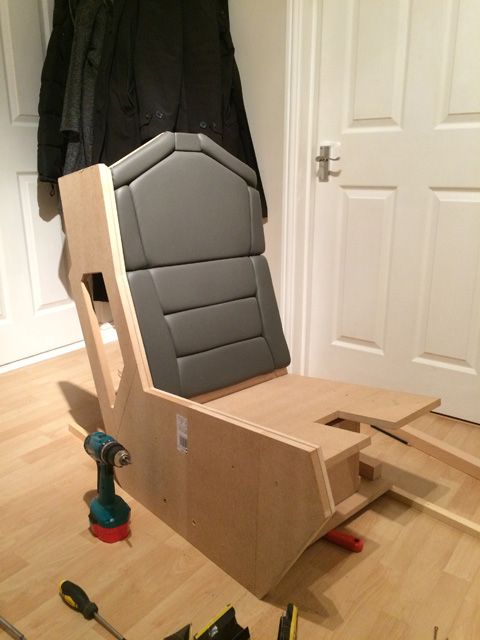
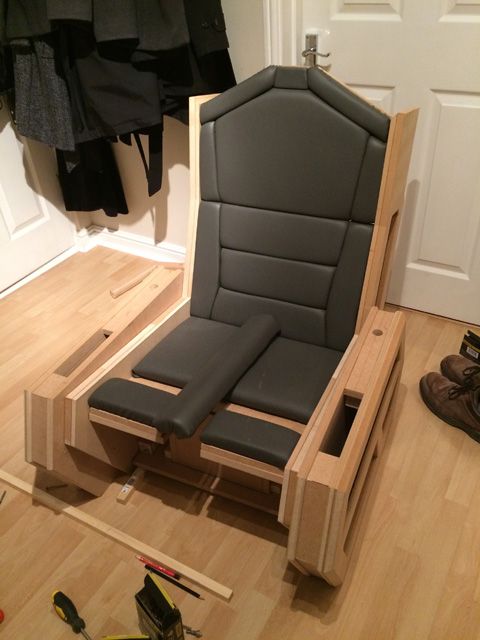
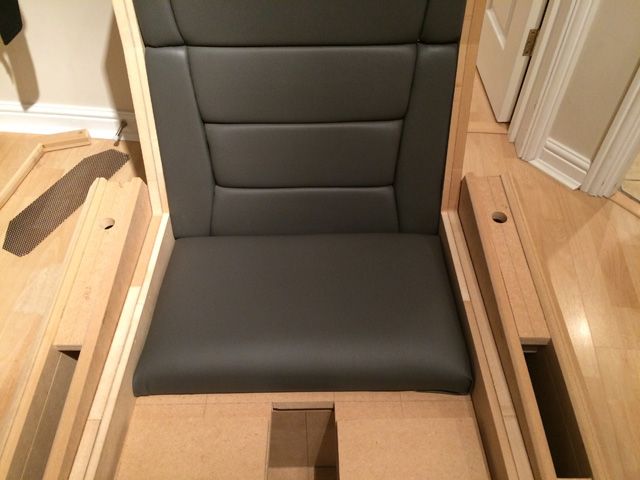
It needs straightening up a bit but I have put some additional padding in the main seat panel:

 
Last edited:
http://s218.photobucket.com/user/SpaceHedgehog/media/DryAssemble6_zps72b1189b.jpg.html
-
I hope that middle seat bottom bar is not placed correctly, and the 60mm screws are not poking out too much!

lol, that bottom bar is what I refer to as the seat raiser - maybe bottom bar would be a more appropriate description with it positioned like that :) It's too wide to fit with the sides attached - I suspected it would be. I just need to uncover it and trim some wood and re-cover.
 
Back
Top Bottom