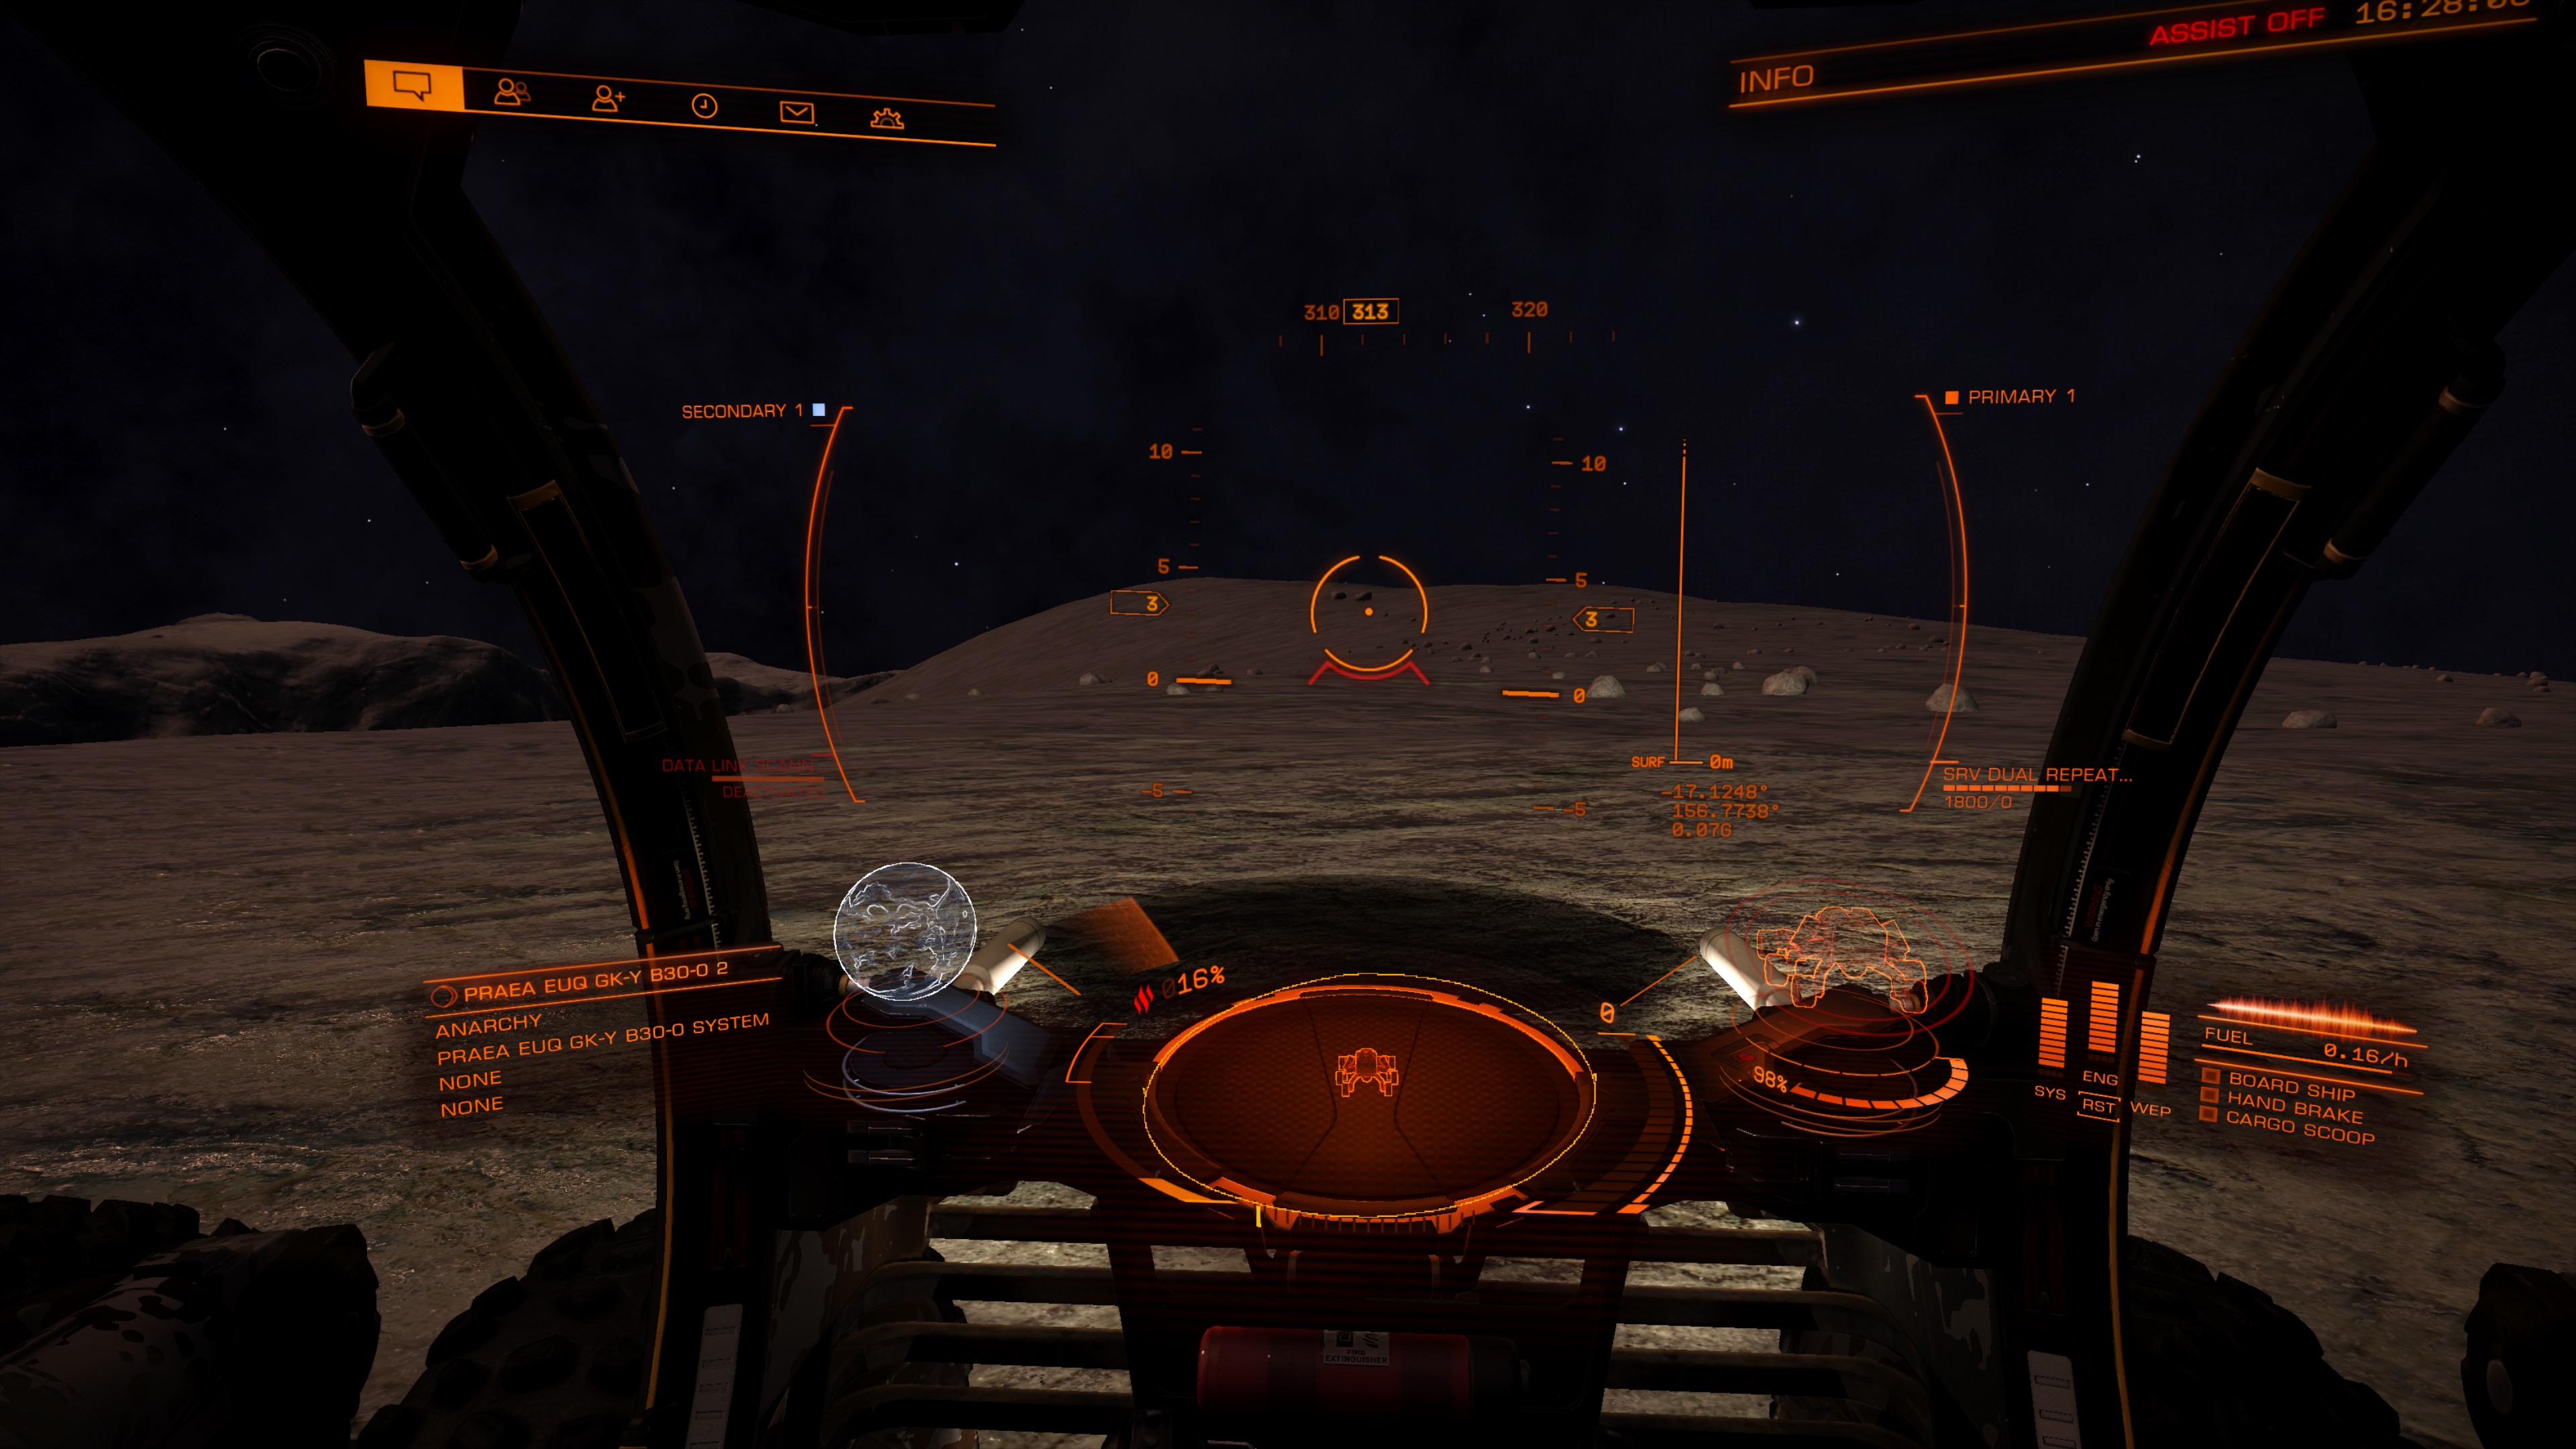
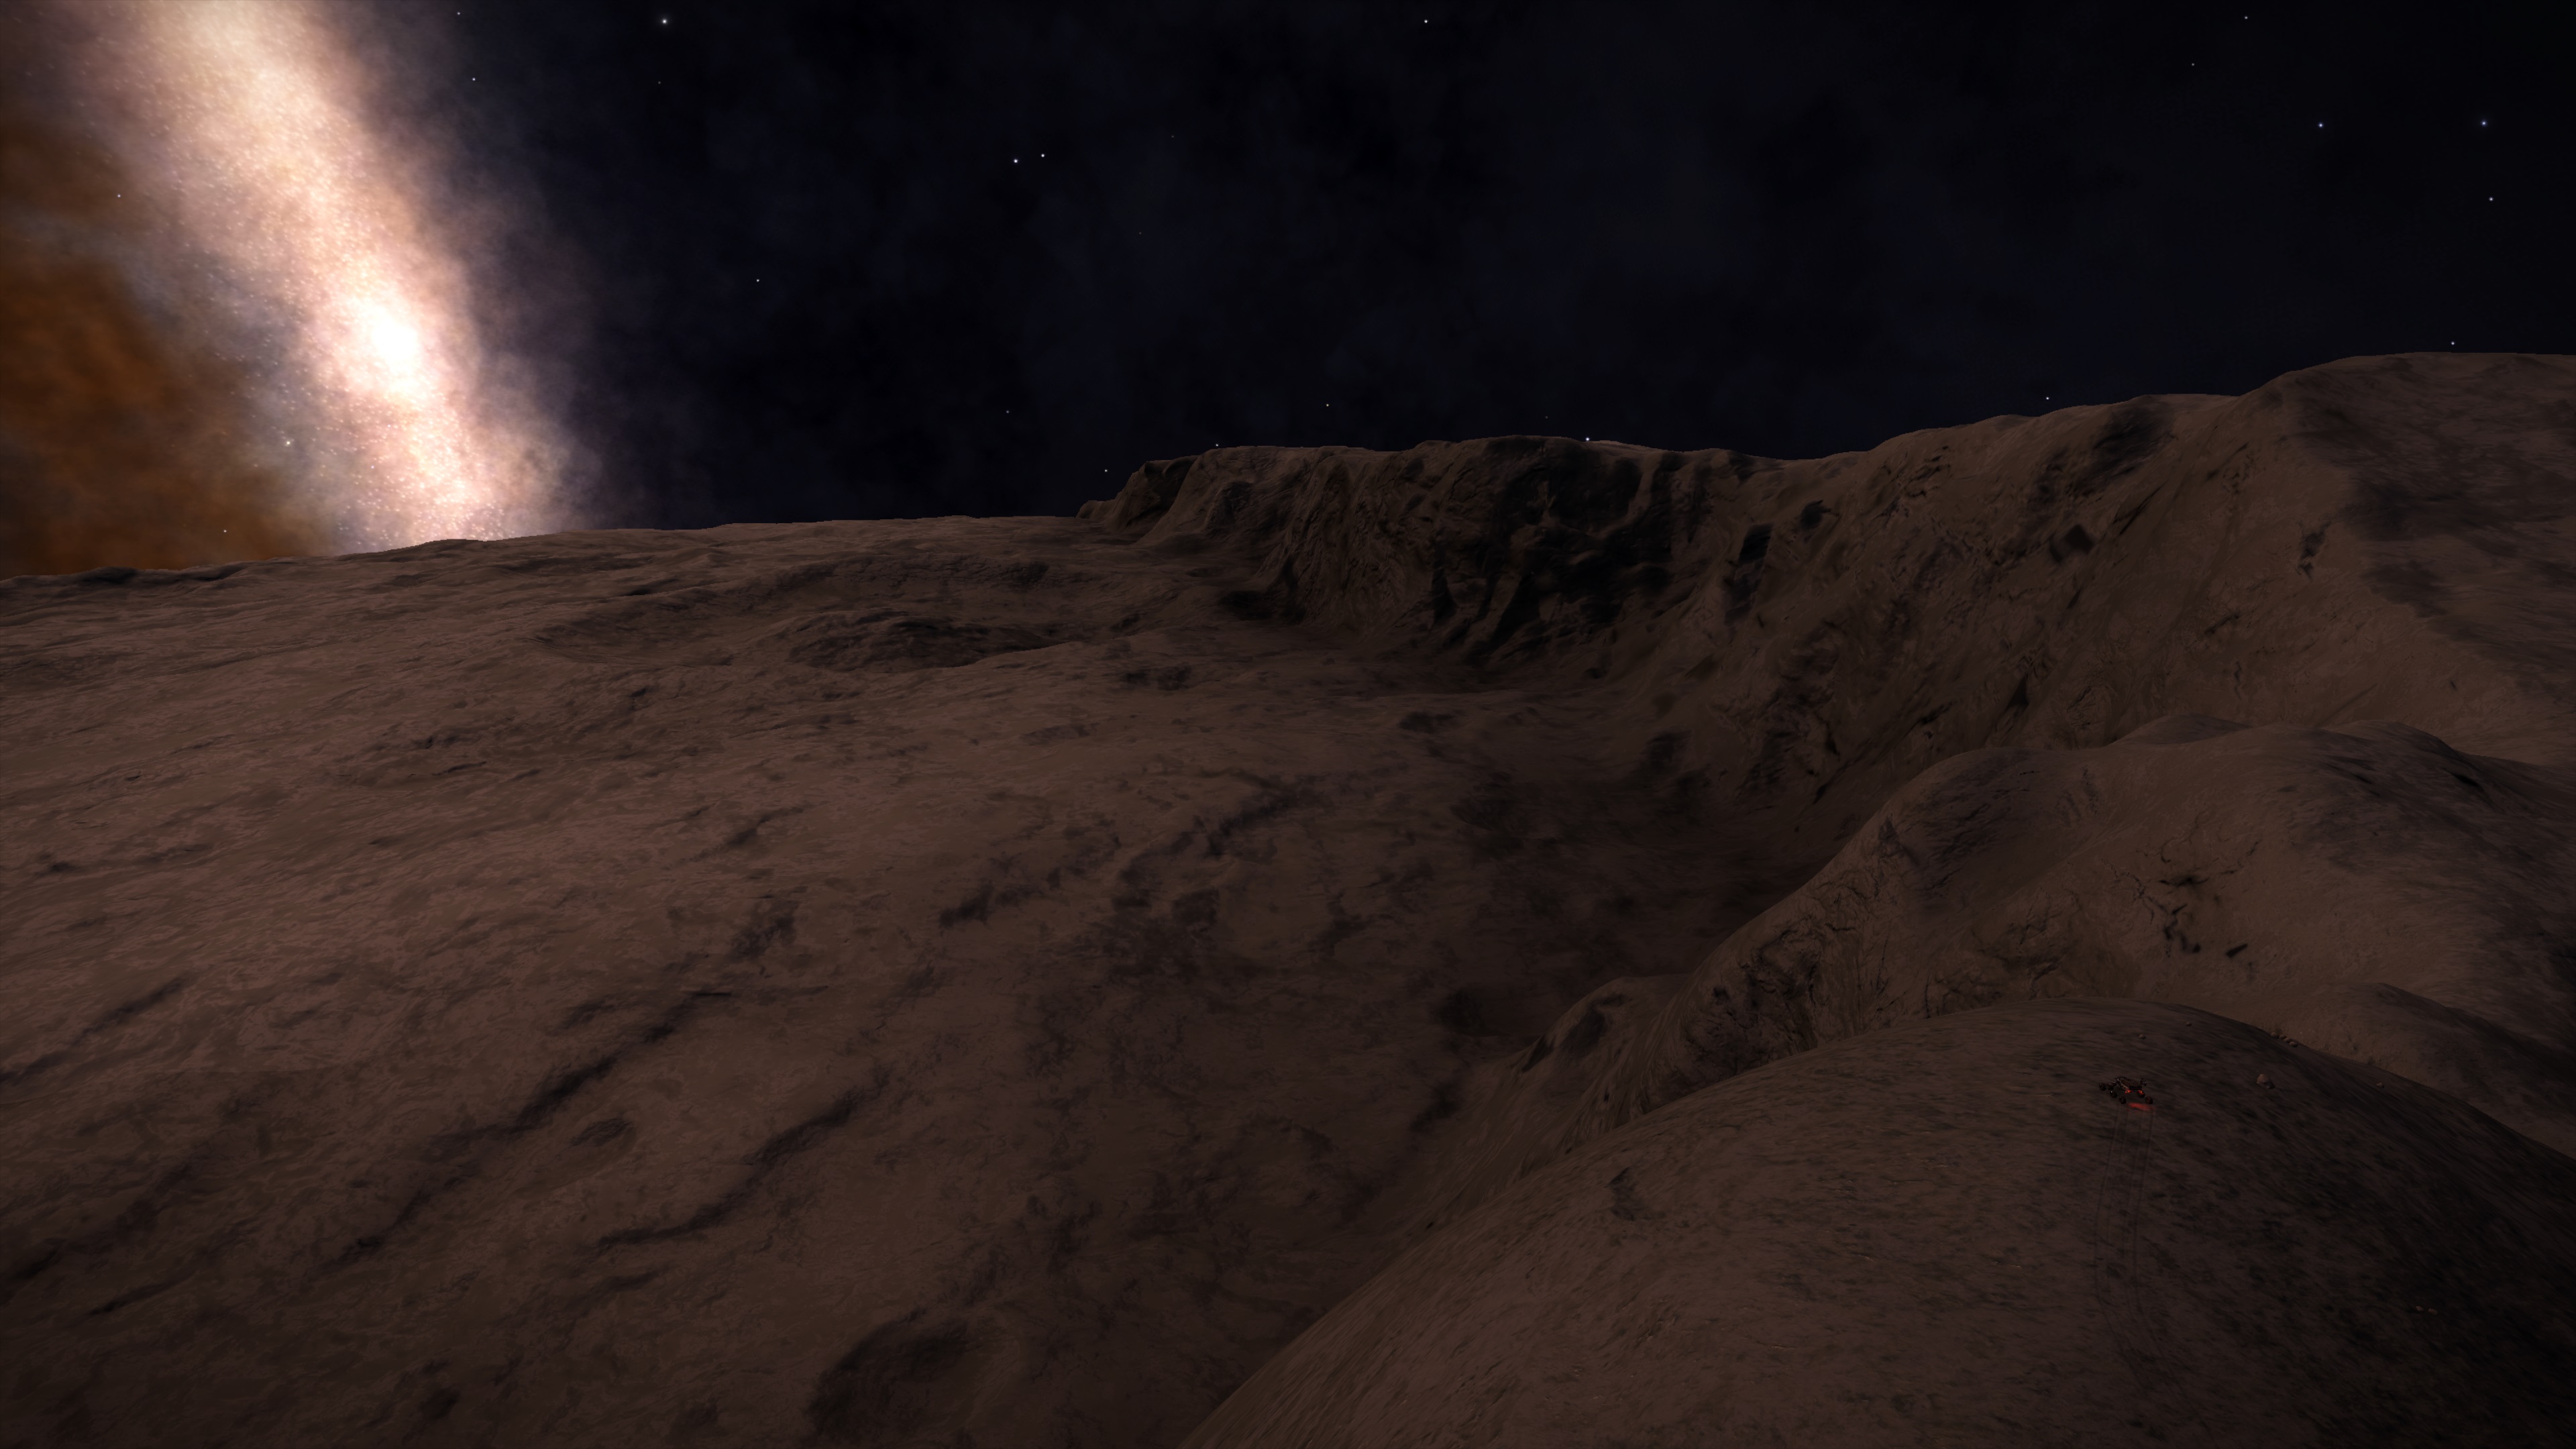
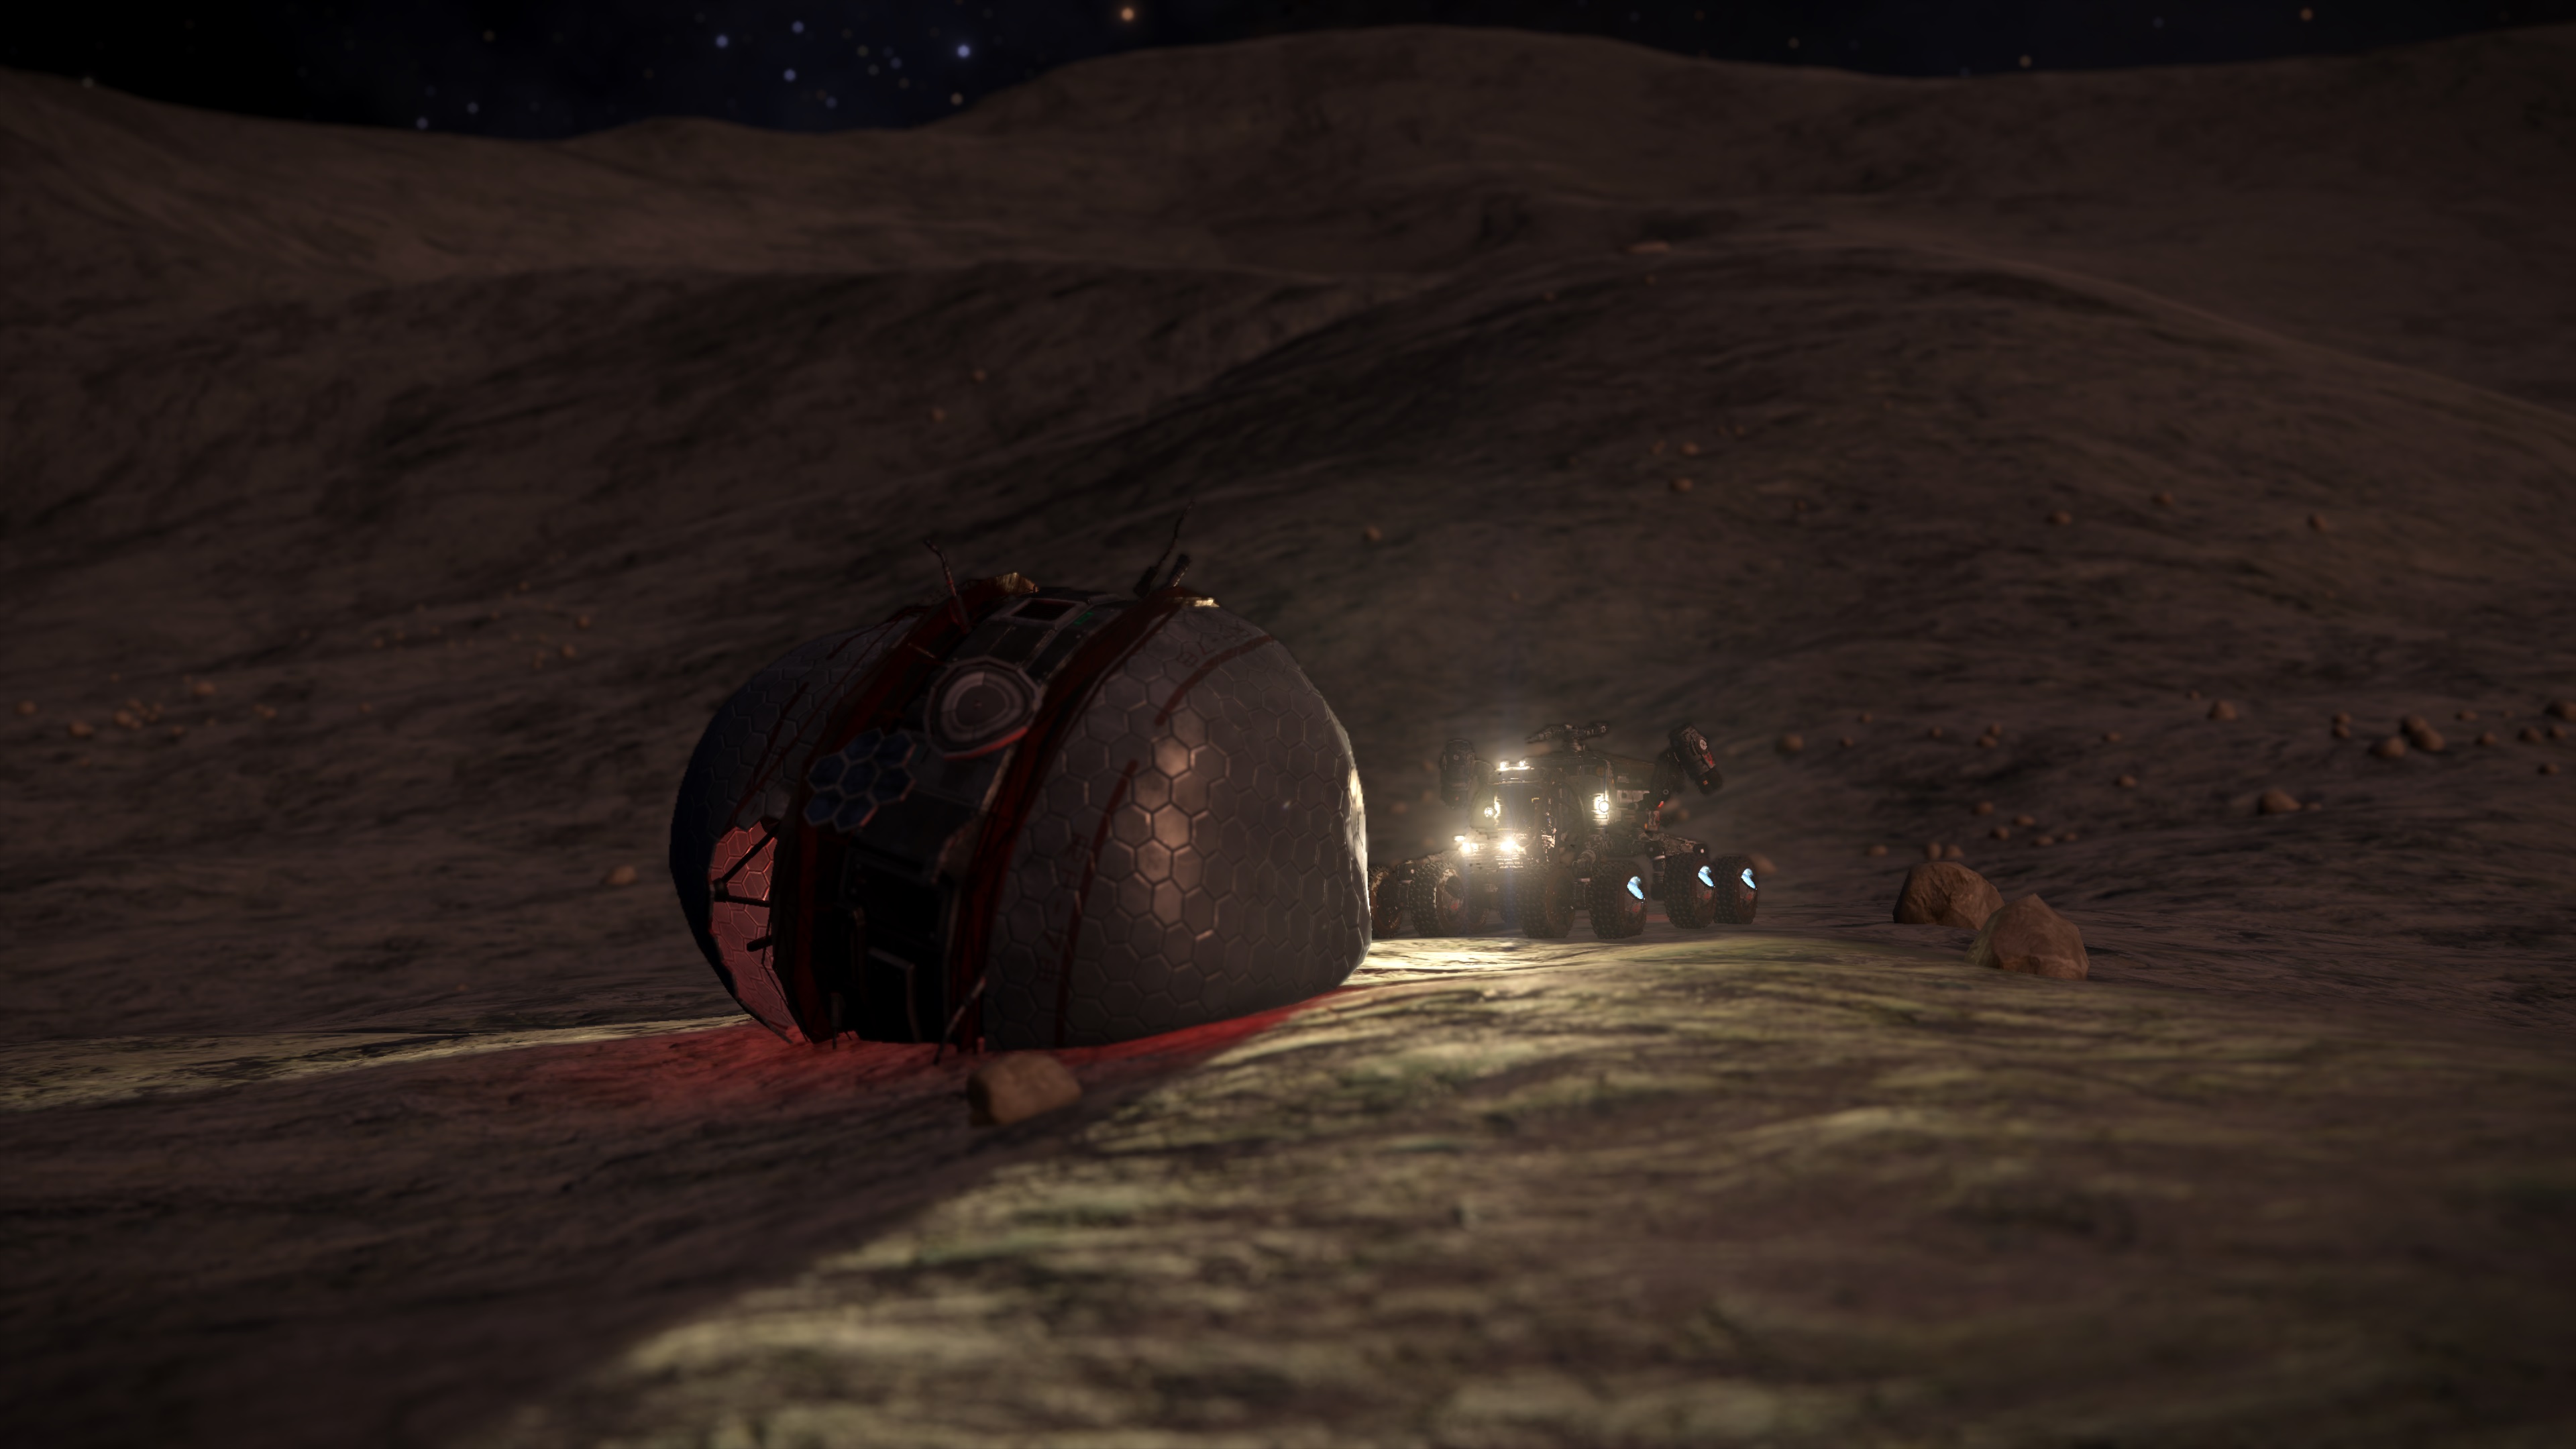
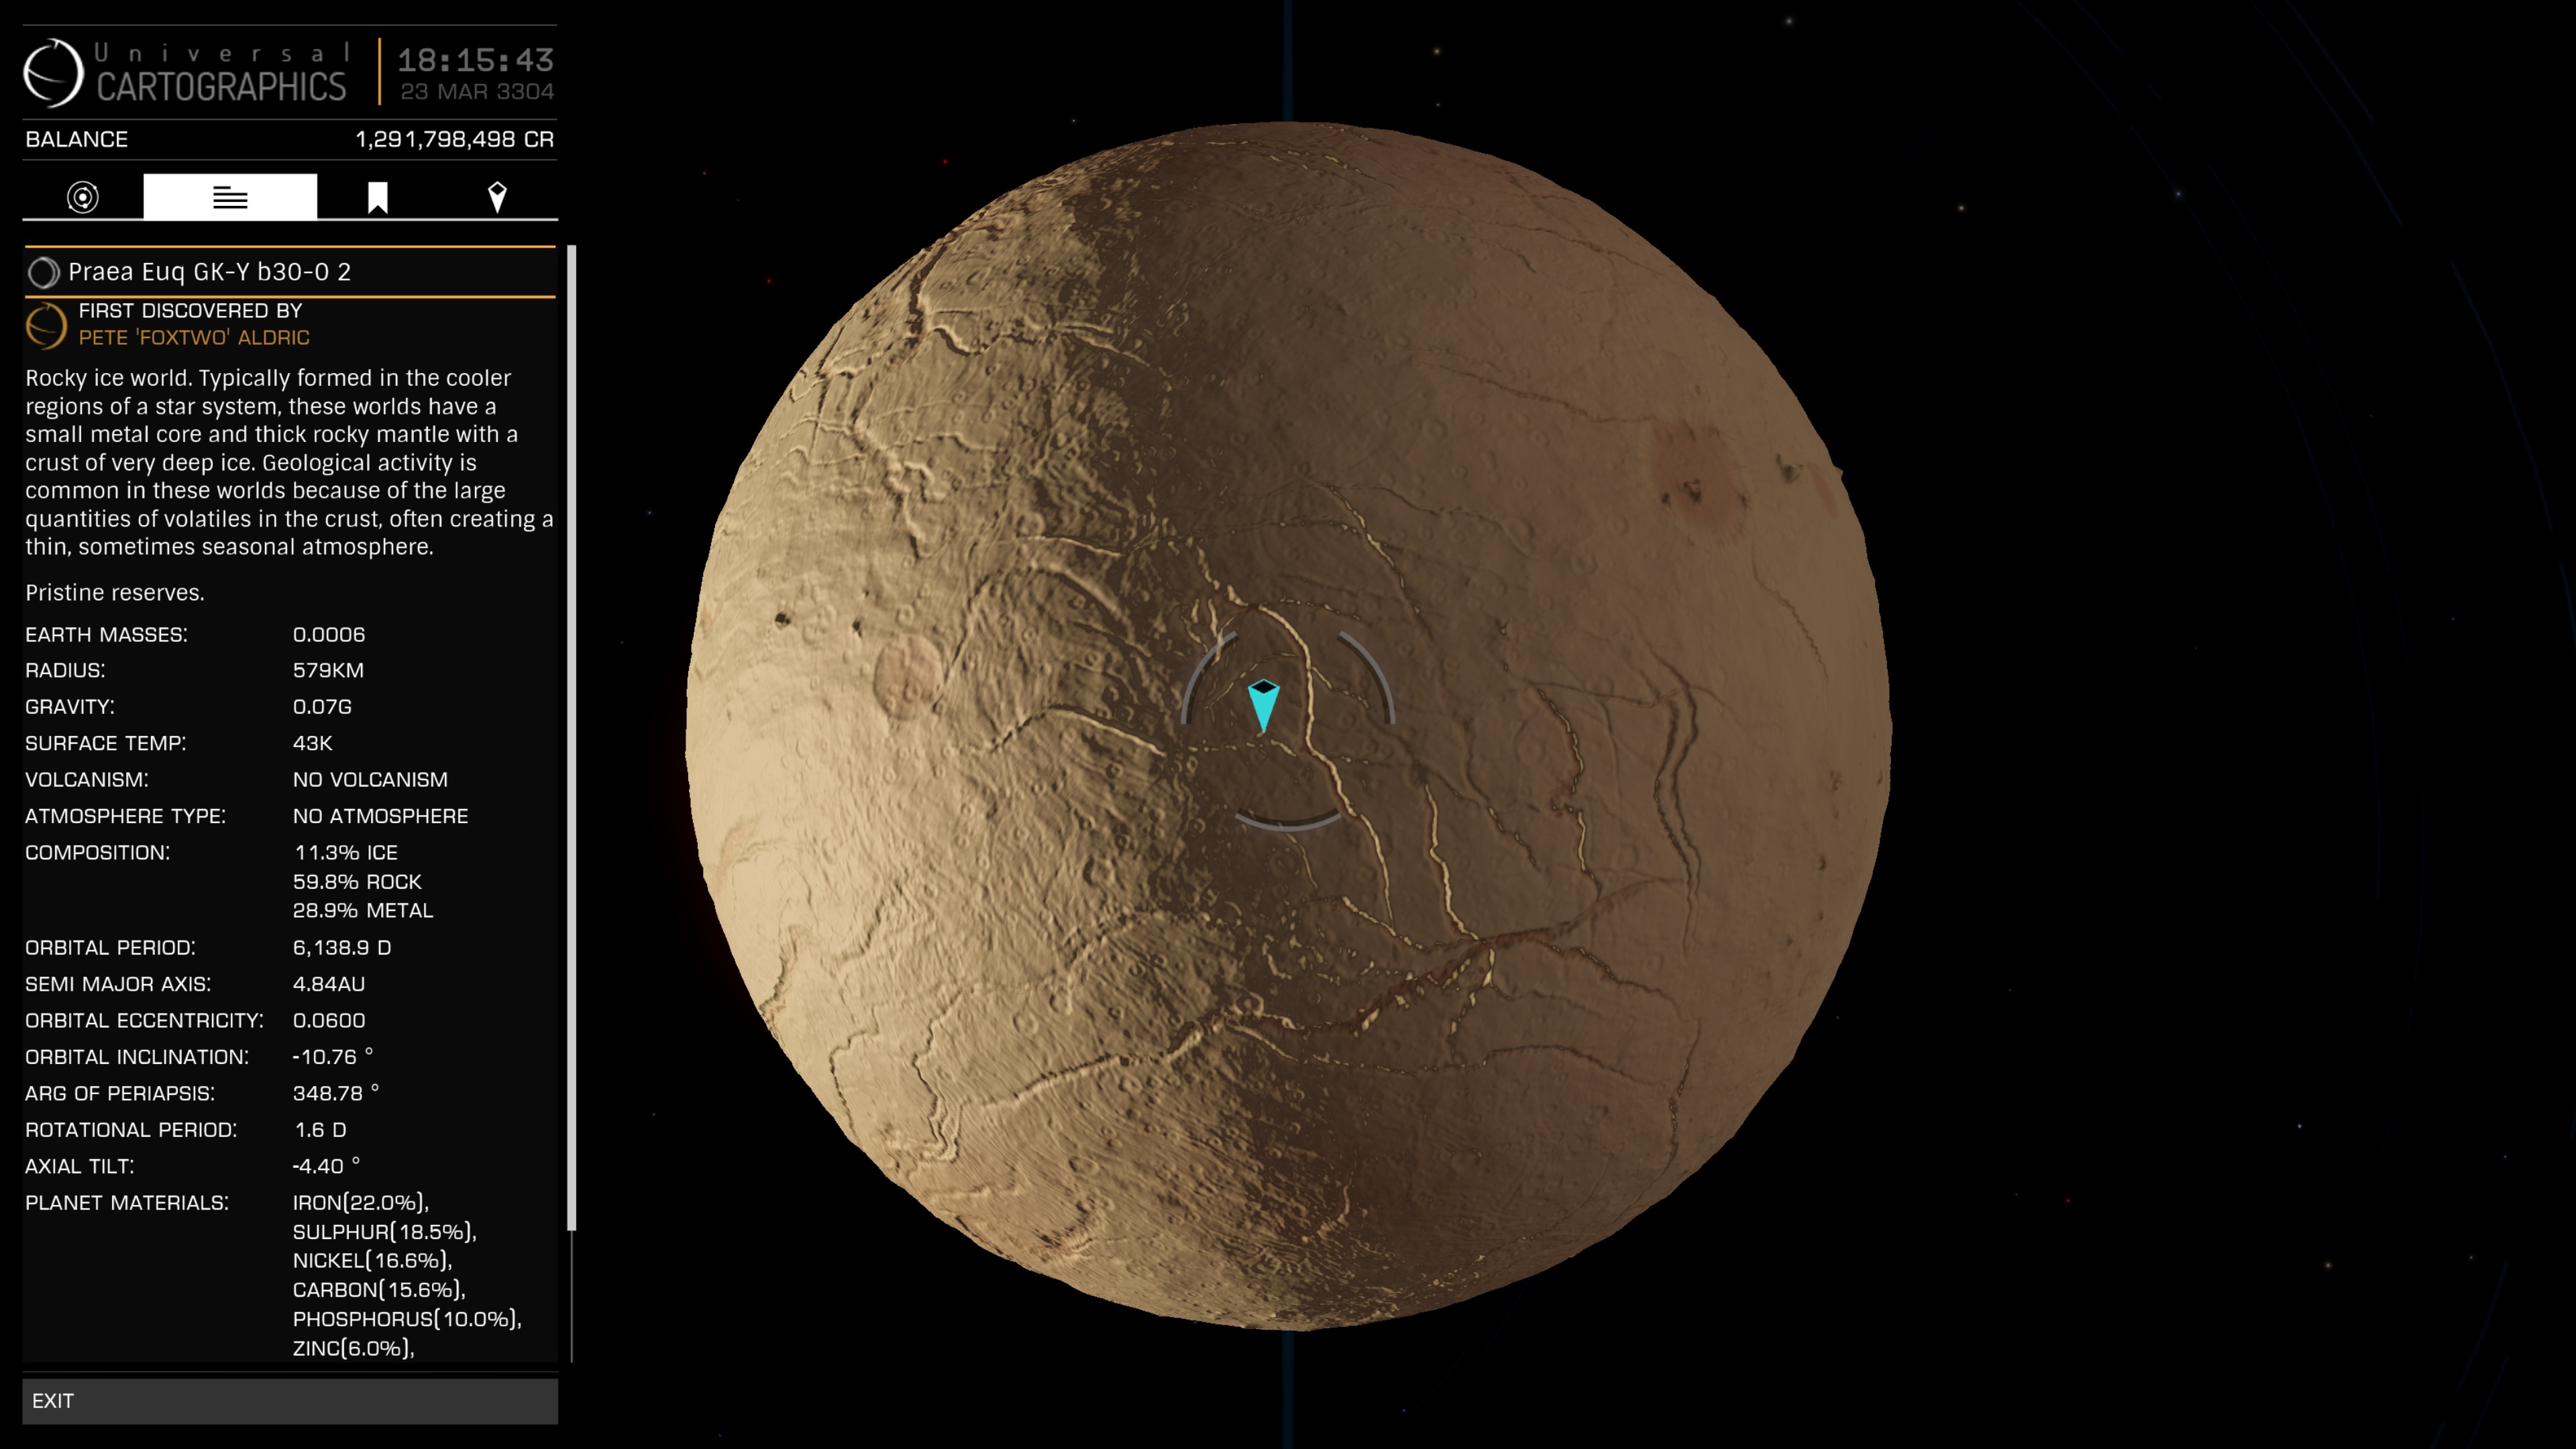
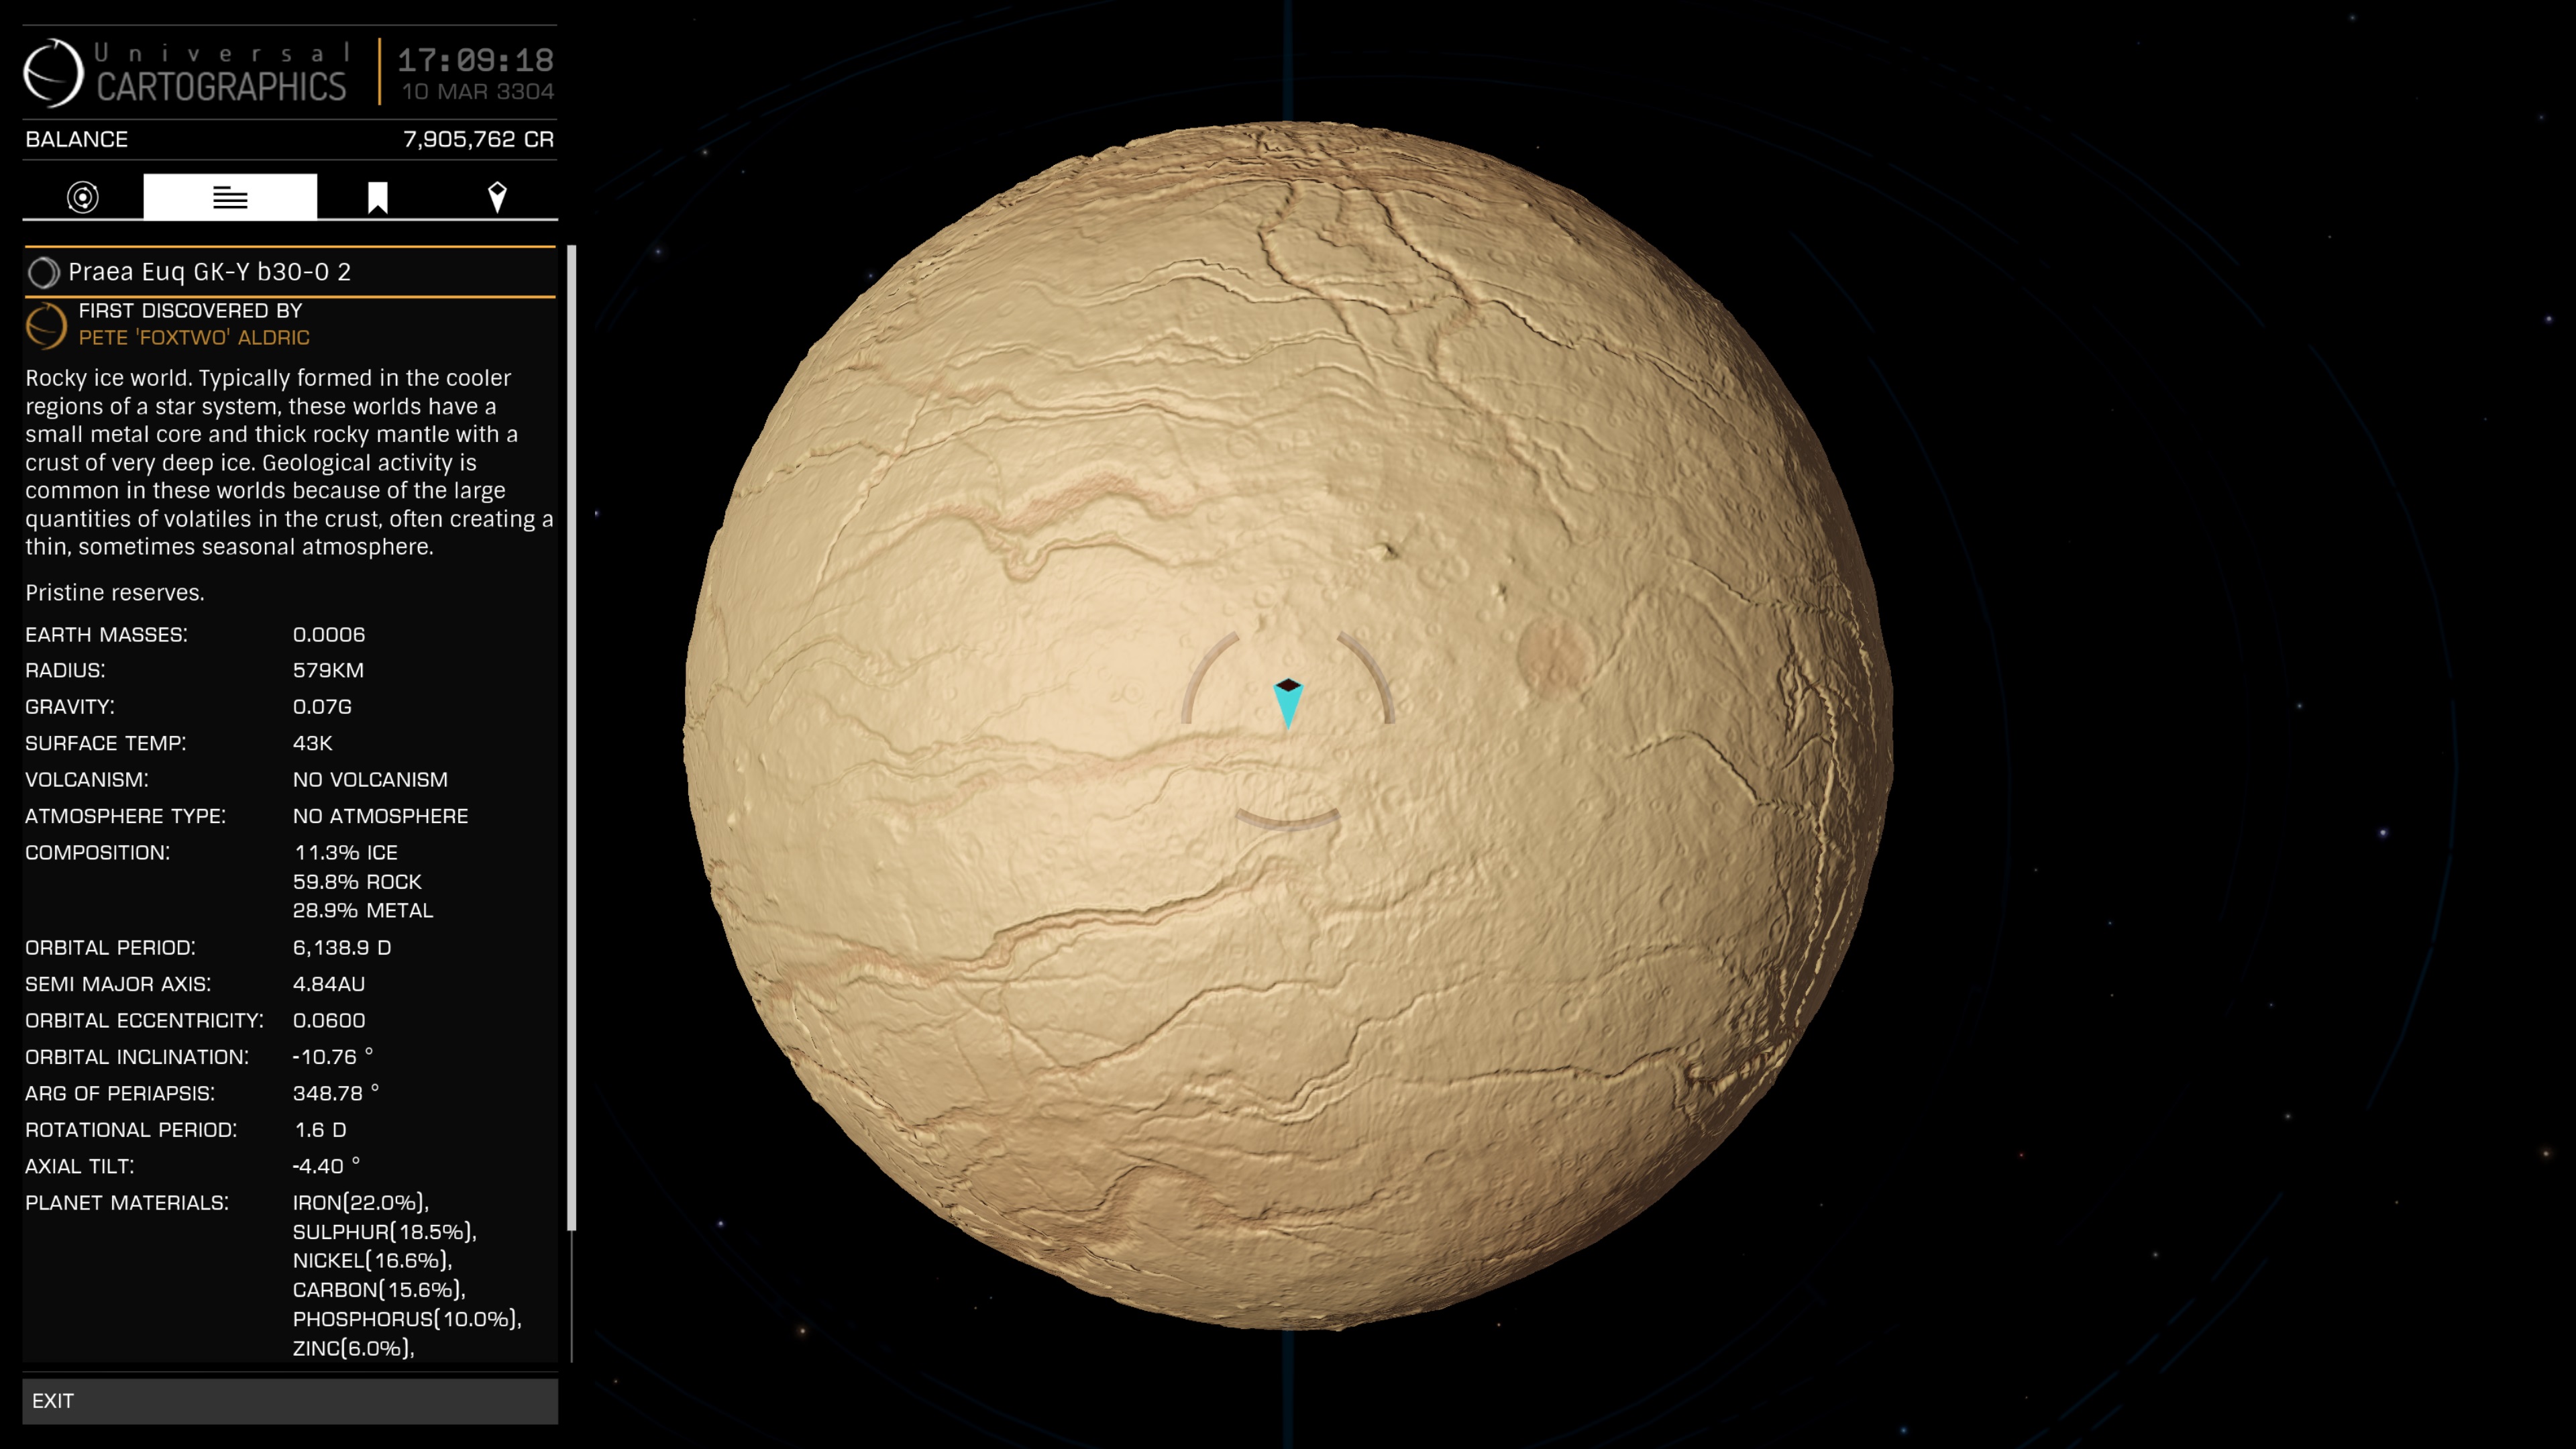
Hello there, Bomba Luigi here and I want to join the CMDRs from the Planetary Circumnavigation Club! But first, who is Wilson? Wilson is the Planet "PRAEA EUQ GK-Y B30-0 2", a rocky Ice planet a bit over 1000Lys from Sol
 Not necessary a very good Candidate for a Circumnavigation but I once upon a Time got stranded in my SRV there, many CMDRs came to help me out and every since then its my favourite Place in the Galaxy!
Based on his radius the Distance to travel once around him should be 3637.857km, but you probably shouldn't pay too much attention to that Number since it won't be an all that straight forward drive so it will be a kilometer or two more. I have my route planned out and will try to put that in some proper order, mostly for myself so I got all those notes and screenshots sorted in a easy to follow list.
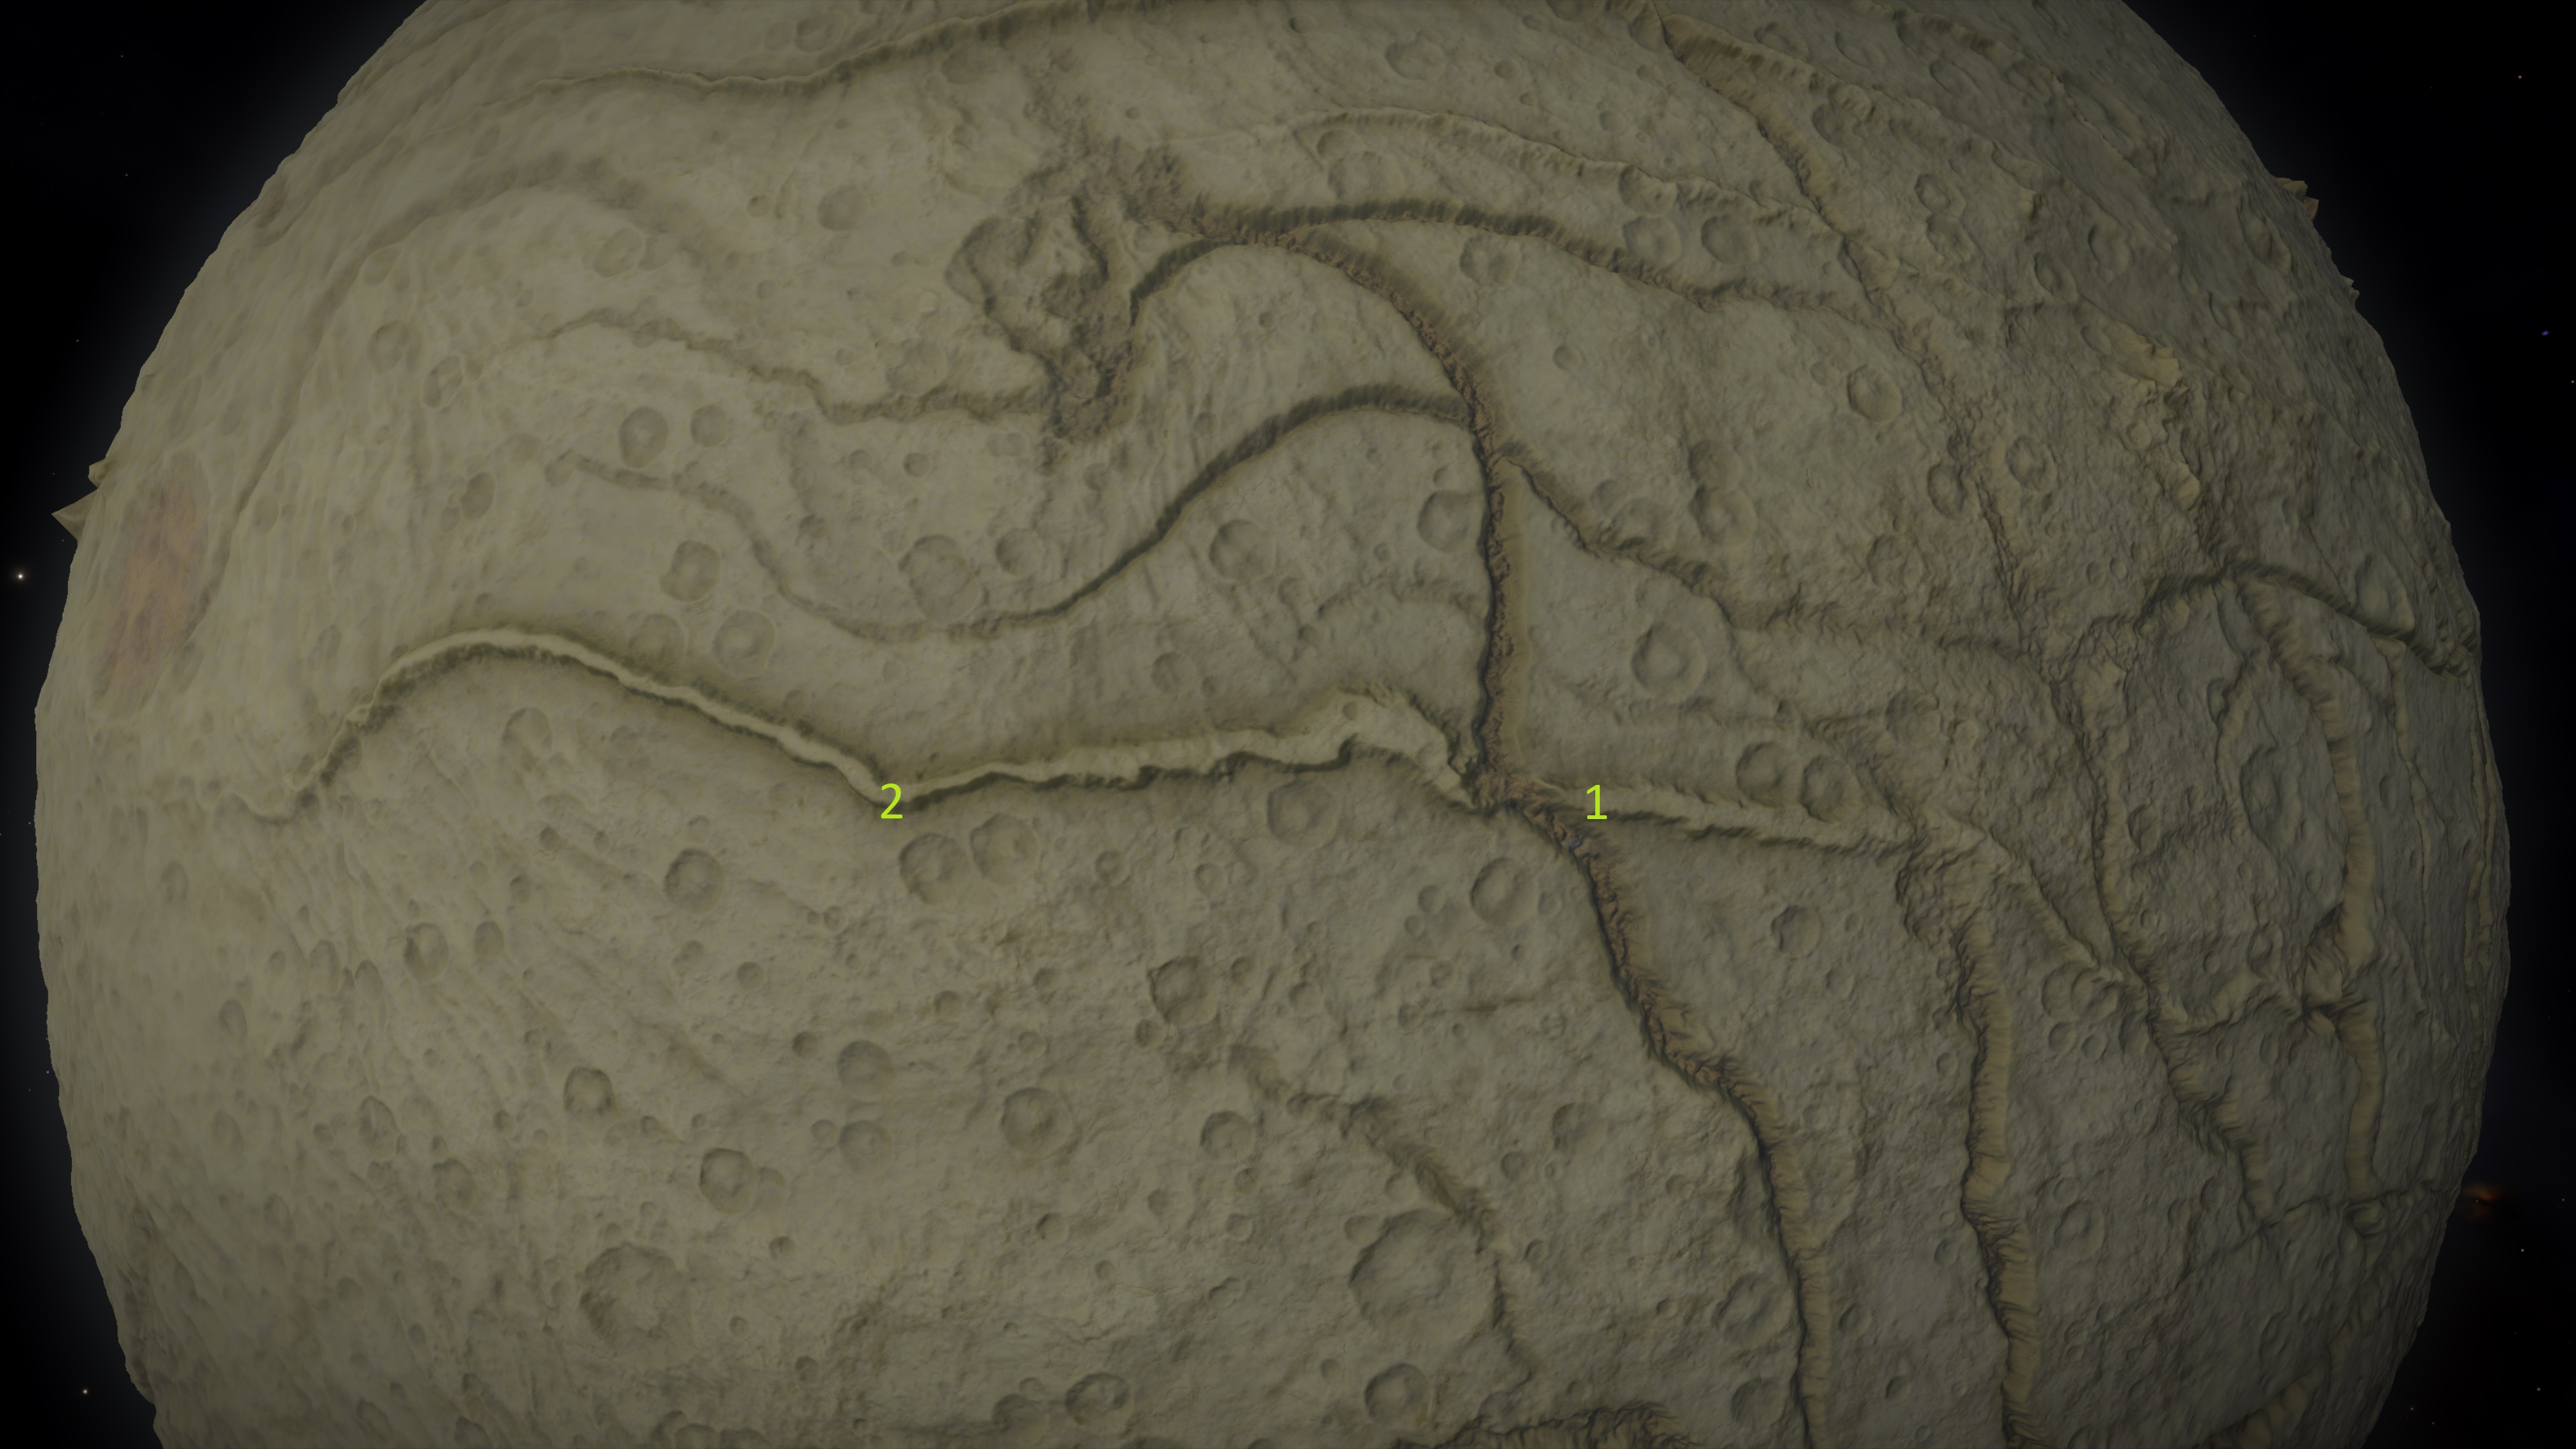
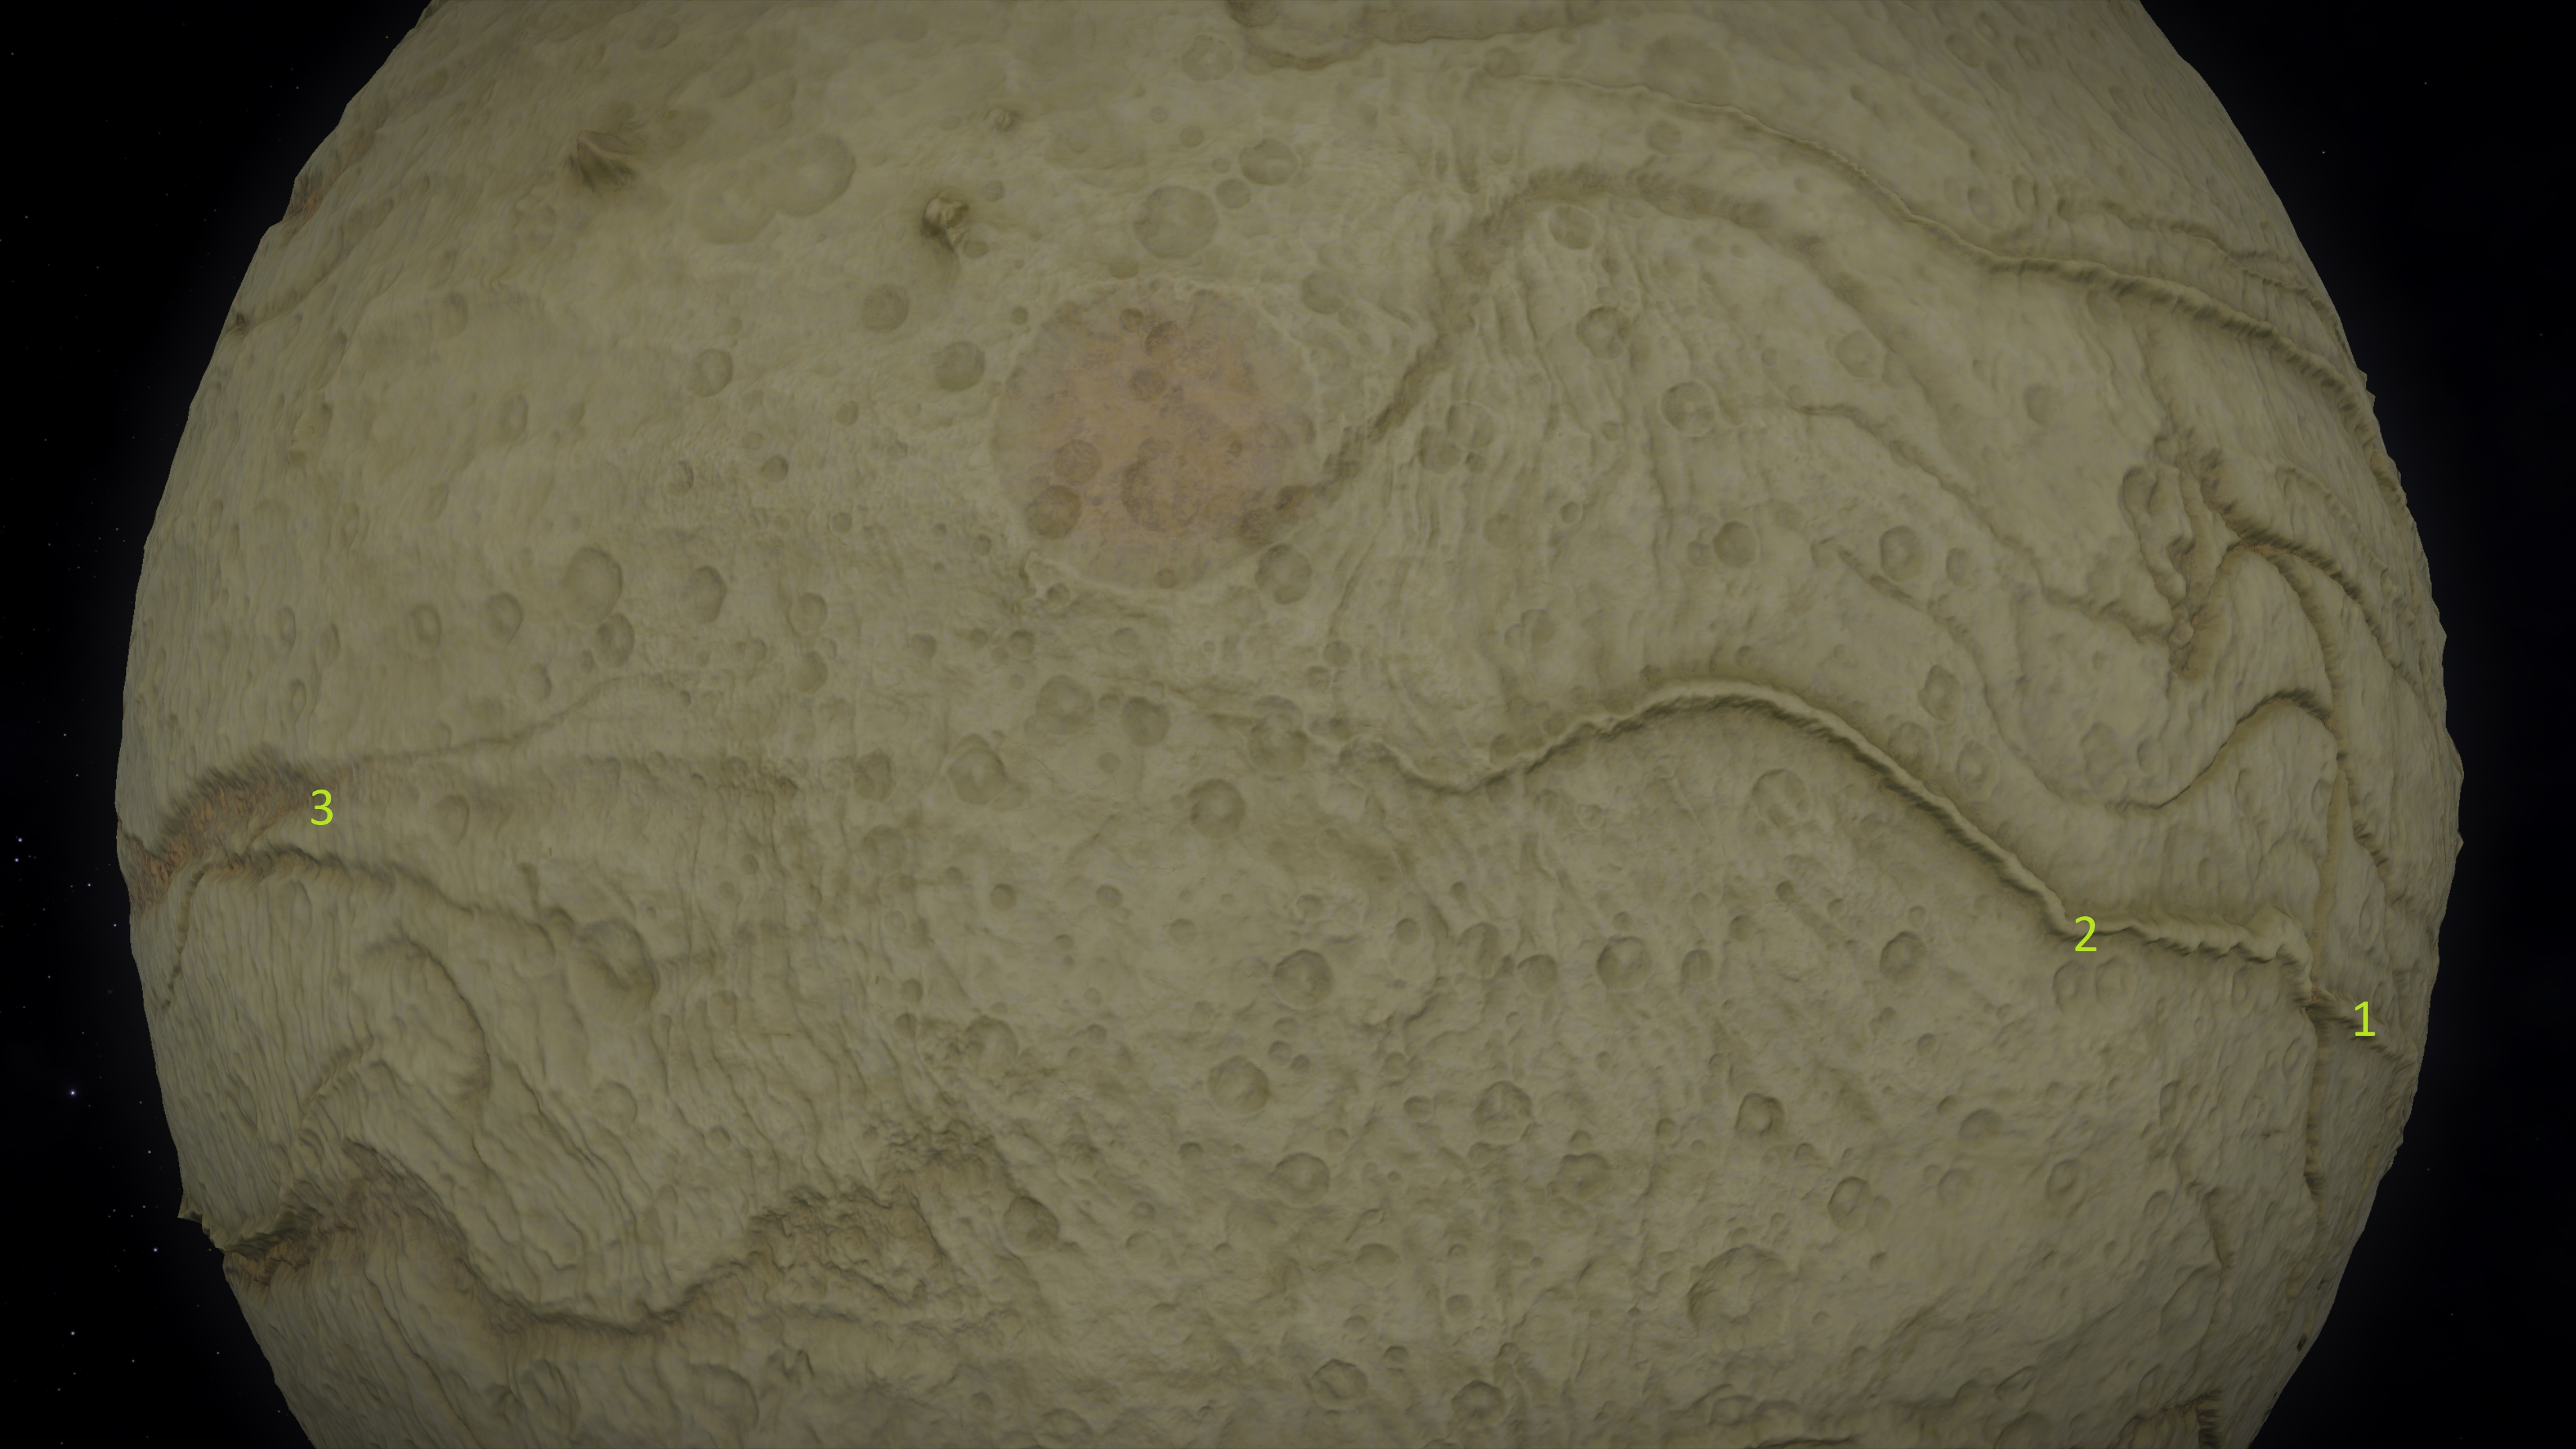
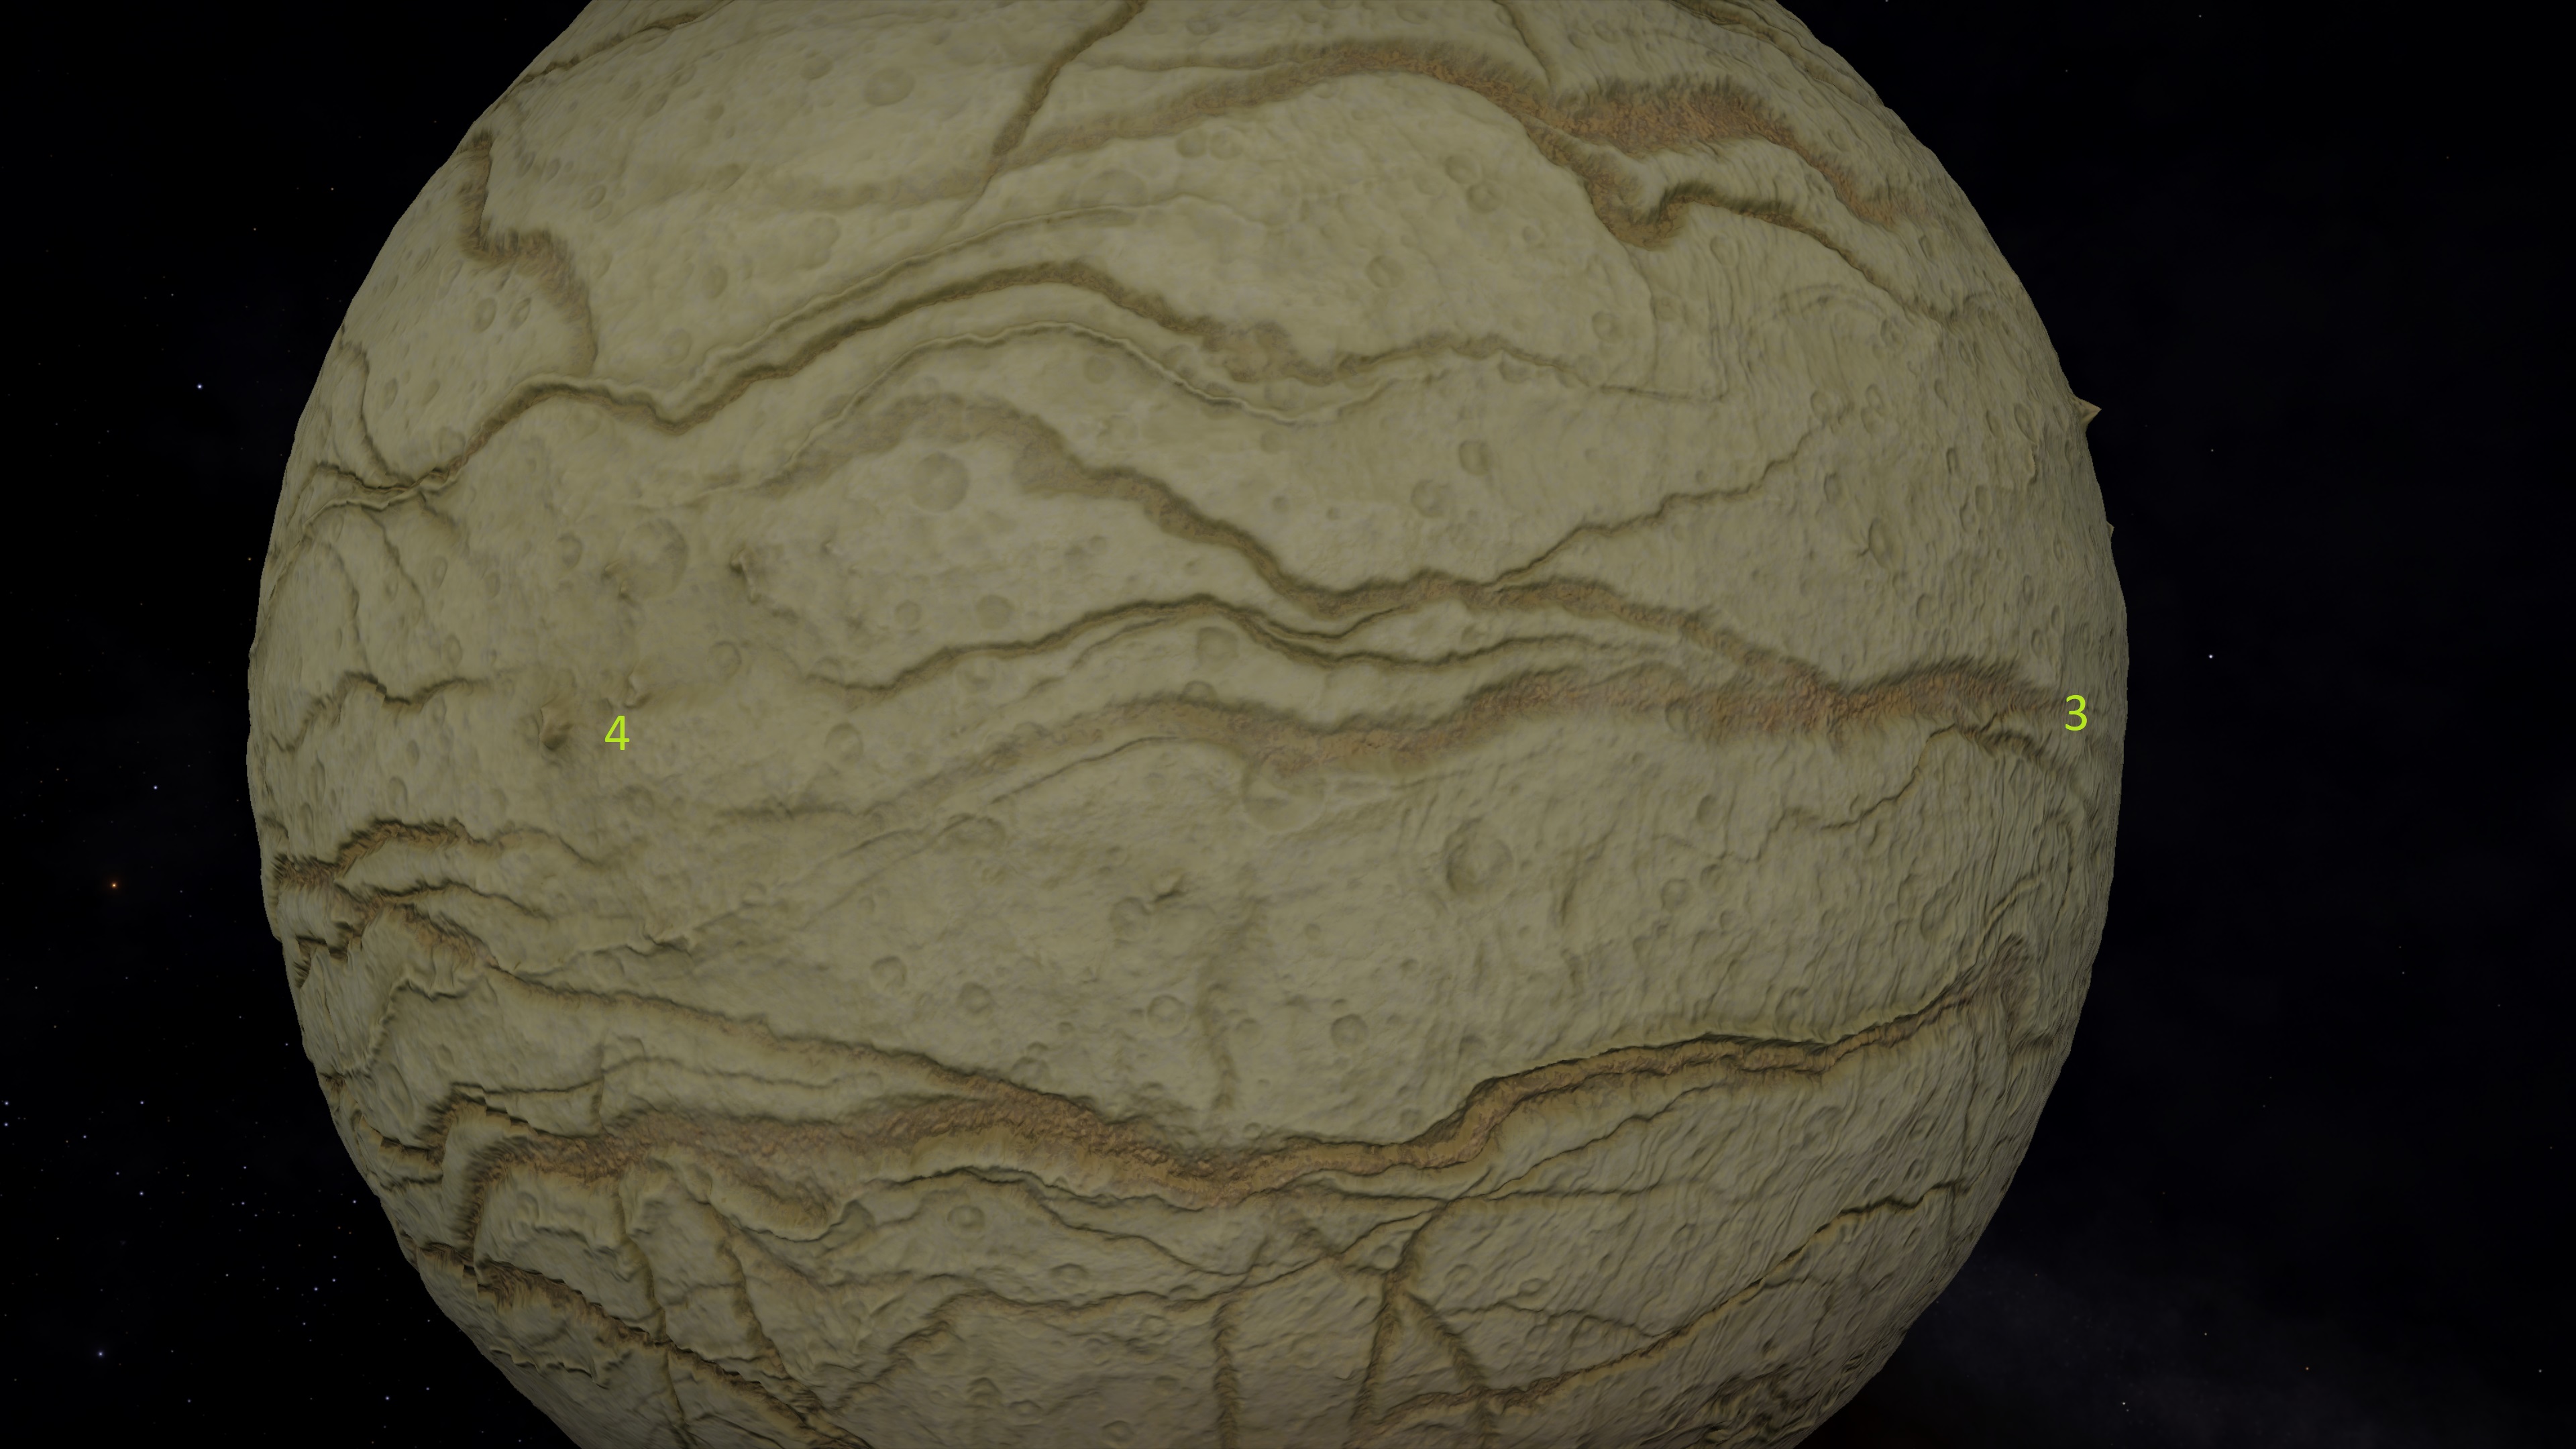
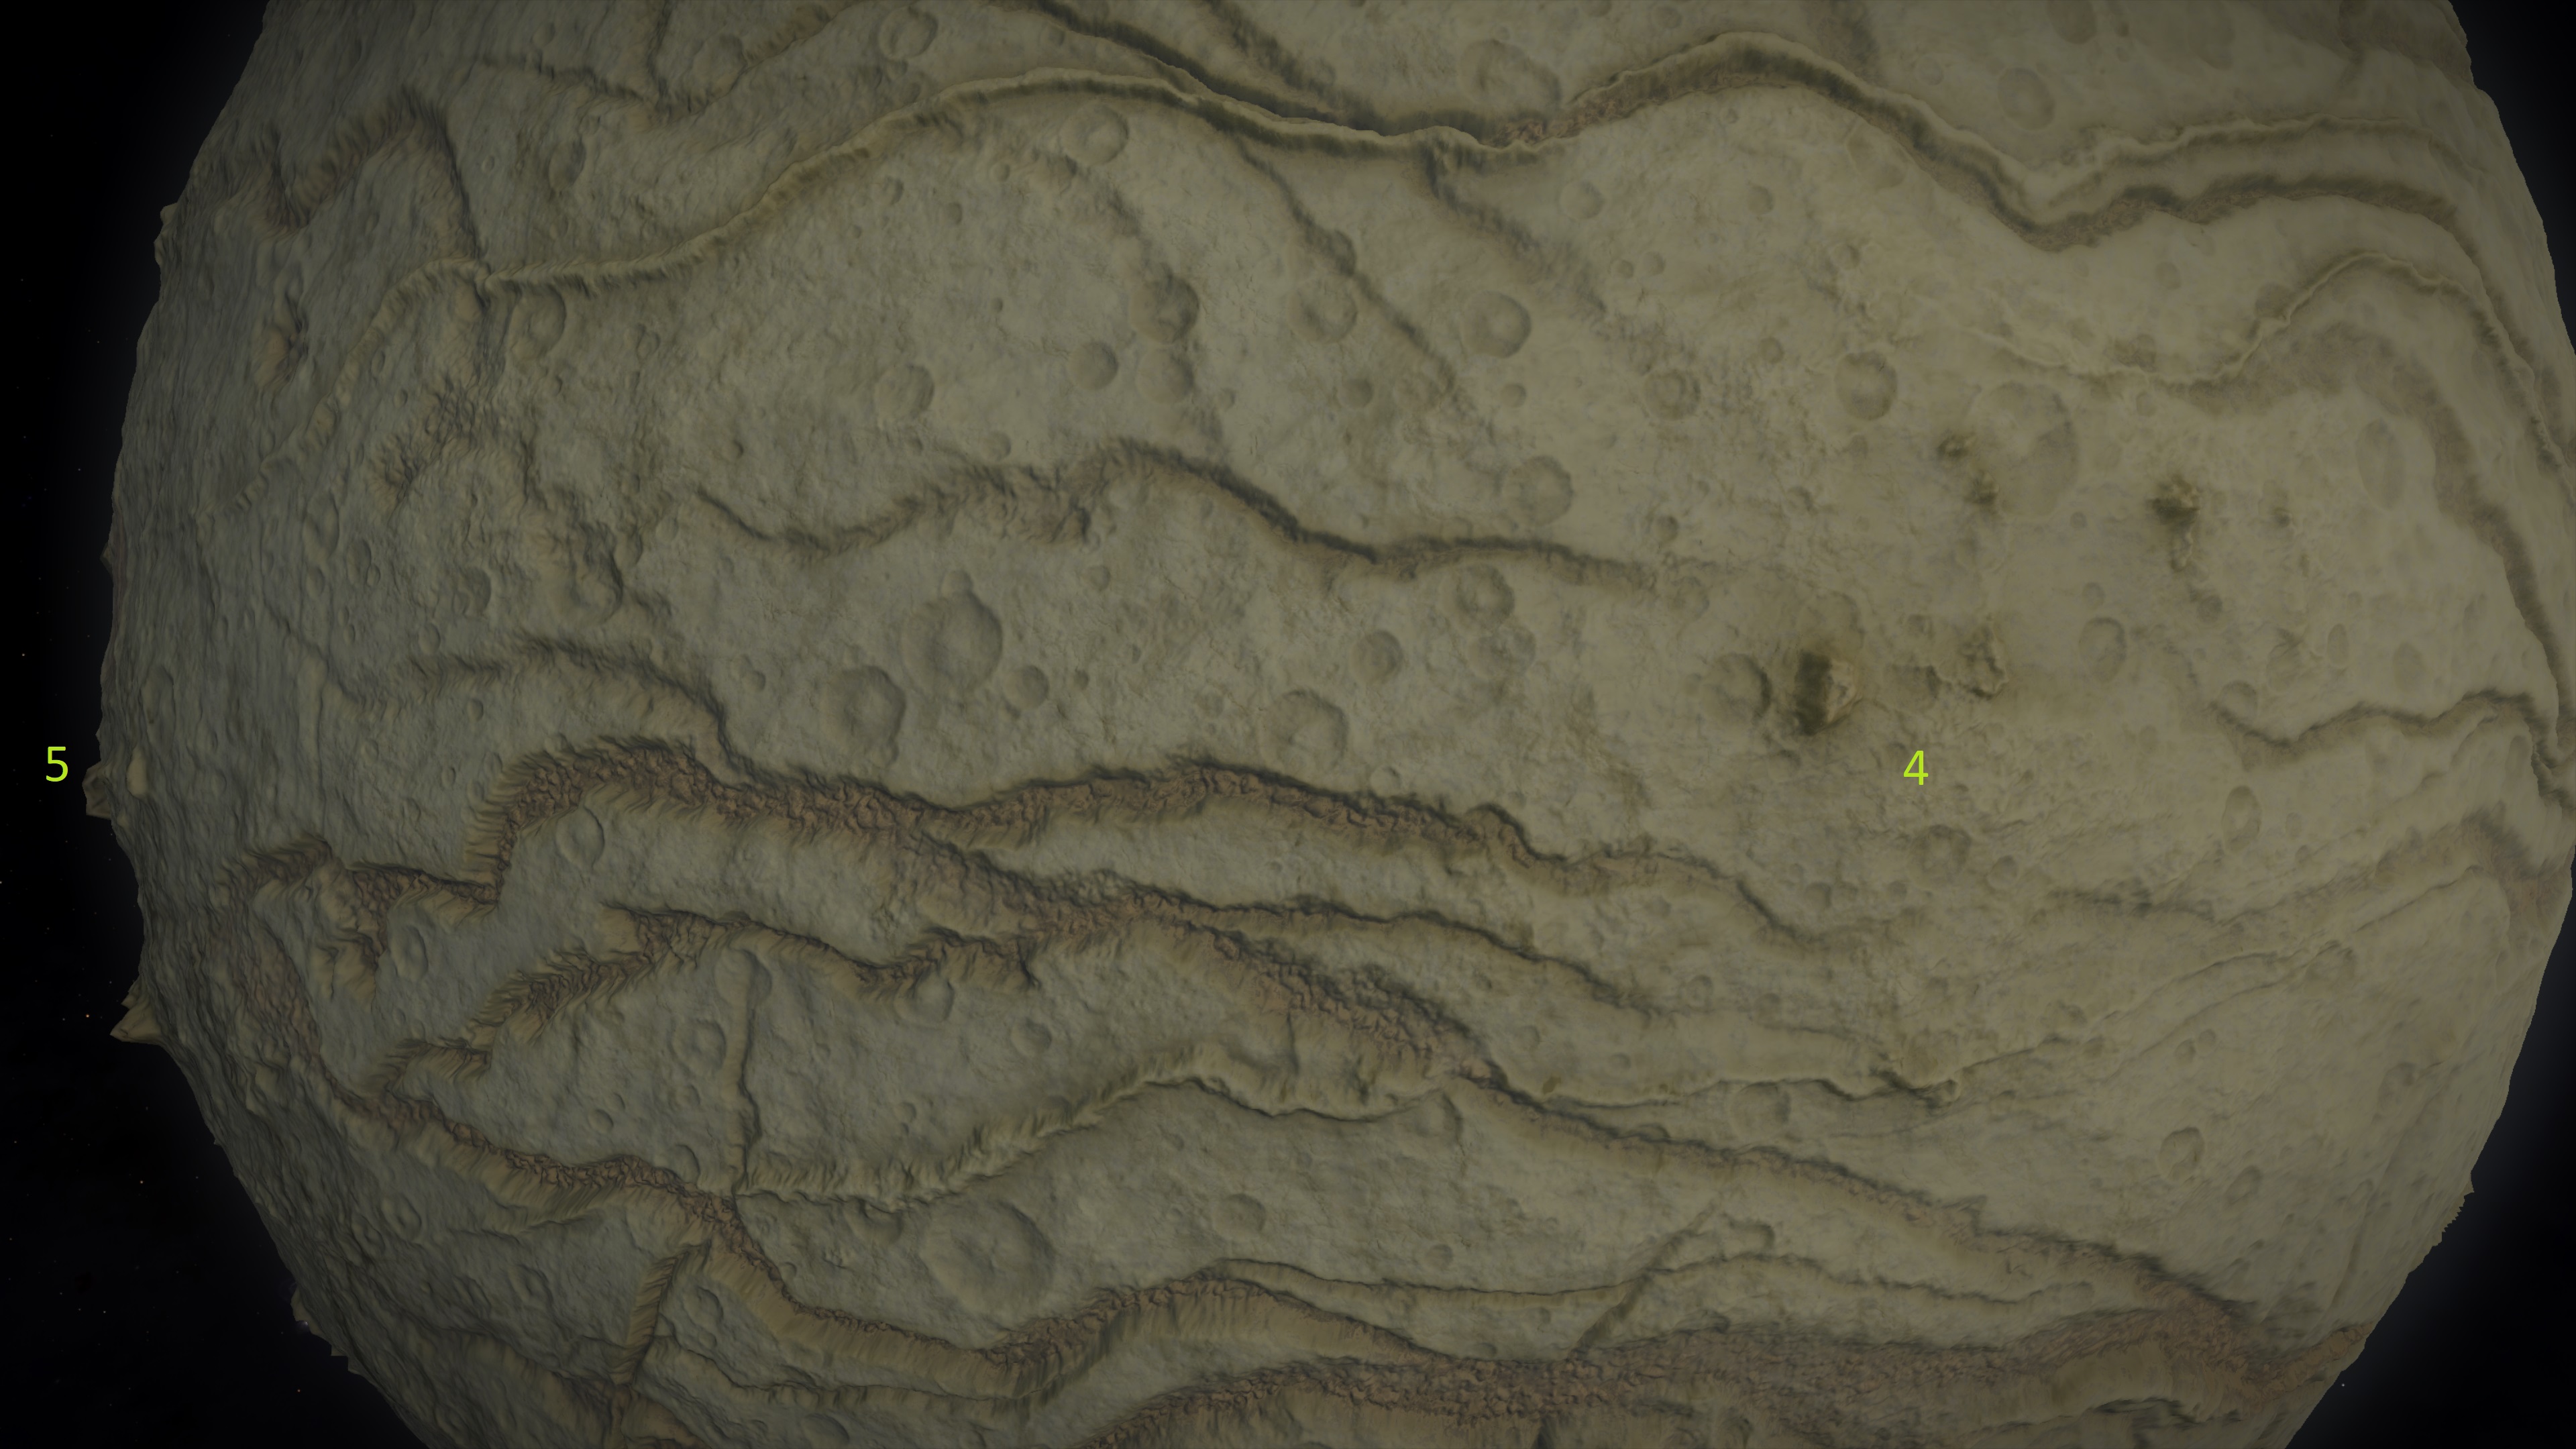
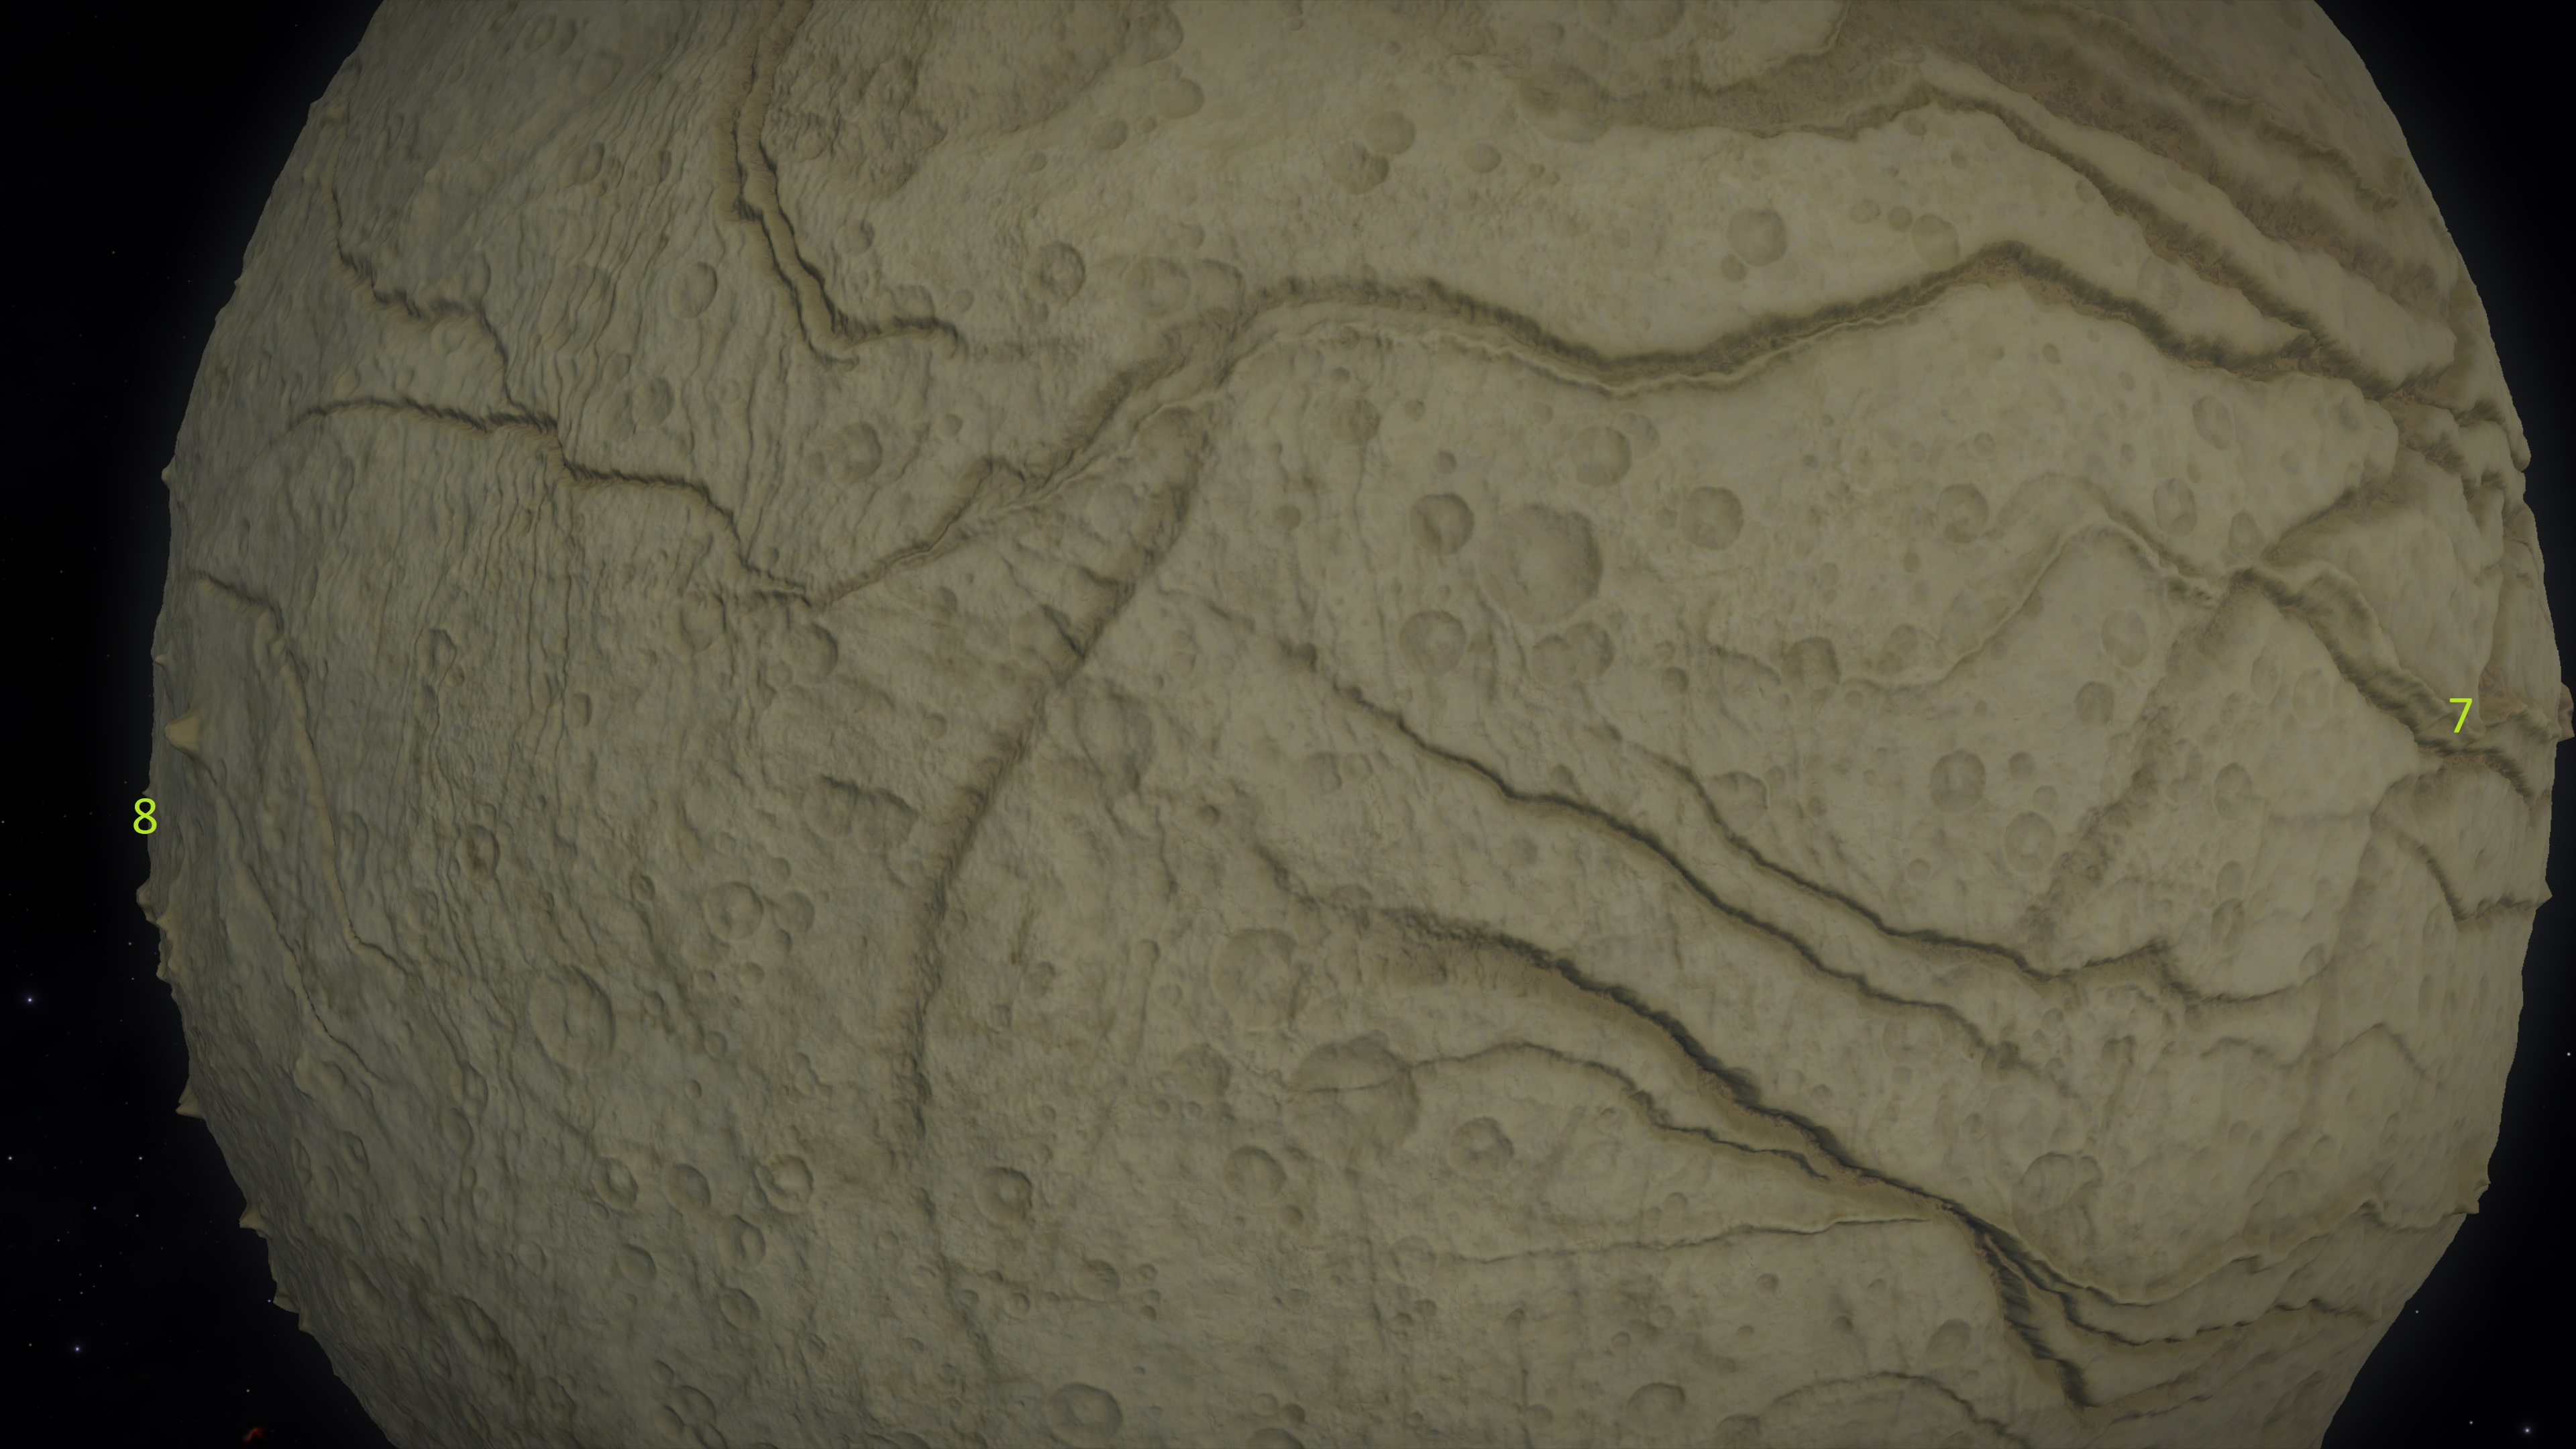
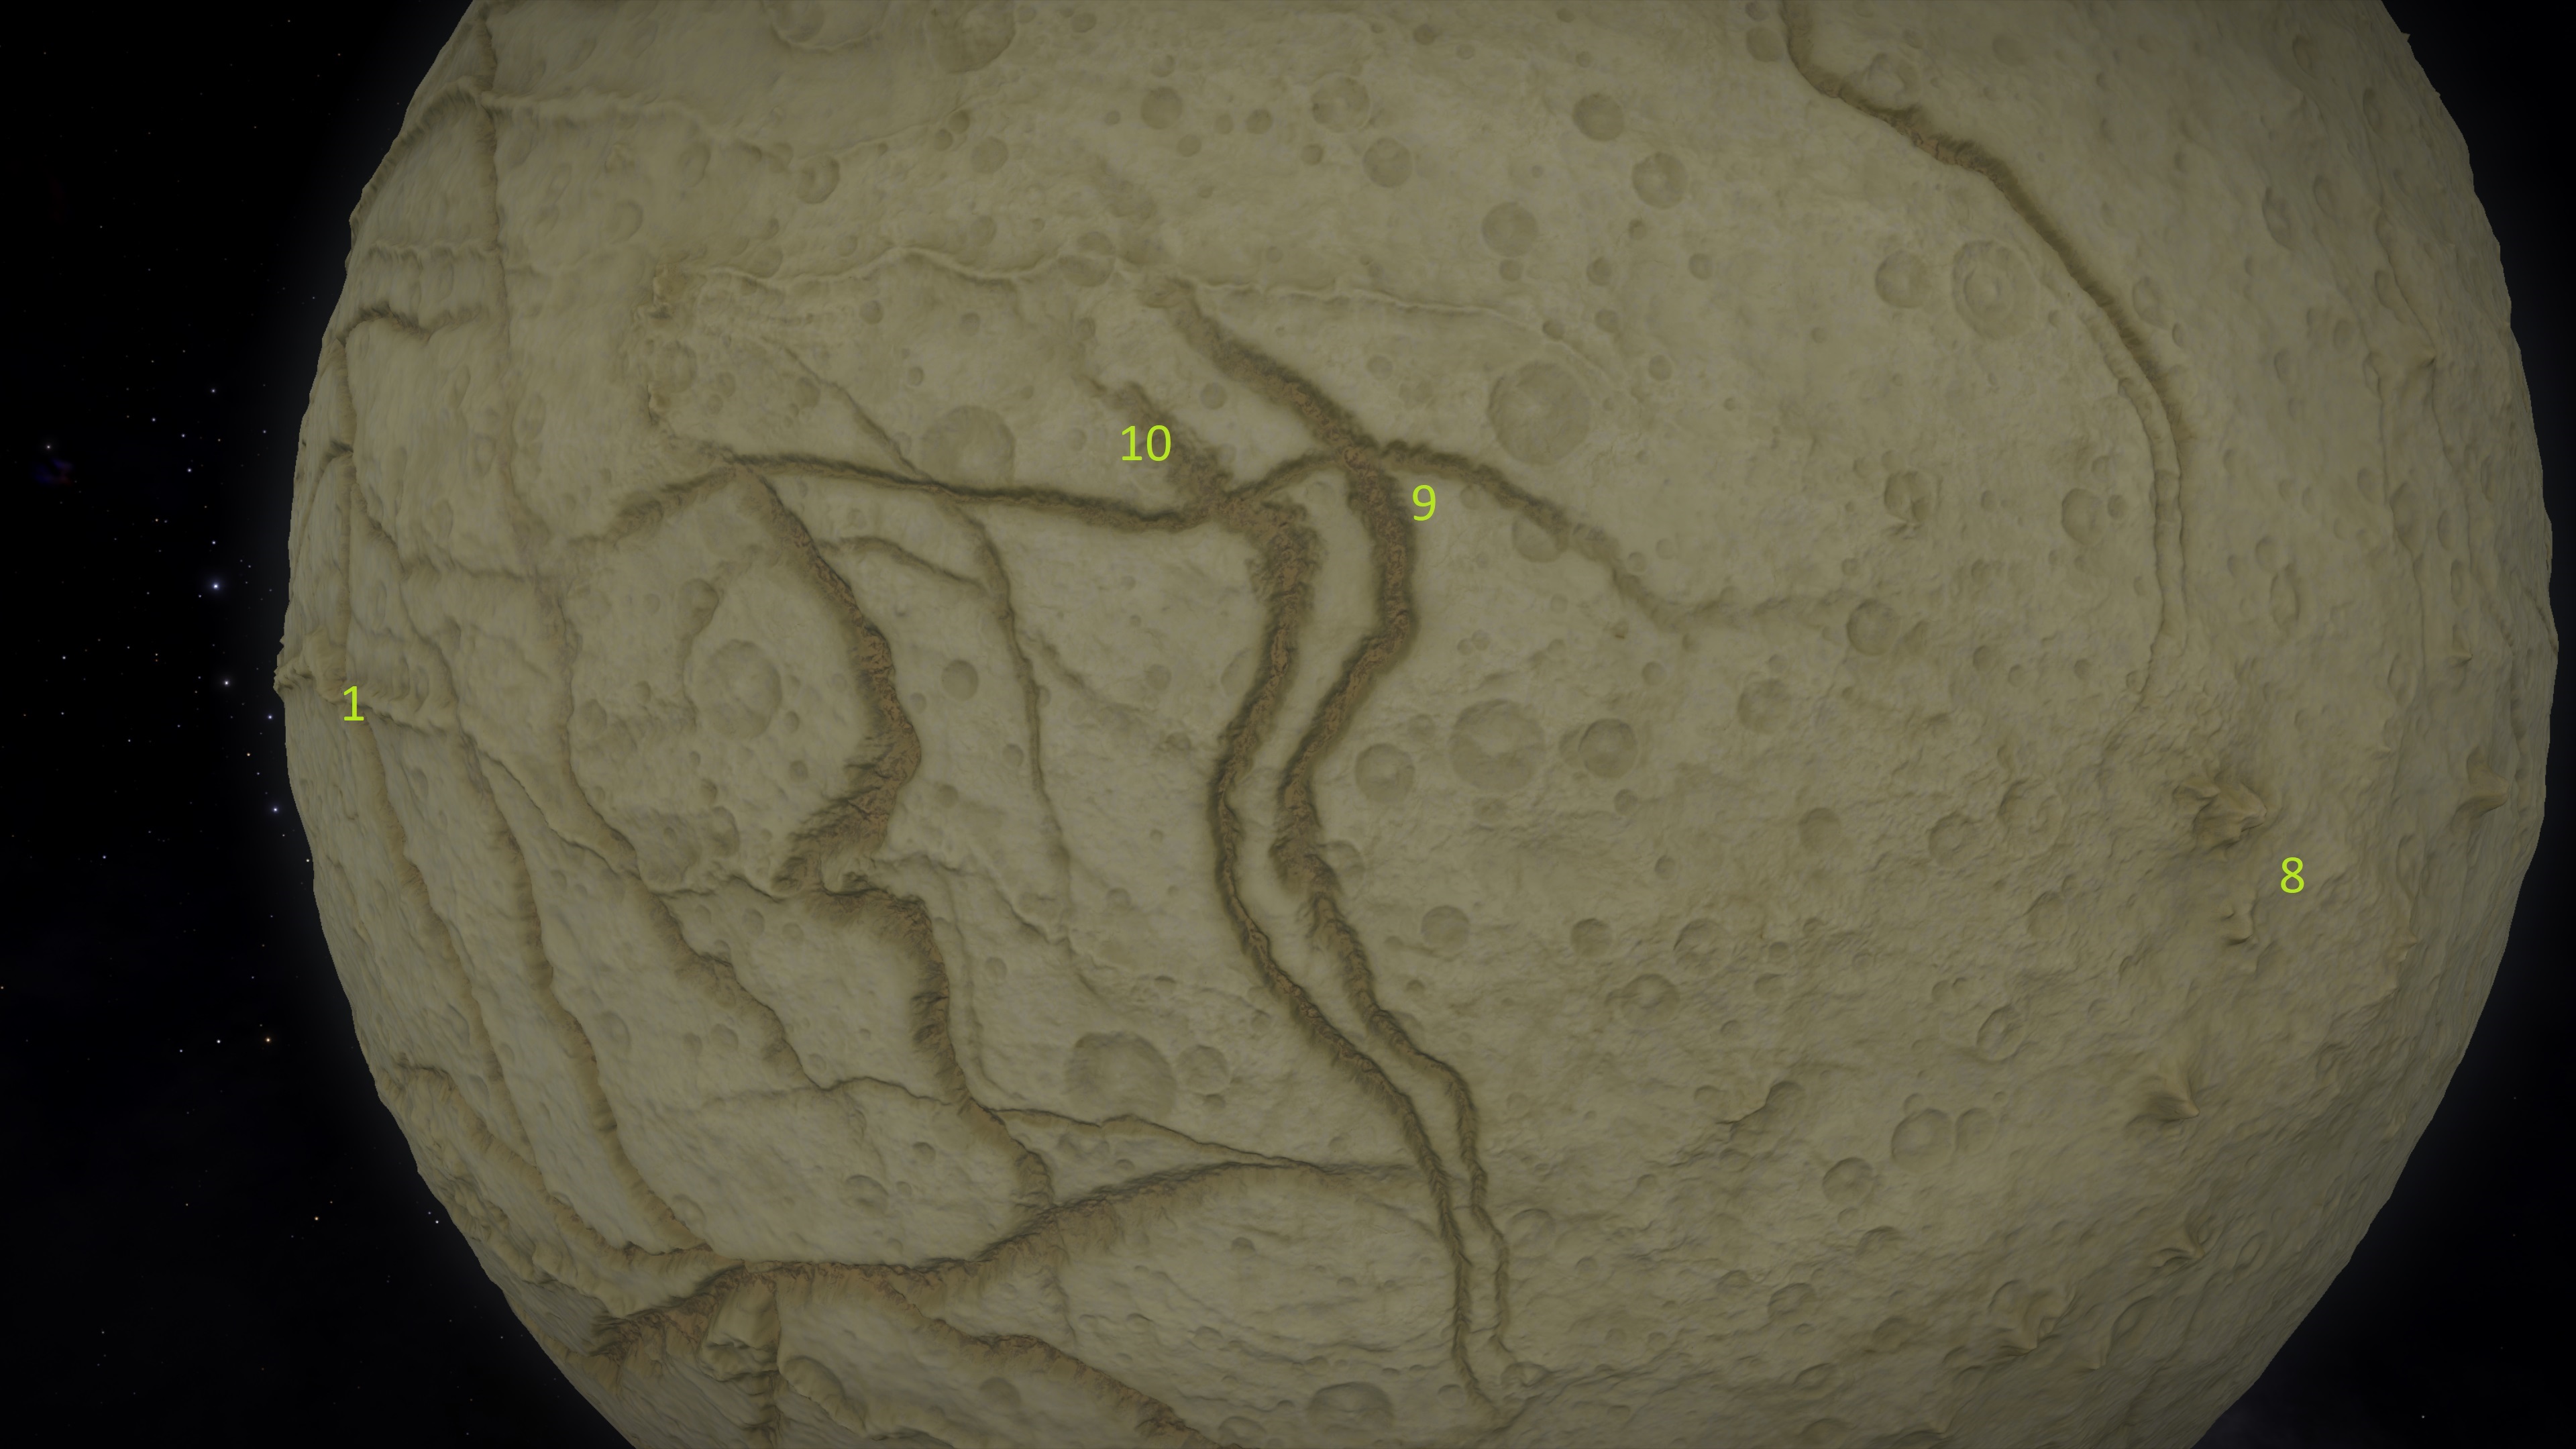
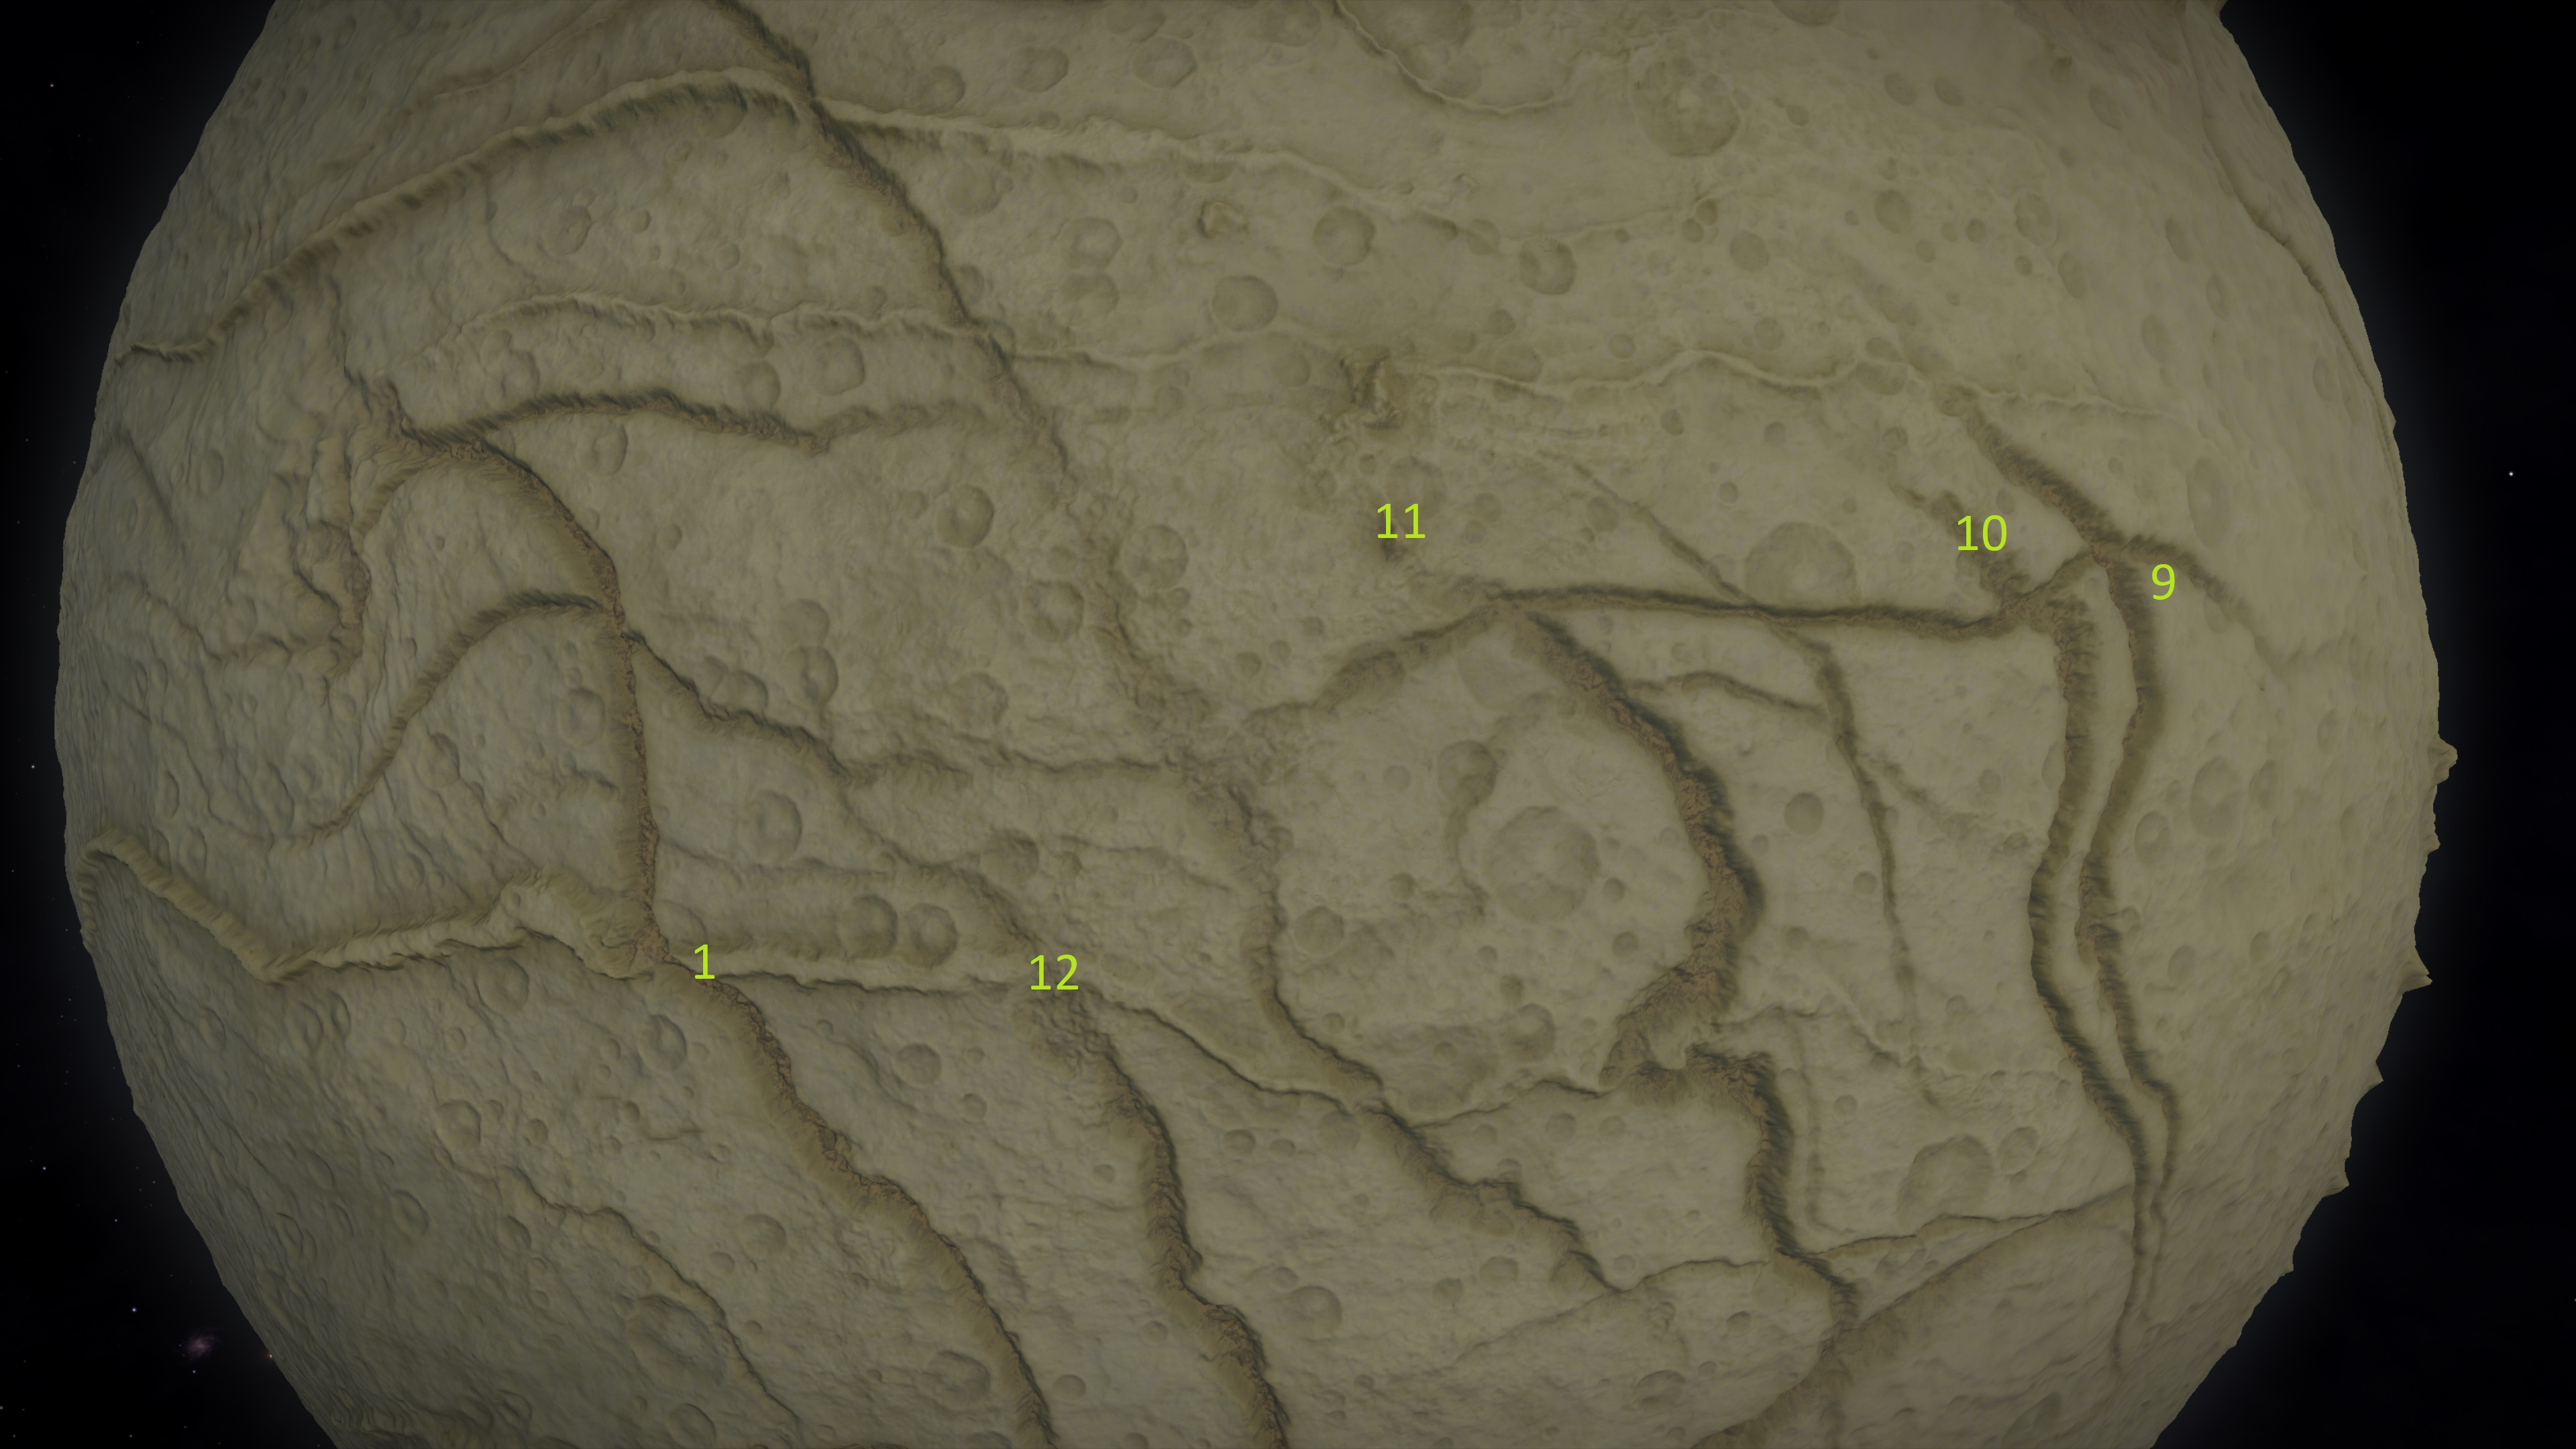
First off let me dump a bunch of pictures for the overview roadmap:
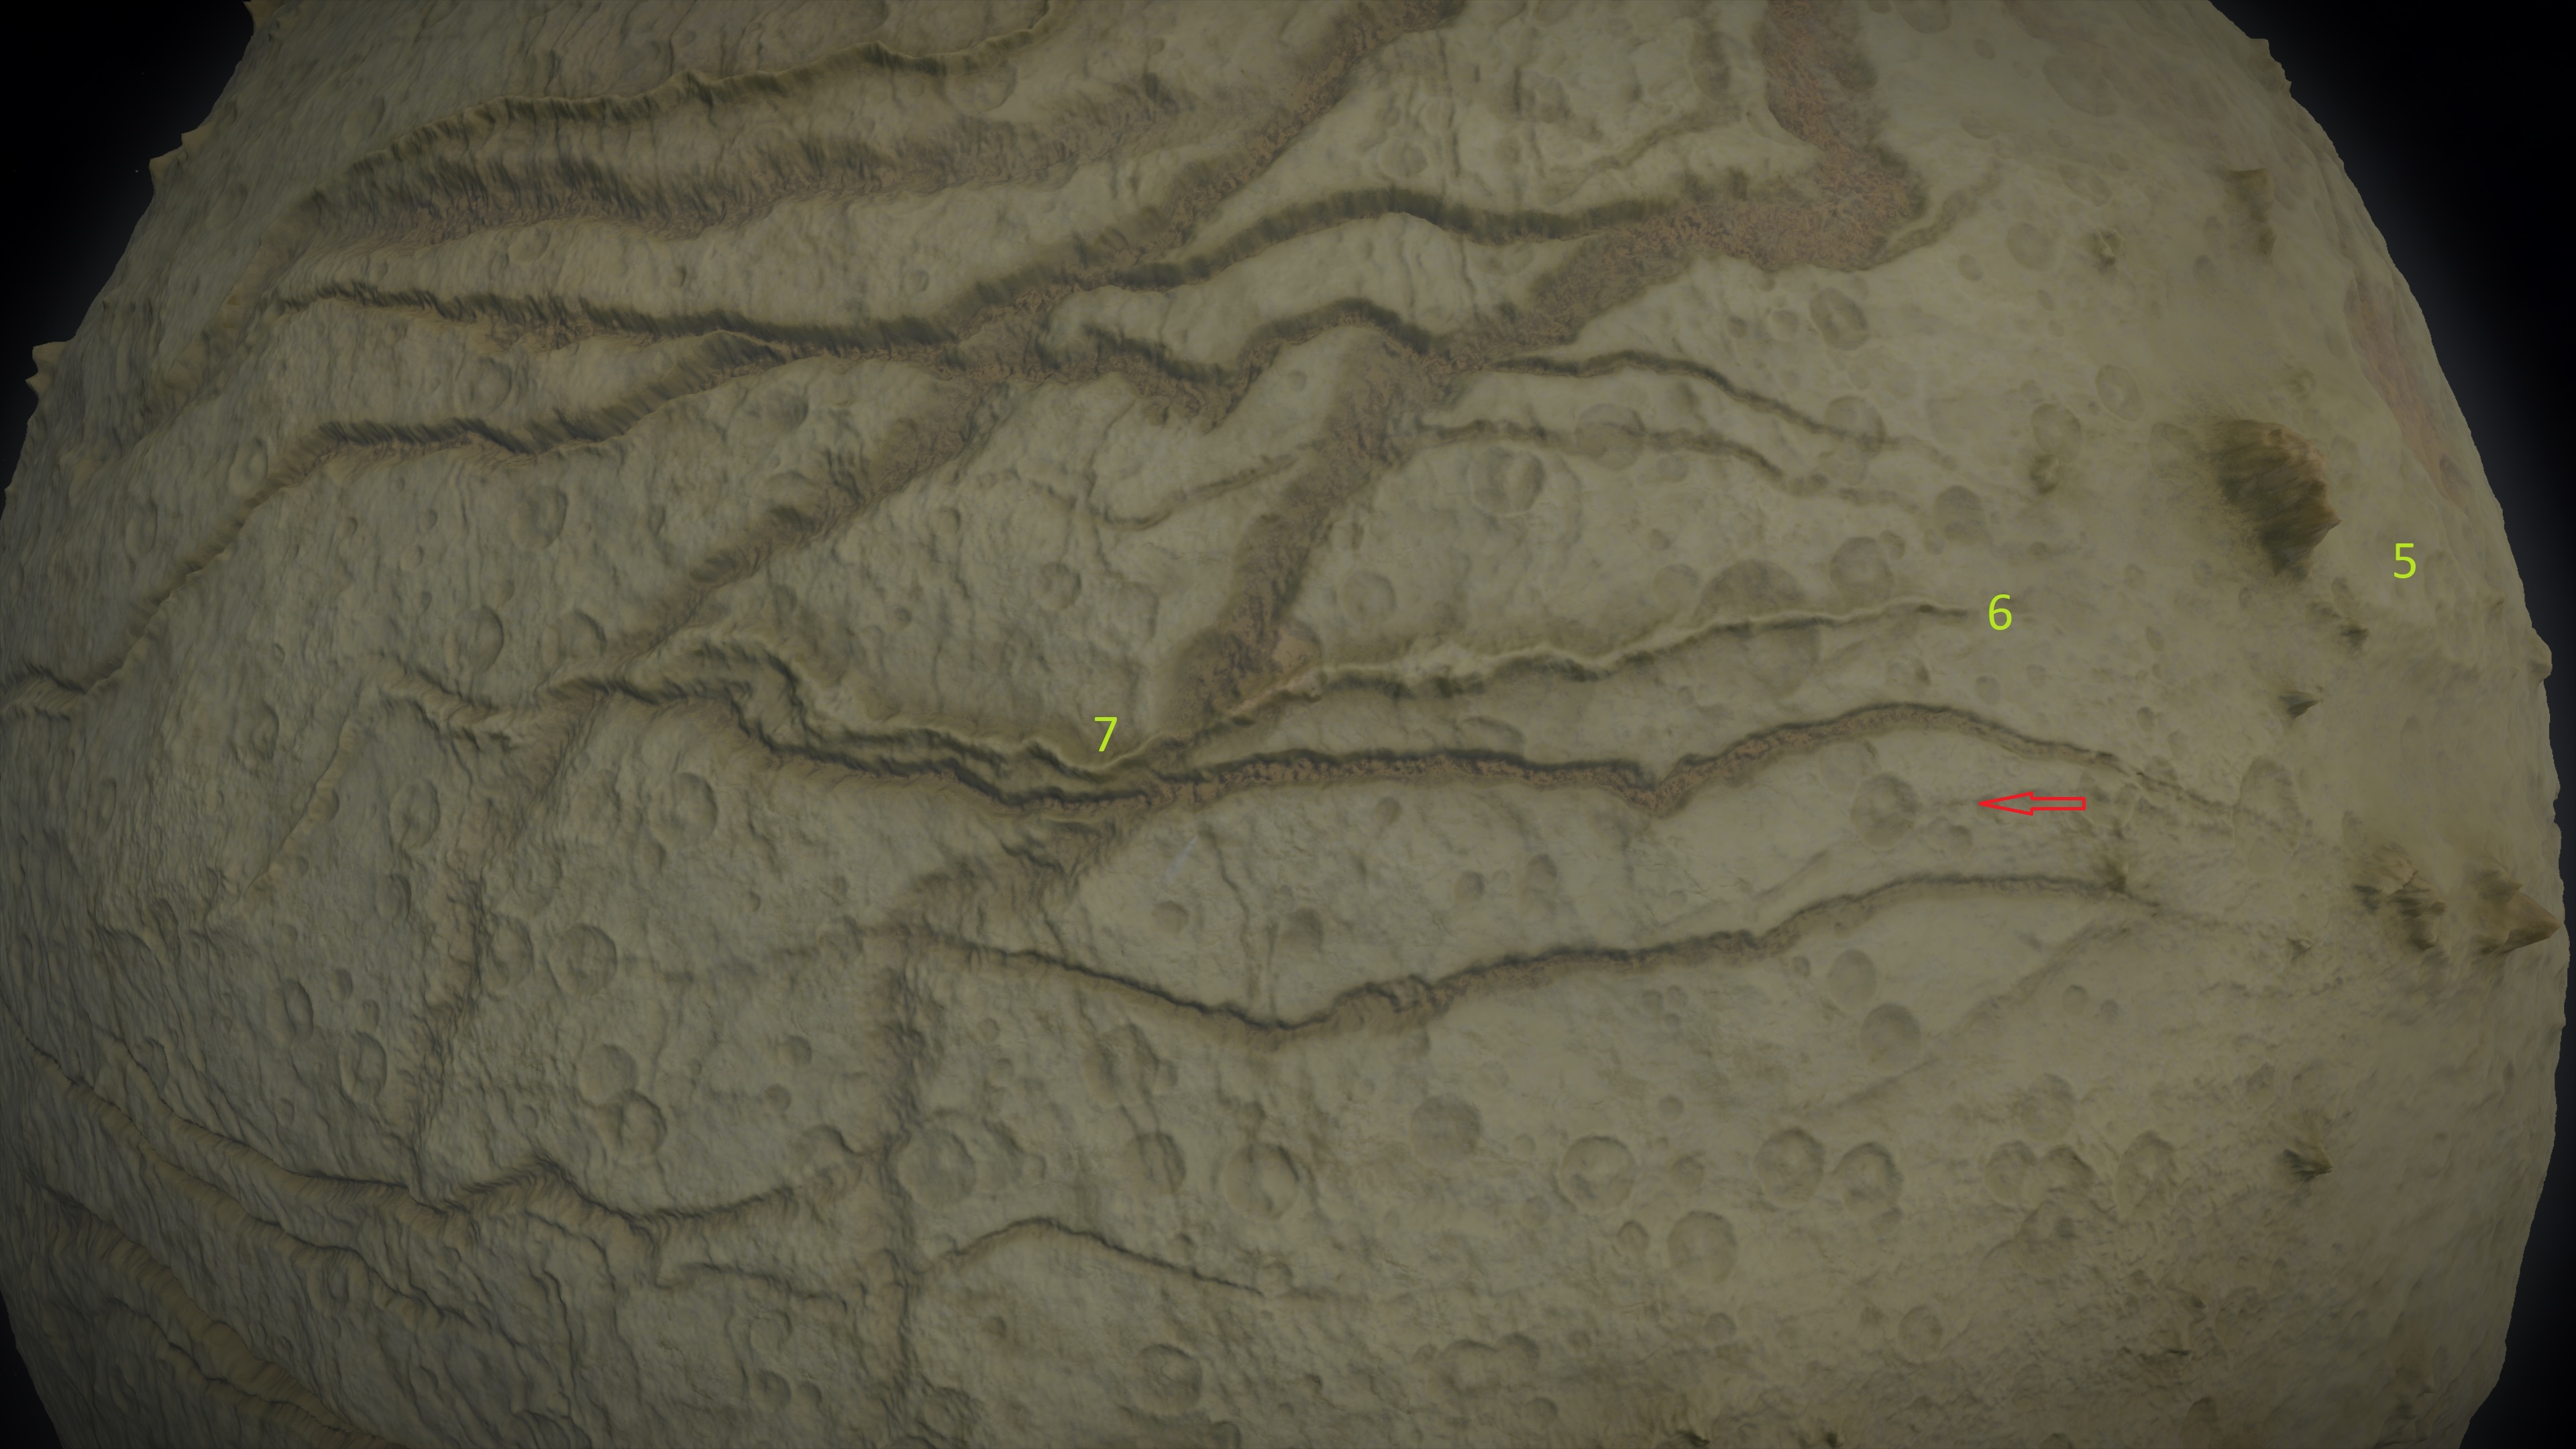
Now lets get into more detail of the various Waypoints, but also I'm not that great with naming stuff which means some of those waypoints have very boring names (please forgive me)
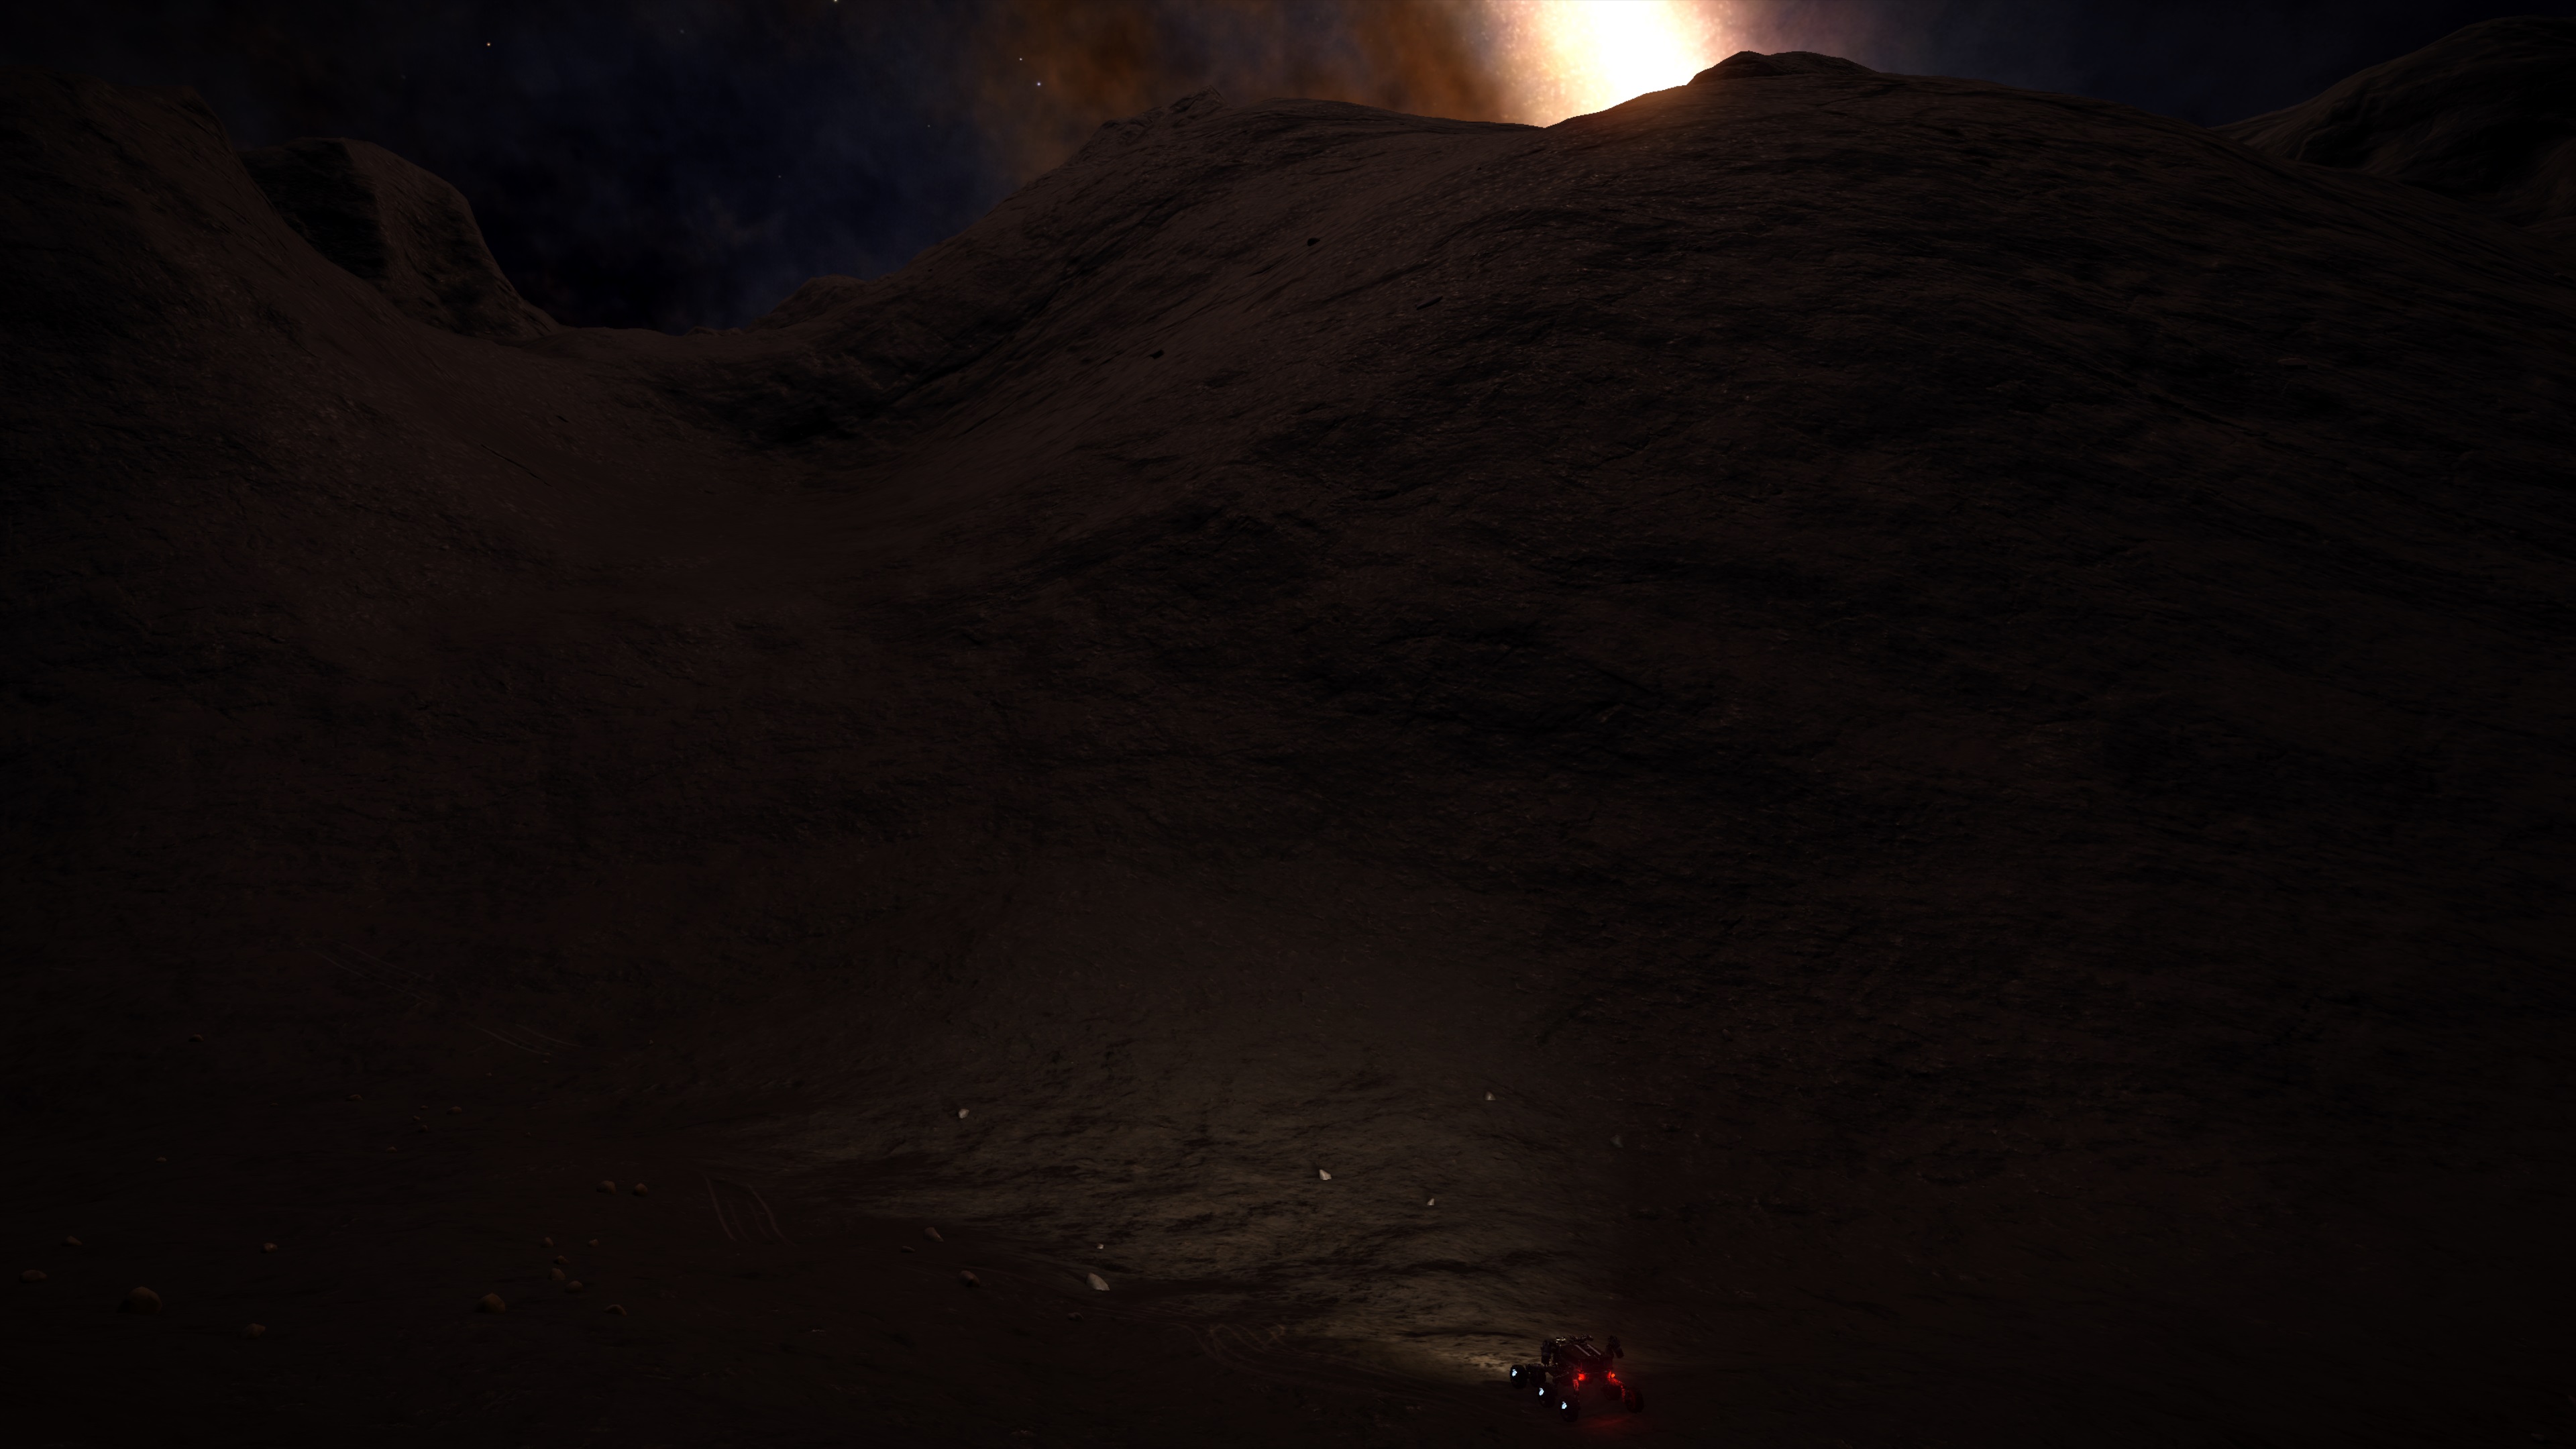
1. Bomba Point (-17.10/156.77)
This is the place that came to be known as Bomba Point, here I did put my landingears on the planet for the very first time. It was the beginning of my first adventure on Wilson and I can't imagine a better place to start my second one. The heading to go will be 270, which means I have to cross the canyon in which I once got stuck in and couldn't get out in my srv without help. But as long as you start up on the ridge there is a way across the canyon and back up the ridge on the other side
Testing was succesfull, I do however need to make sure to not fall down into the canyon, you are not getting out of there in the SRV on your own 
While I don't have to go back up the ridge on the other side and could just drive on groundlevel driving up there should be nice with some great views, and then of course it makes the fun of the next waypoint possible.
2. Ridge Base Jump (-16.66/142.16)
The Ridge does a curve here, which means the straightforward way to go is a nice Basejump off the Ridge 3km down
 After that its a longer, simple ride to the next Point.
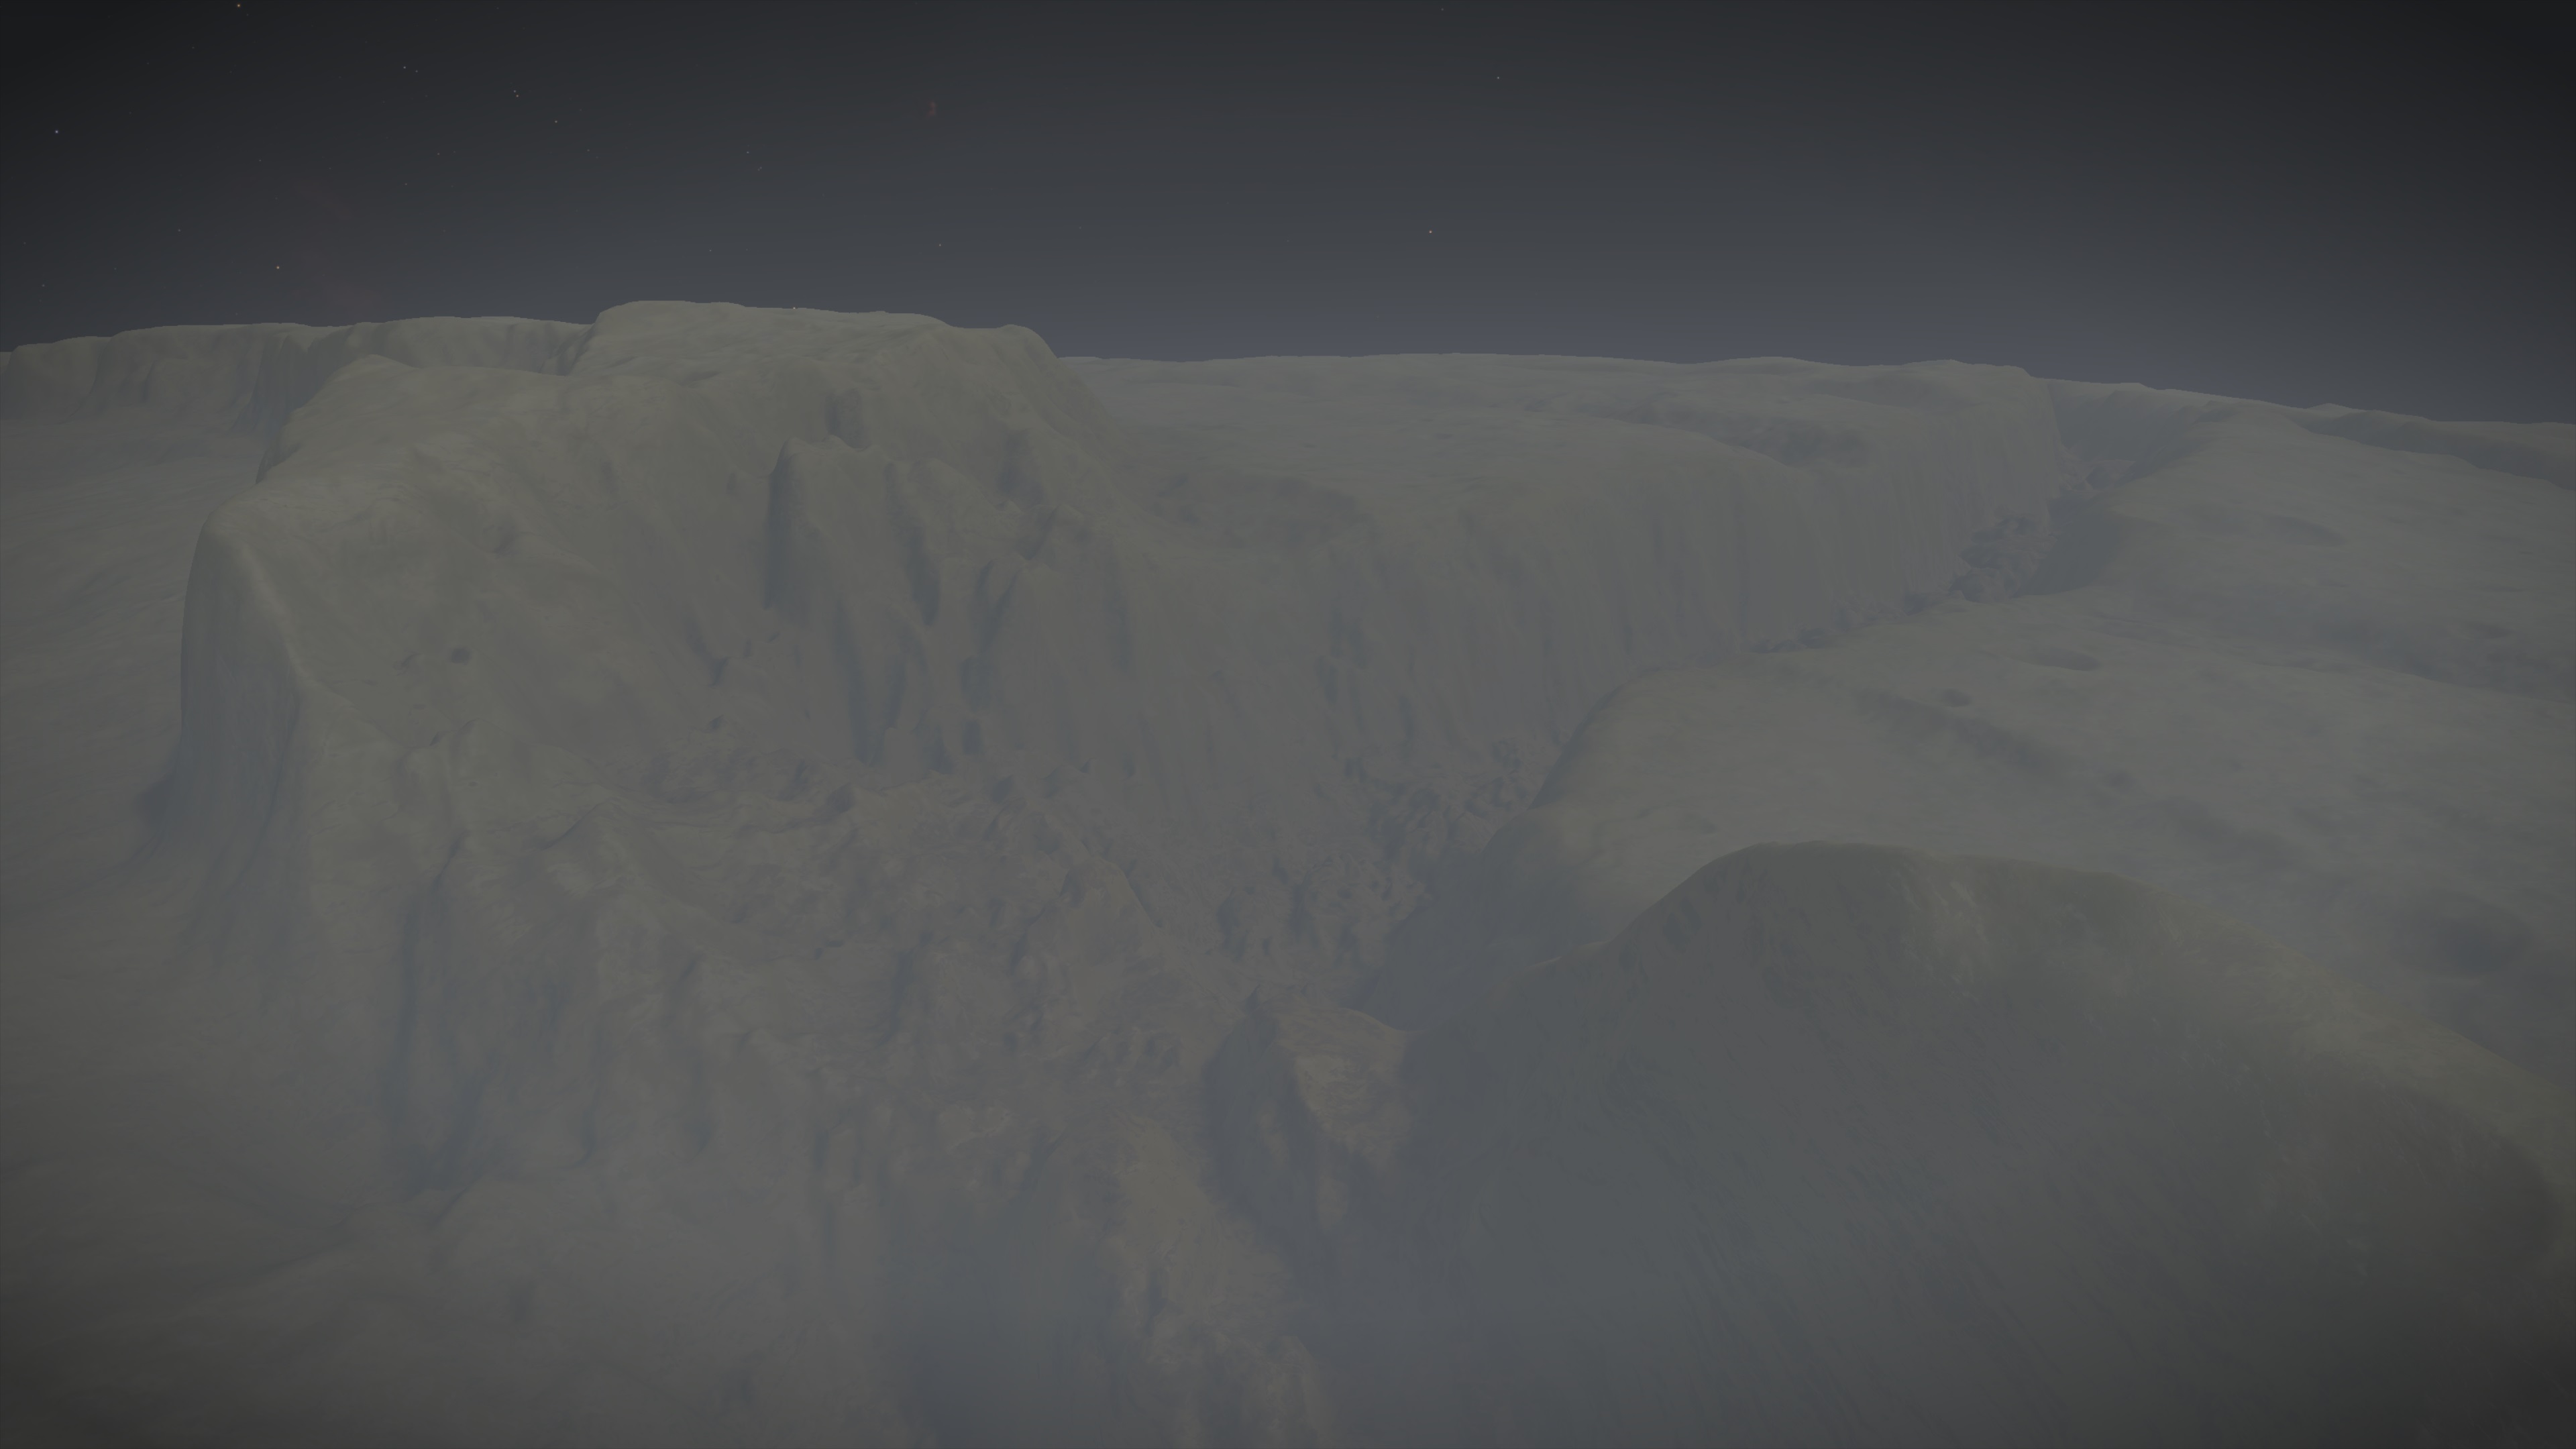
3. Canyon Run (-16.49/93.89)
Here I will encounter a Canyon where my way leads right through, it may be faster to stick to the side of the Canyon but driving in it should be good fun and change of pace. Its also not a very deep canyon, its more the shallow type so getting stuck shouldn't be something that can happen here
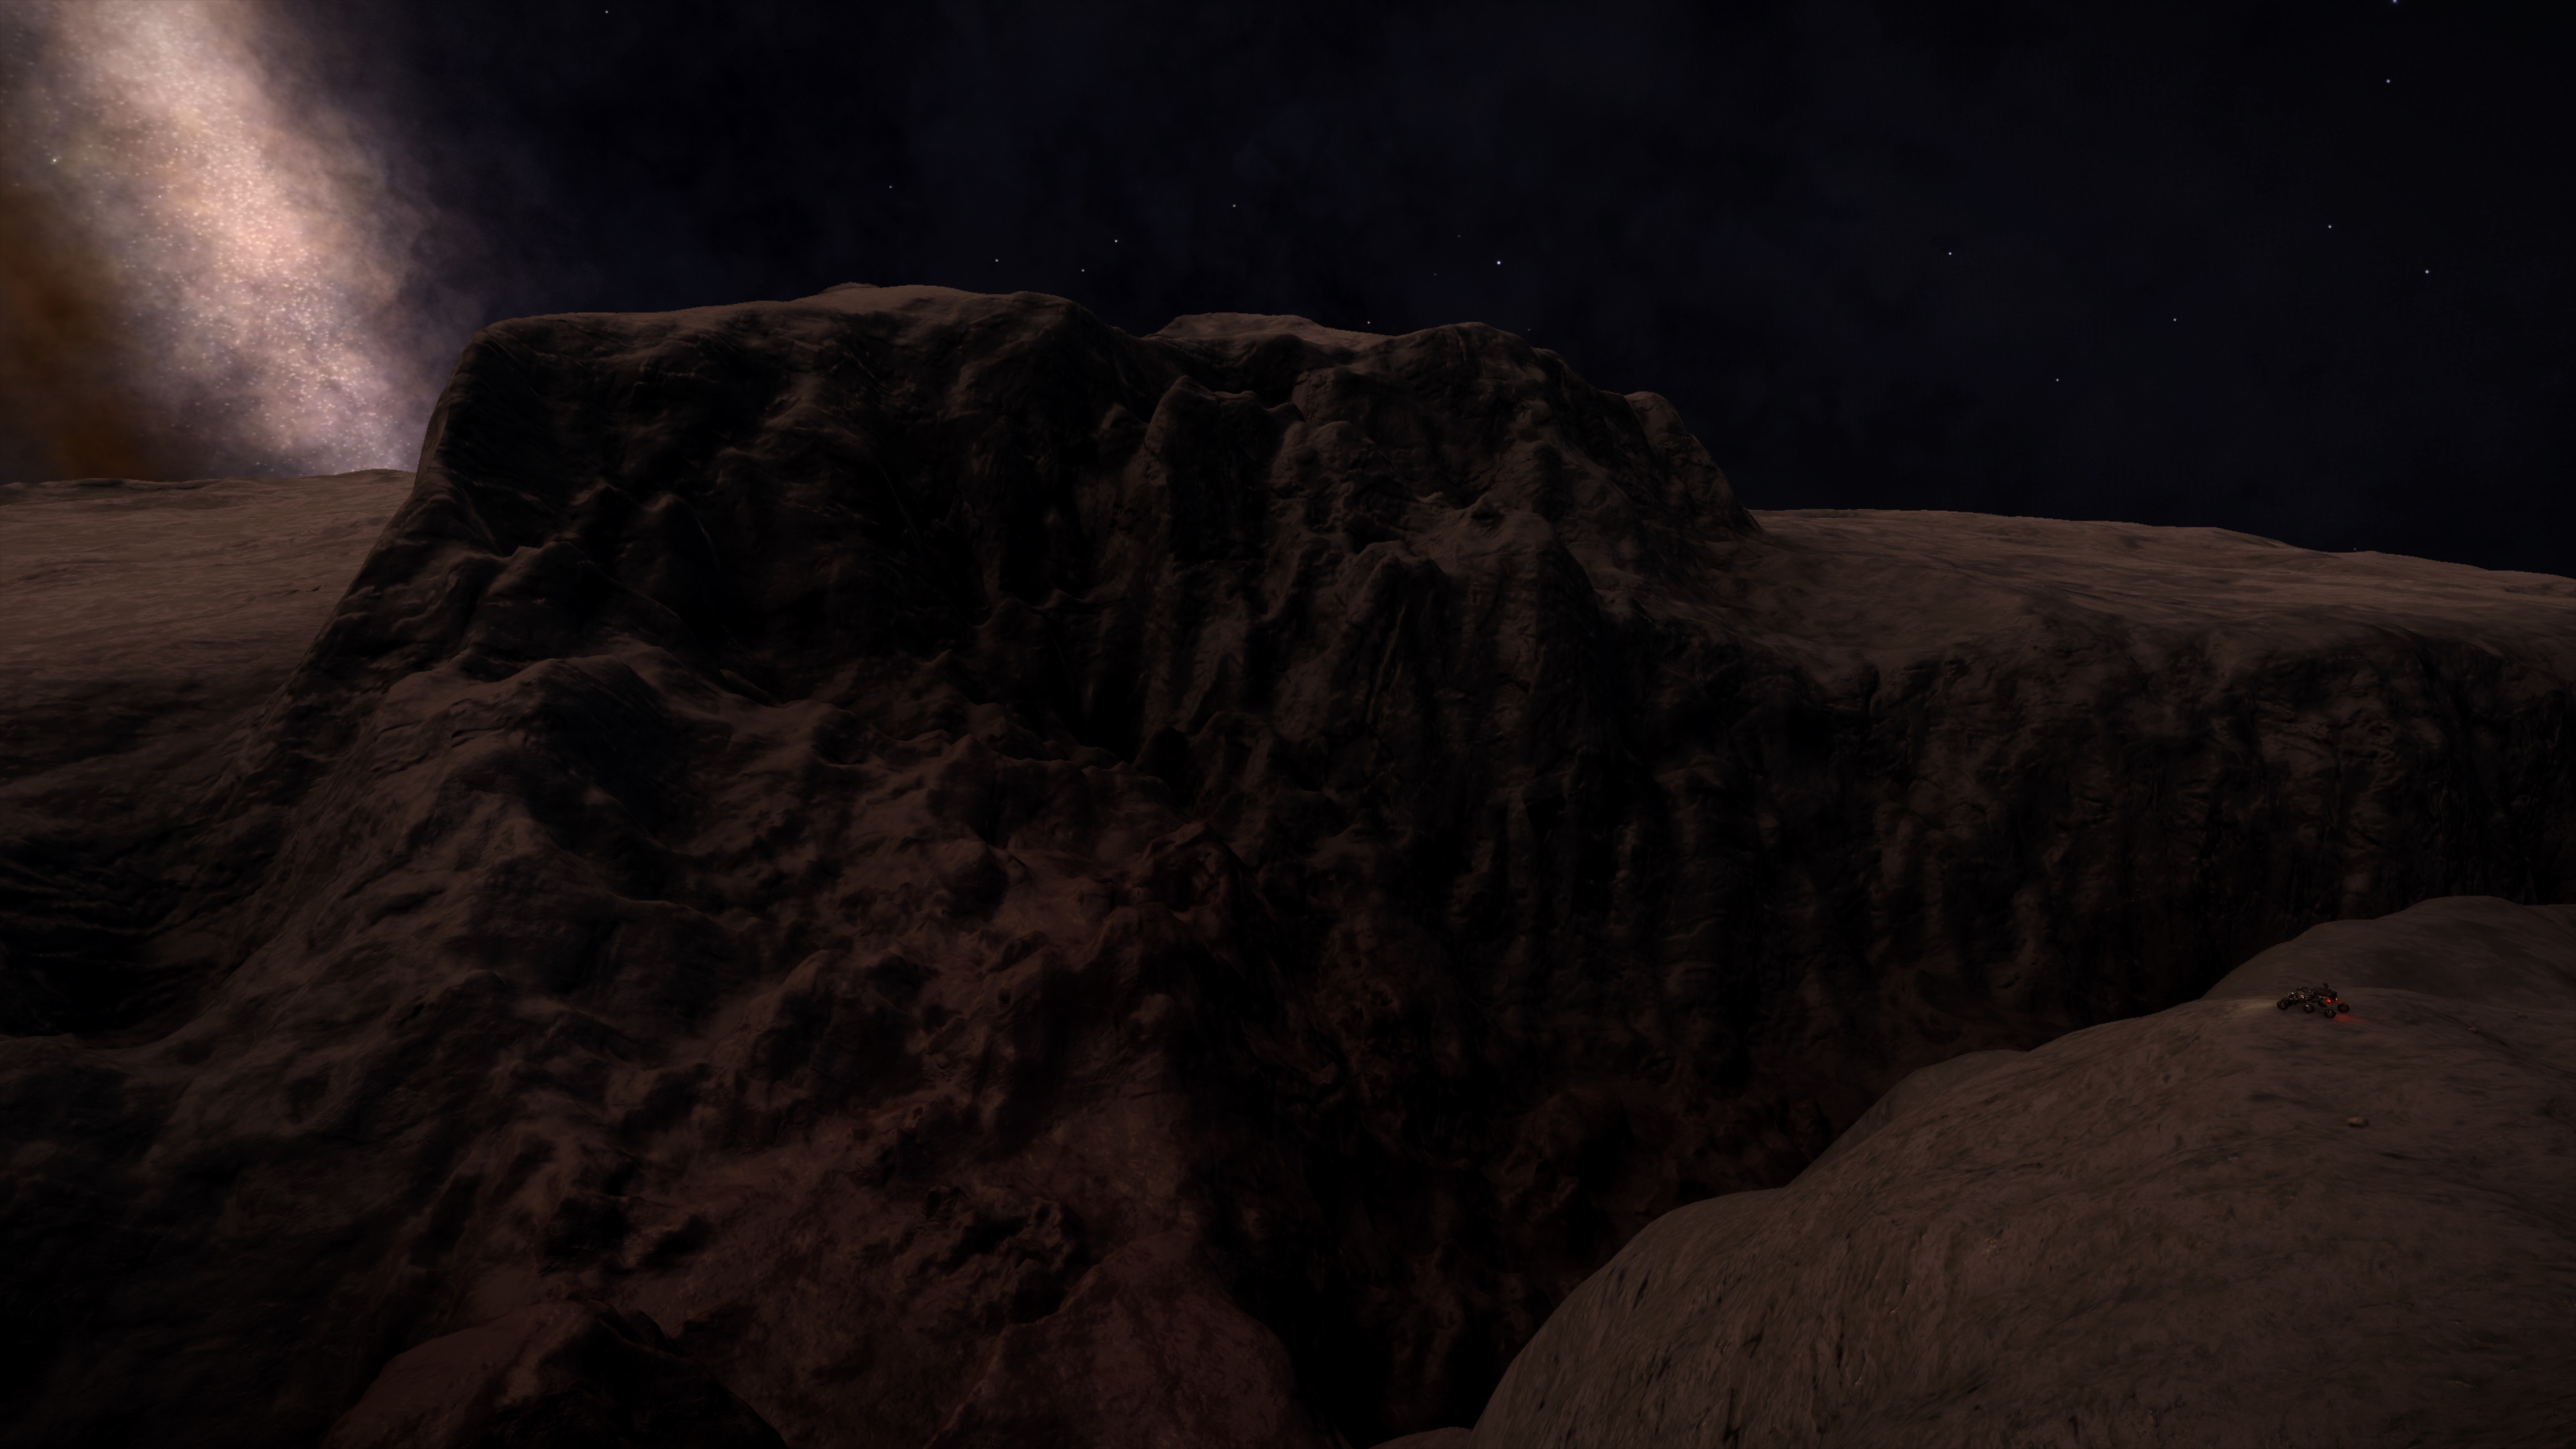
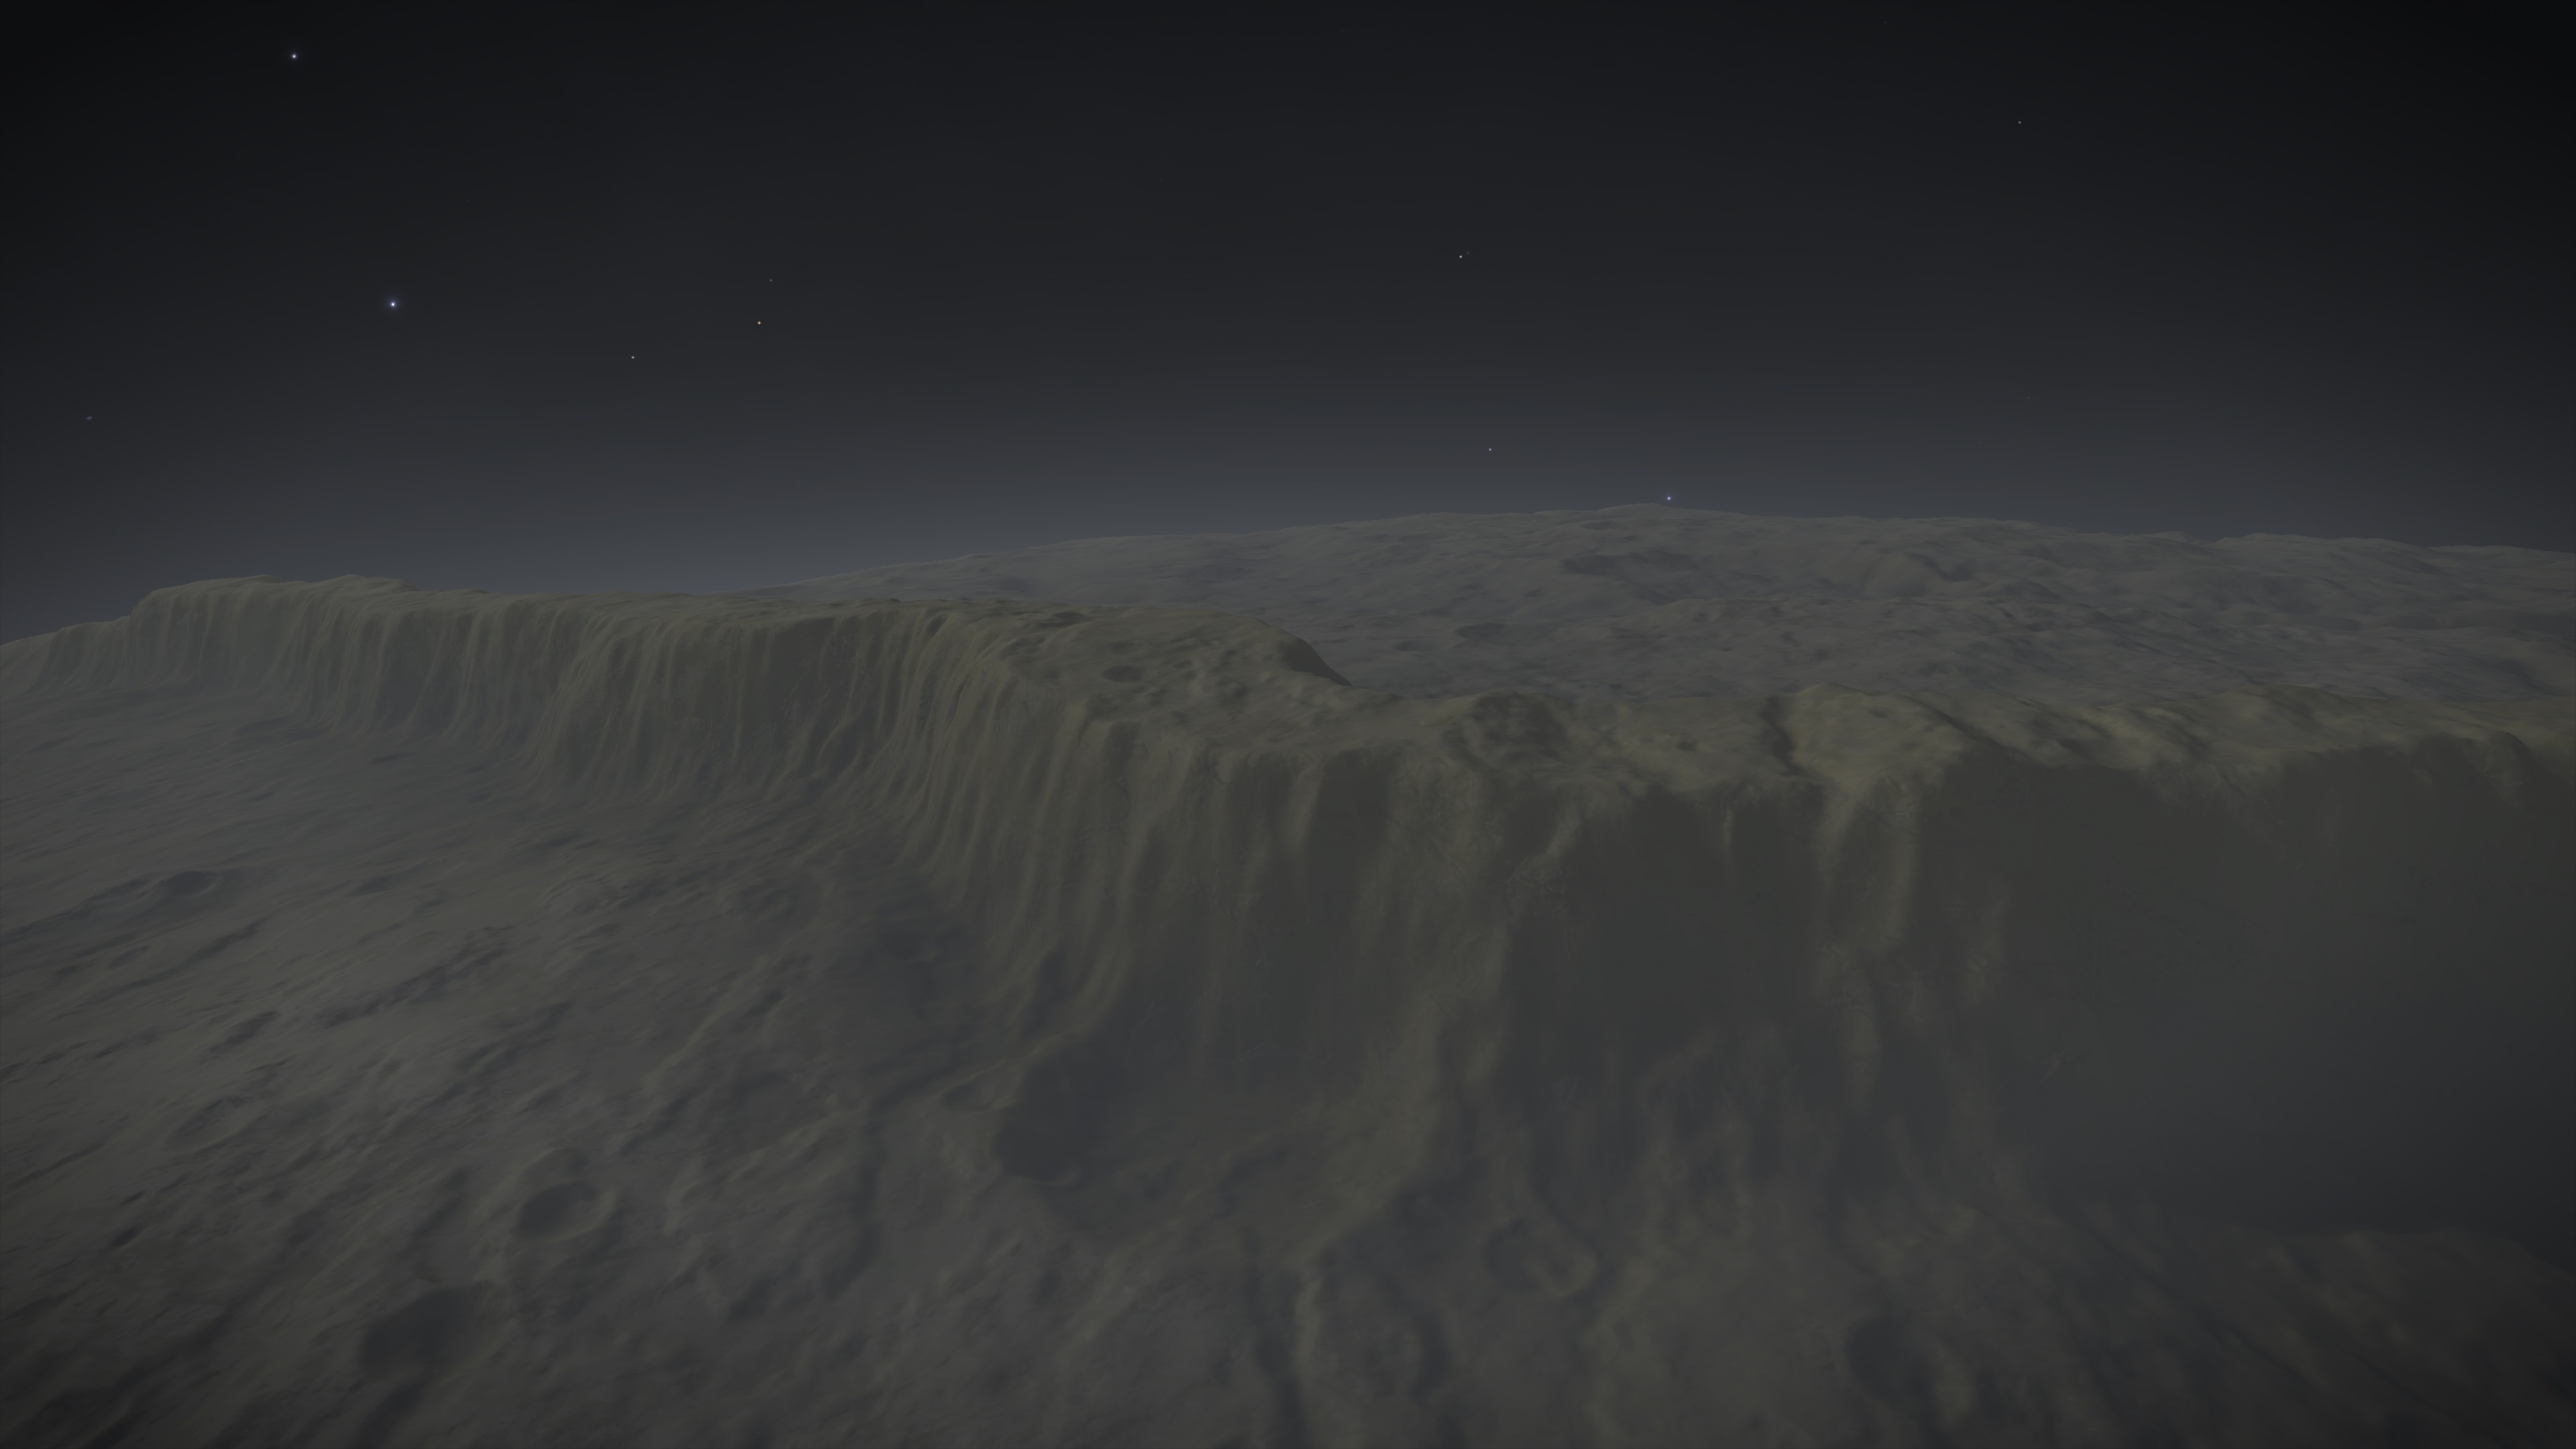
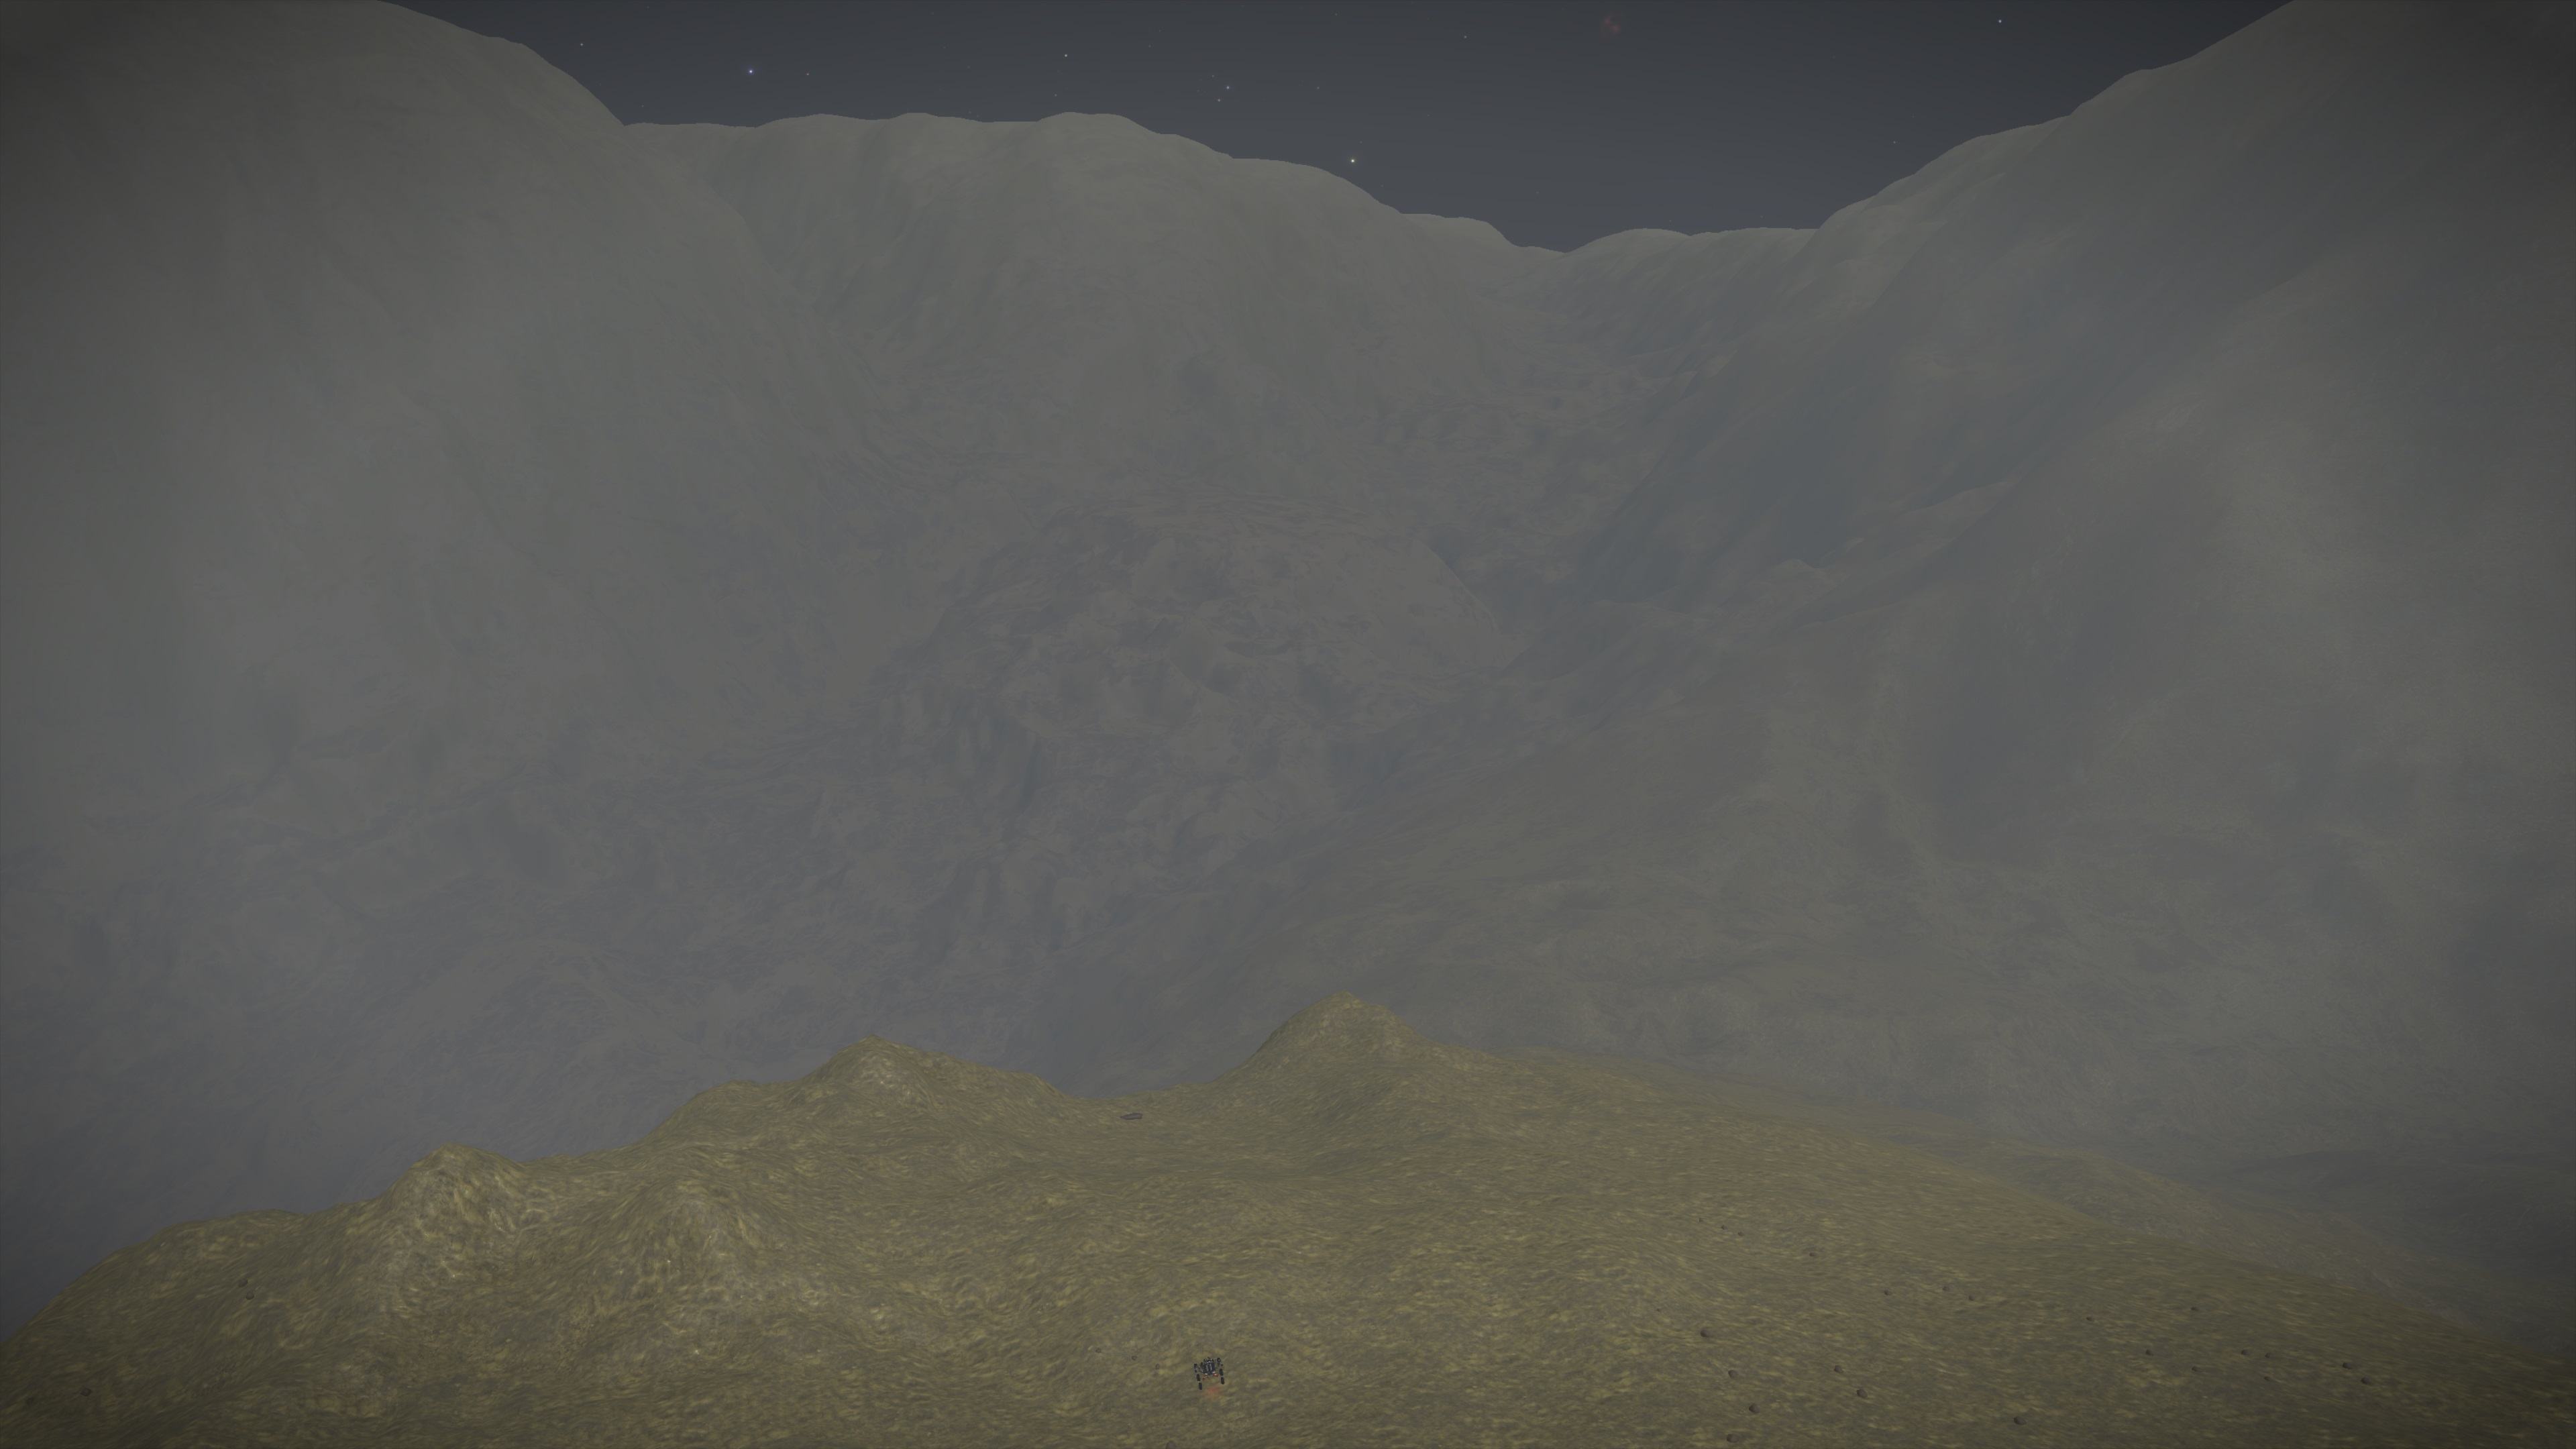
4. Mountain (-15.61/28.47)
Here we encounter the first Mountain on route (which could need a name, Ideas welcome), he has a size of 7.4km and will provide a nice landmark to follow in the Distance
 After that its a long drive between the Canyons until we encounter some more Mountains
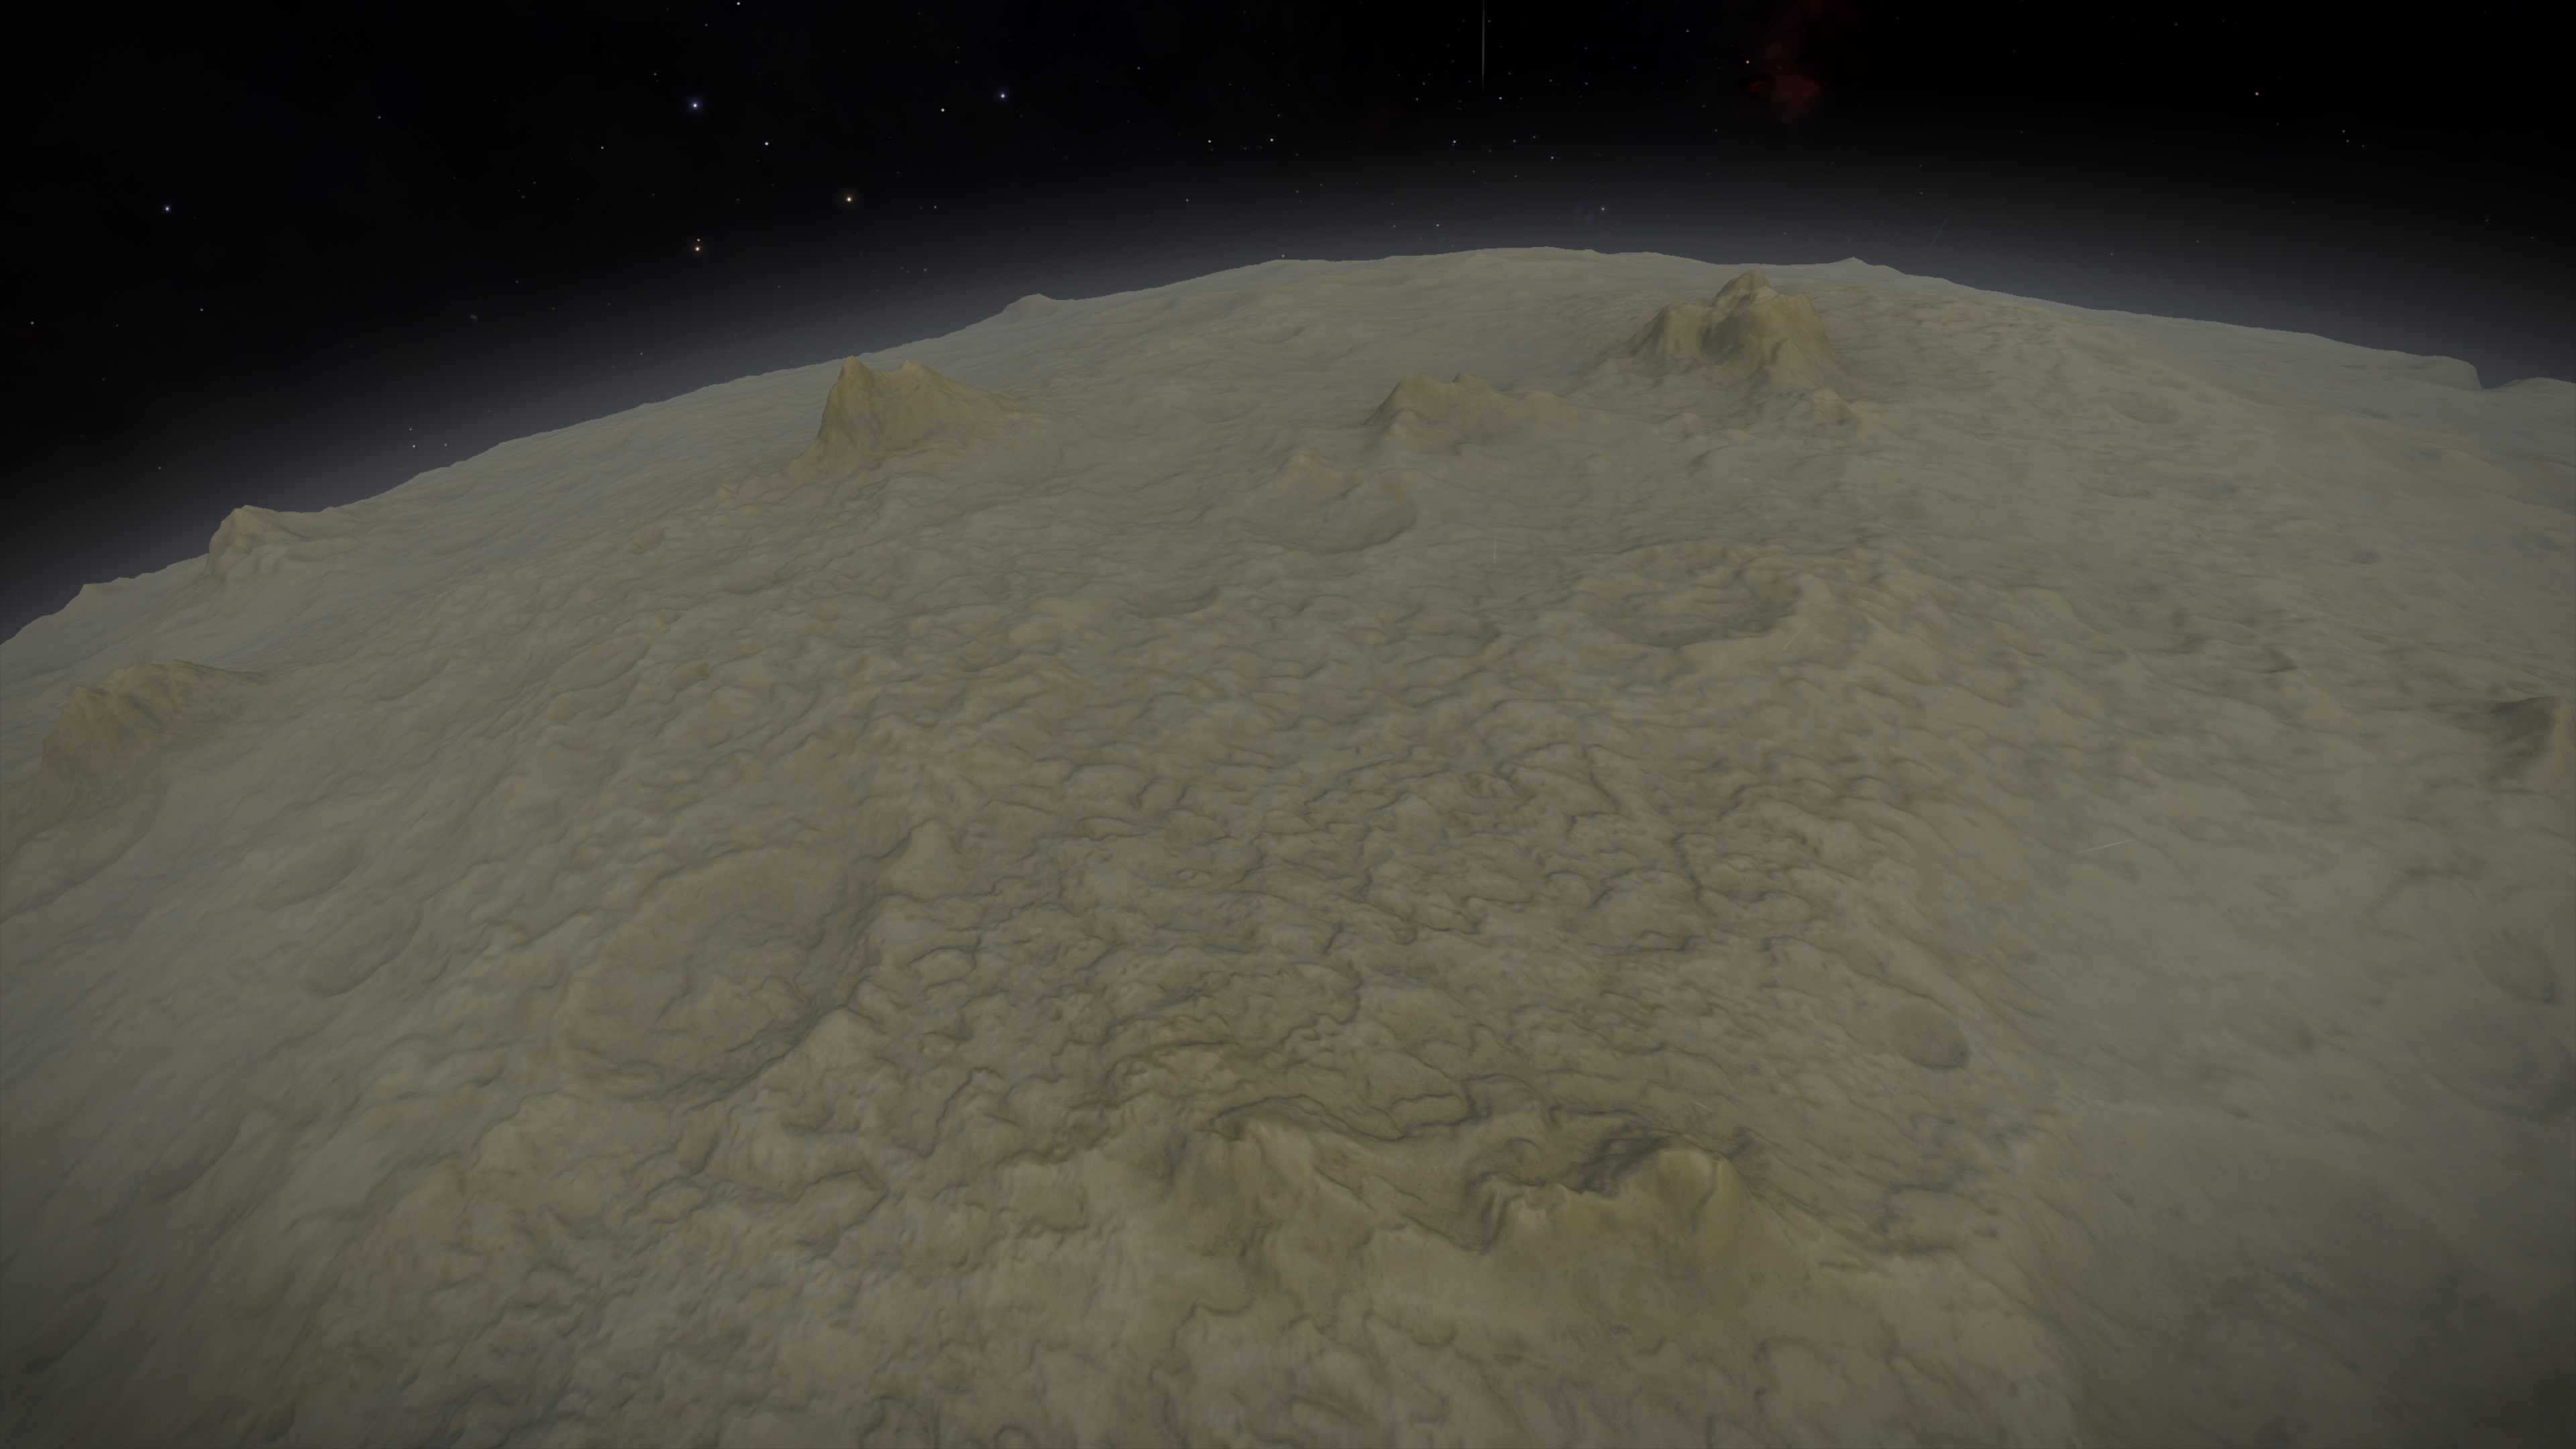
5. Mountain Field (-13.25/-35.24)
There are various Mountains to find here, two stick out in Particular
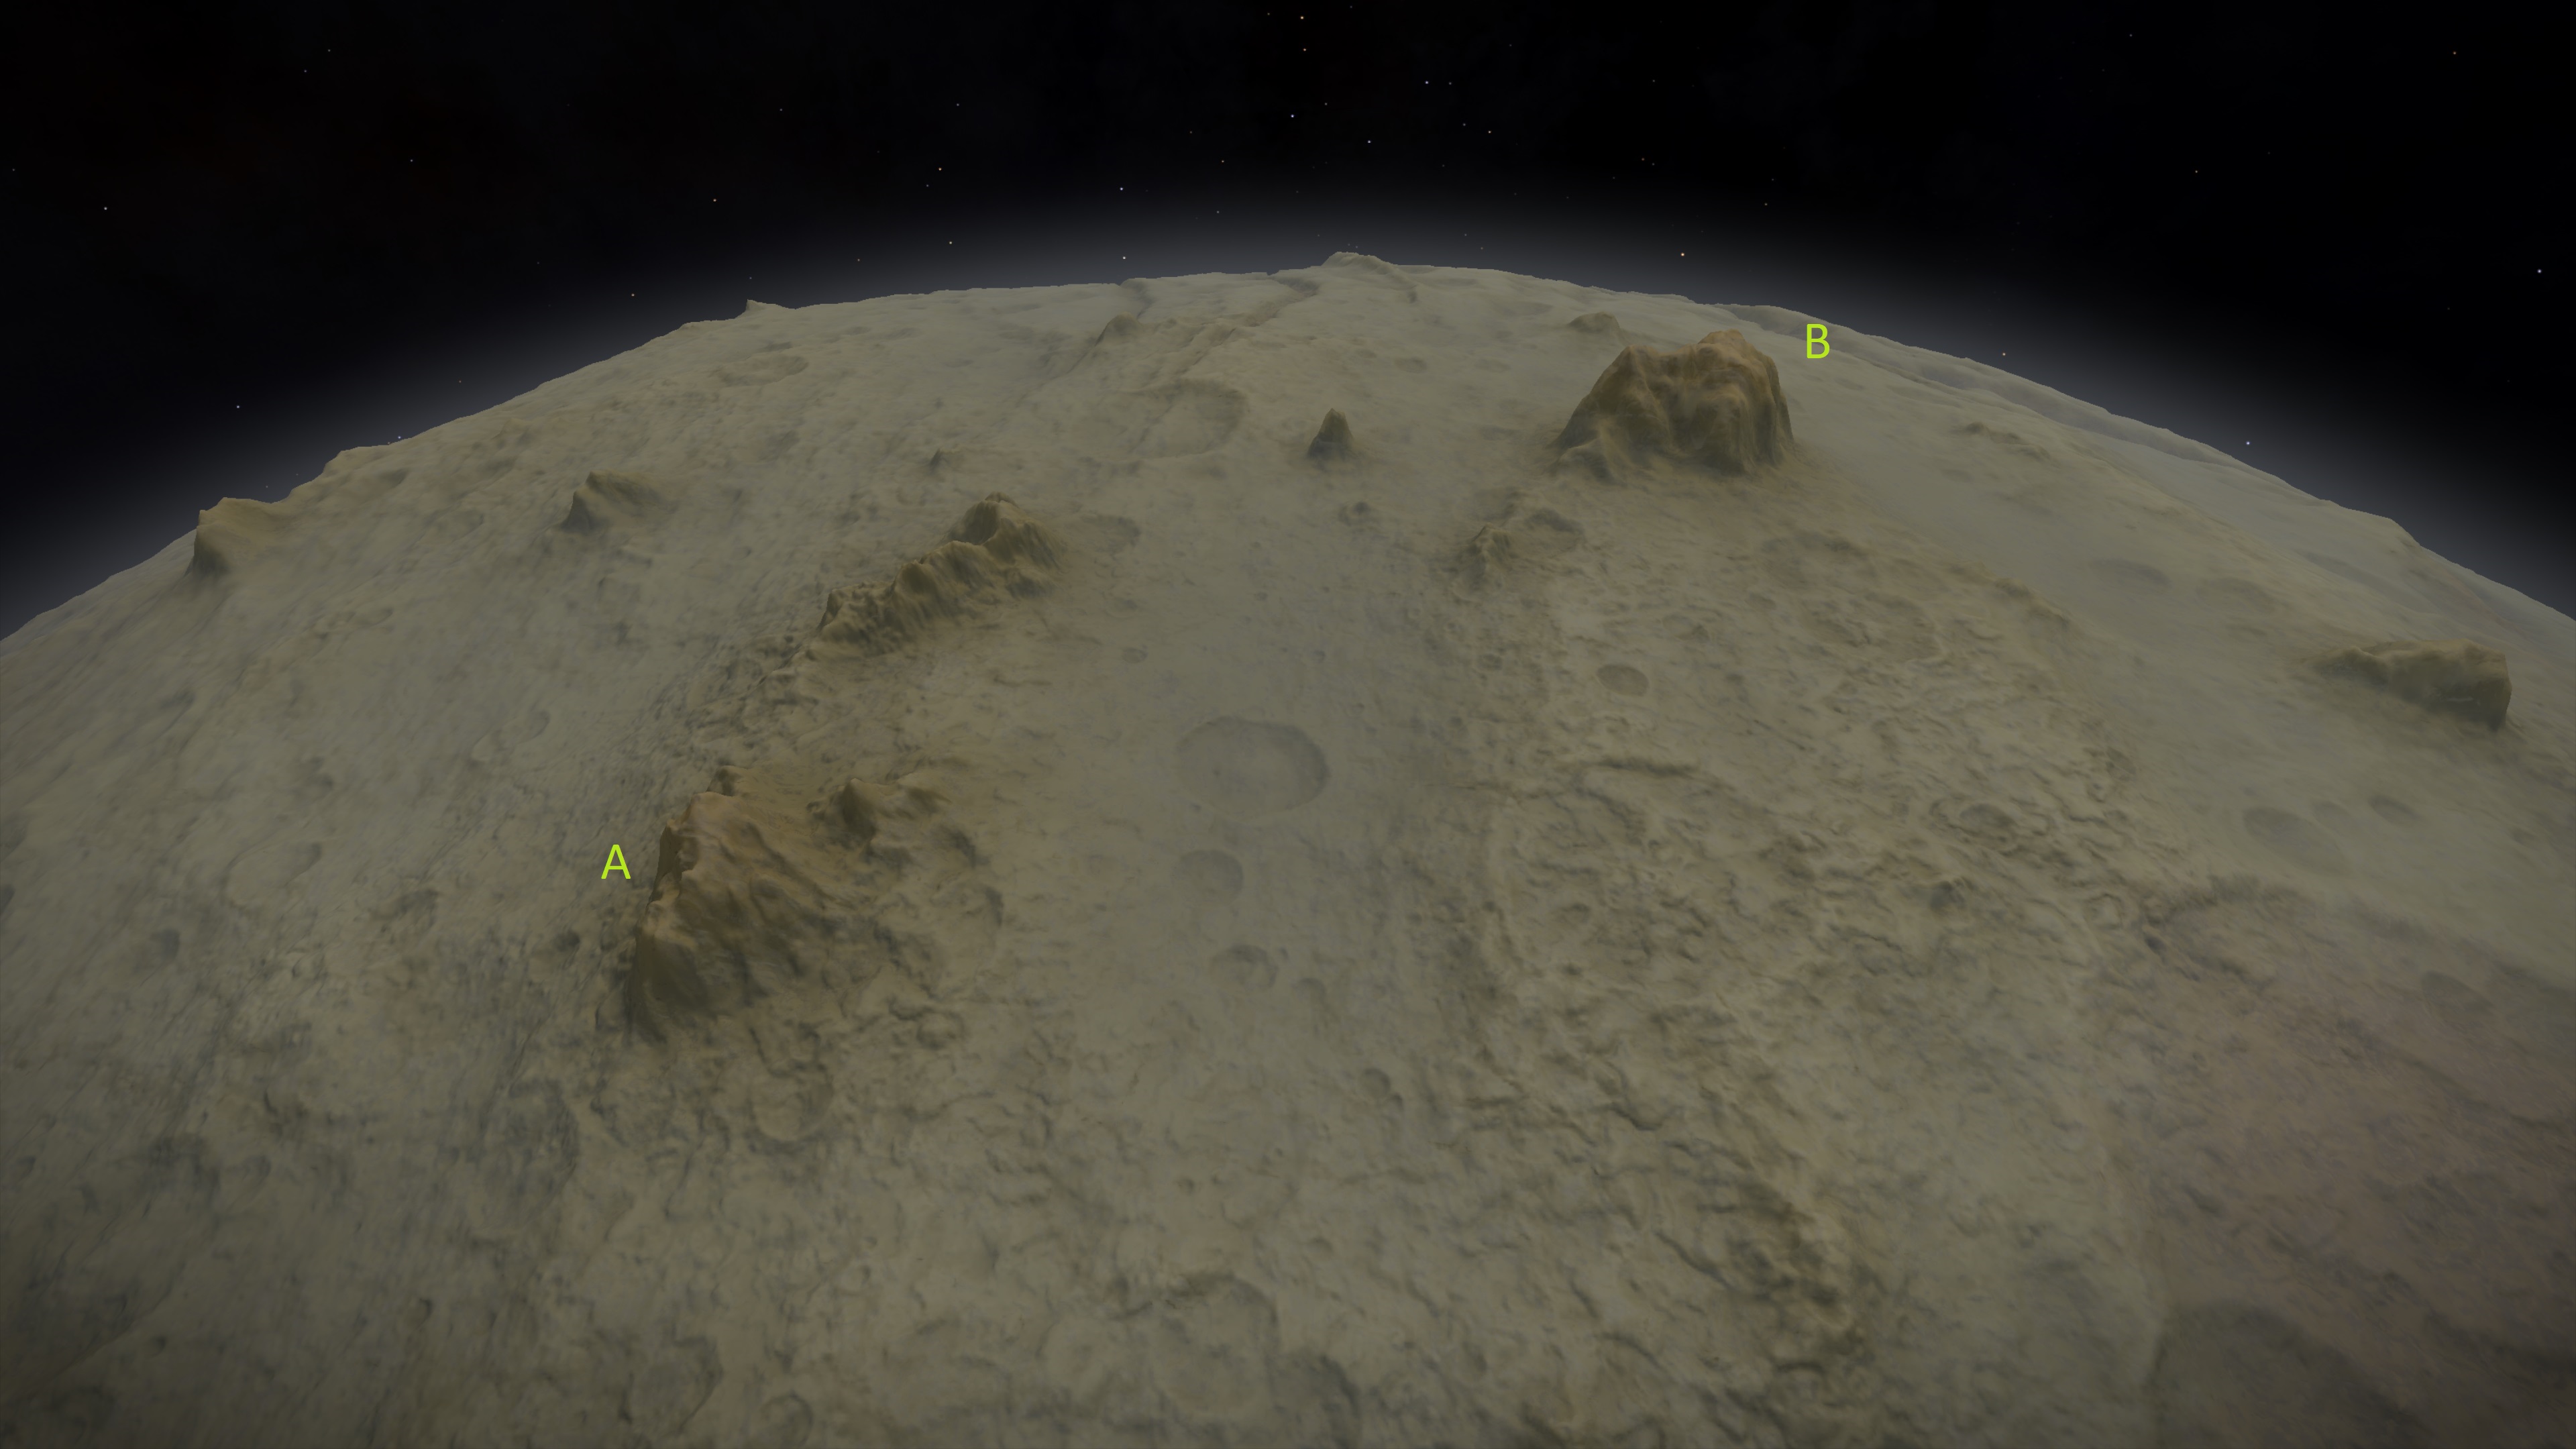 5.A has a size of 12.4km, 5.B is the largest one I encounter on my way with a size of 15.5km. And I tought I could name 5.B after CMDR Alec Turner, he made the planetary Circumnavigation club after all as well as the guide to good basejump locations where said Mountain is listed in. So I tought it would fitting to name him "Mt. Alec Turner", if he does not mind it! (and 5.A could still need a name)
Then its just a short way to the next part
6. Madmans Ridge (-13.20/-44.15)
This Ridge gets its name because here the Madman inside of me took control over routeplanning. You might noticed the red arrow on the overviewmap, going there drving along the side of the Canyon would be simple drive, the smart way to go. I however will drive up the Madmans Ridge starting at point 6.
This ridge too is split by a canyon, going down, sticking to right and driving up the ridge again has been tested and is possible with some serious hillclimbing
And all the driving on the ridge and doing hillclimbing just so I can get to point 7...
7. Madmans Jump (-14.65/-61.78)
Here is where the Madman naming really comes into play, because from here I will make a jump from the top of the Ridge across the canyon to the other side. Which is risky and very unecessary since I in the case of a success will just end up where I would end up taking the smart way.
I have to jump a Distance of roughly 7.8km starting with a height advantage of 6.5km
But as dangerous as it may sound I did many test jumps and I found out that its just too fun to not do (what is life without a bit of reckless fun?) and hey, the jump is very much possible. On every single testjump I made it to the other side, and also I did survive most of the time.
And having a bit fun here can't hurt since it will be very long drive to the next point
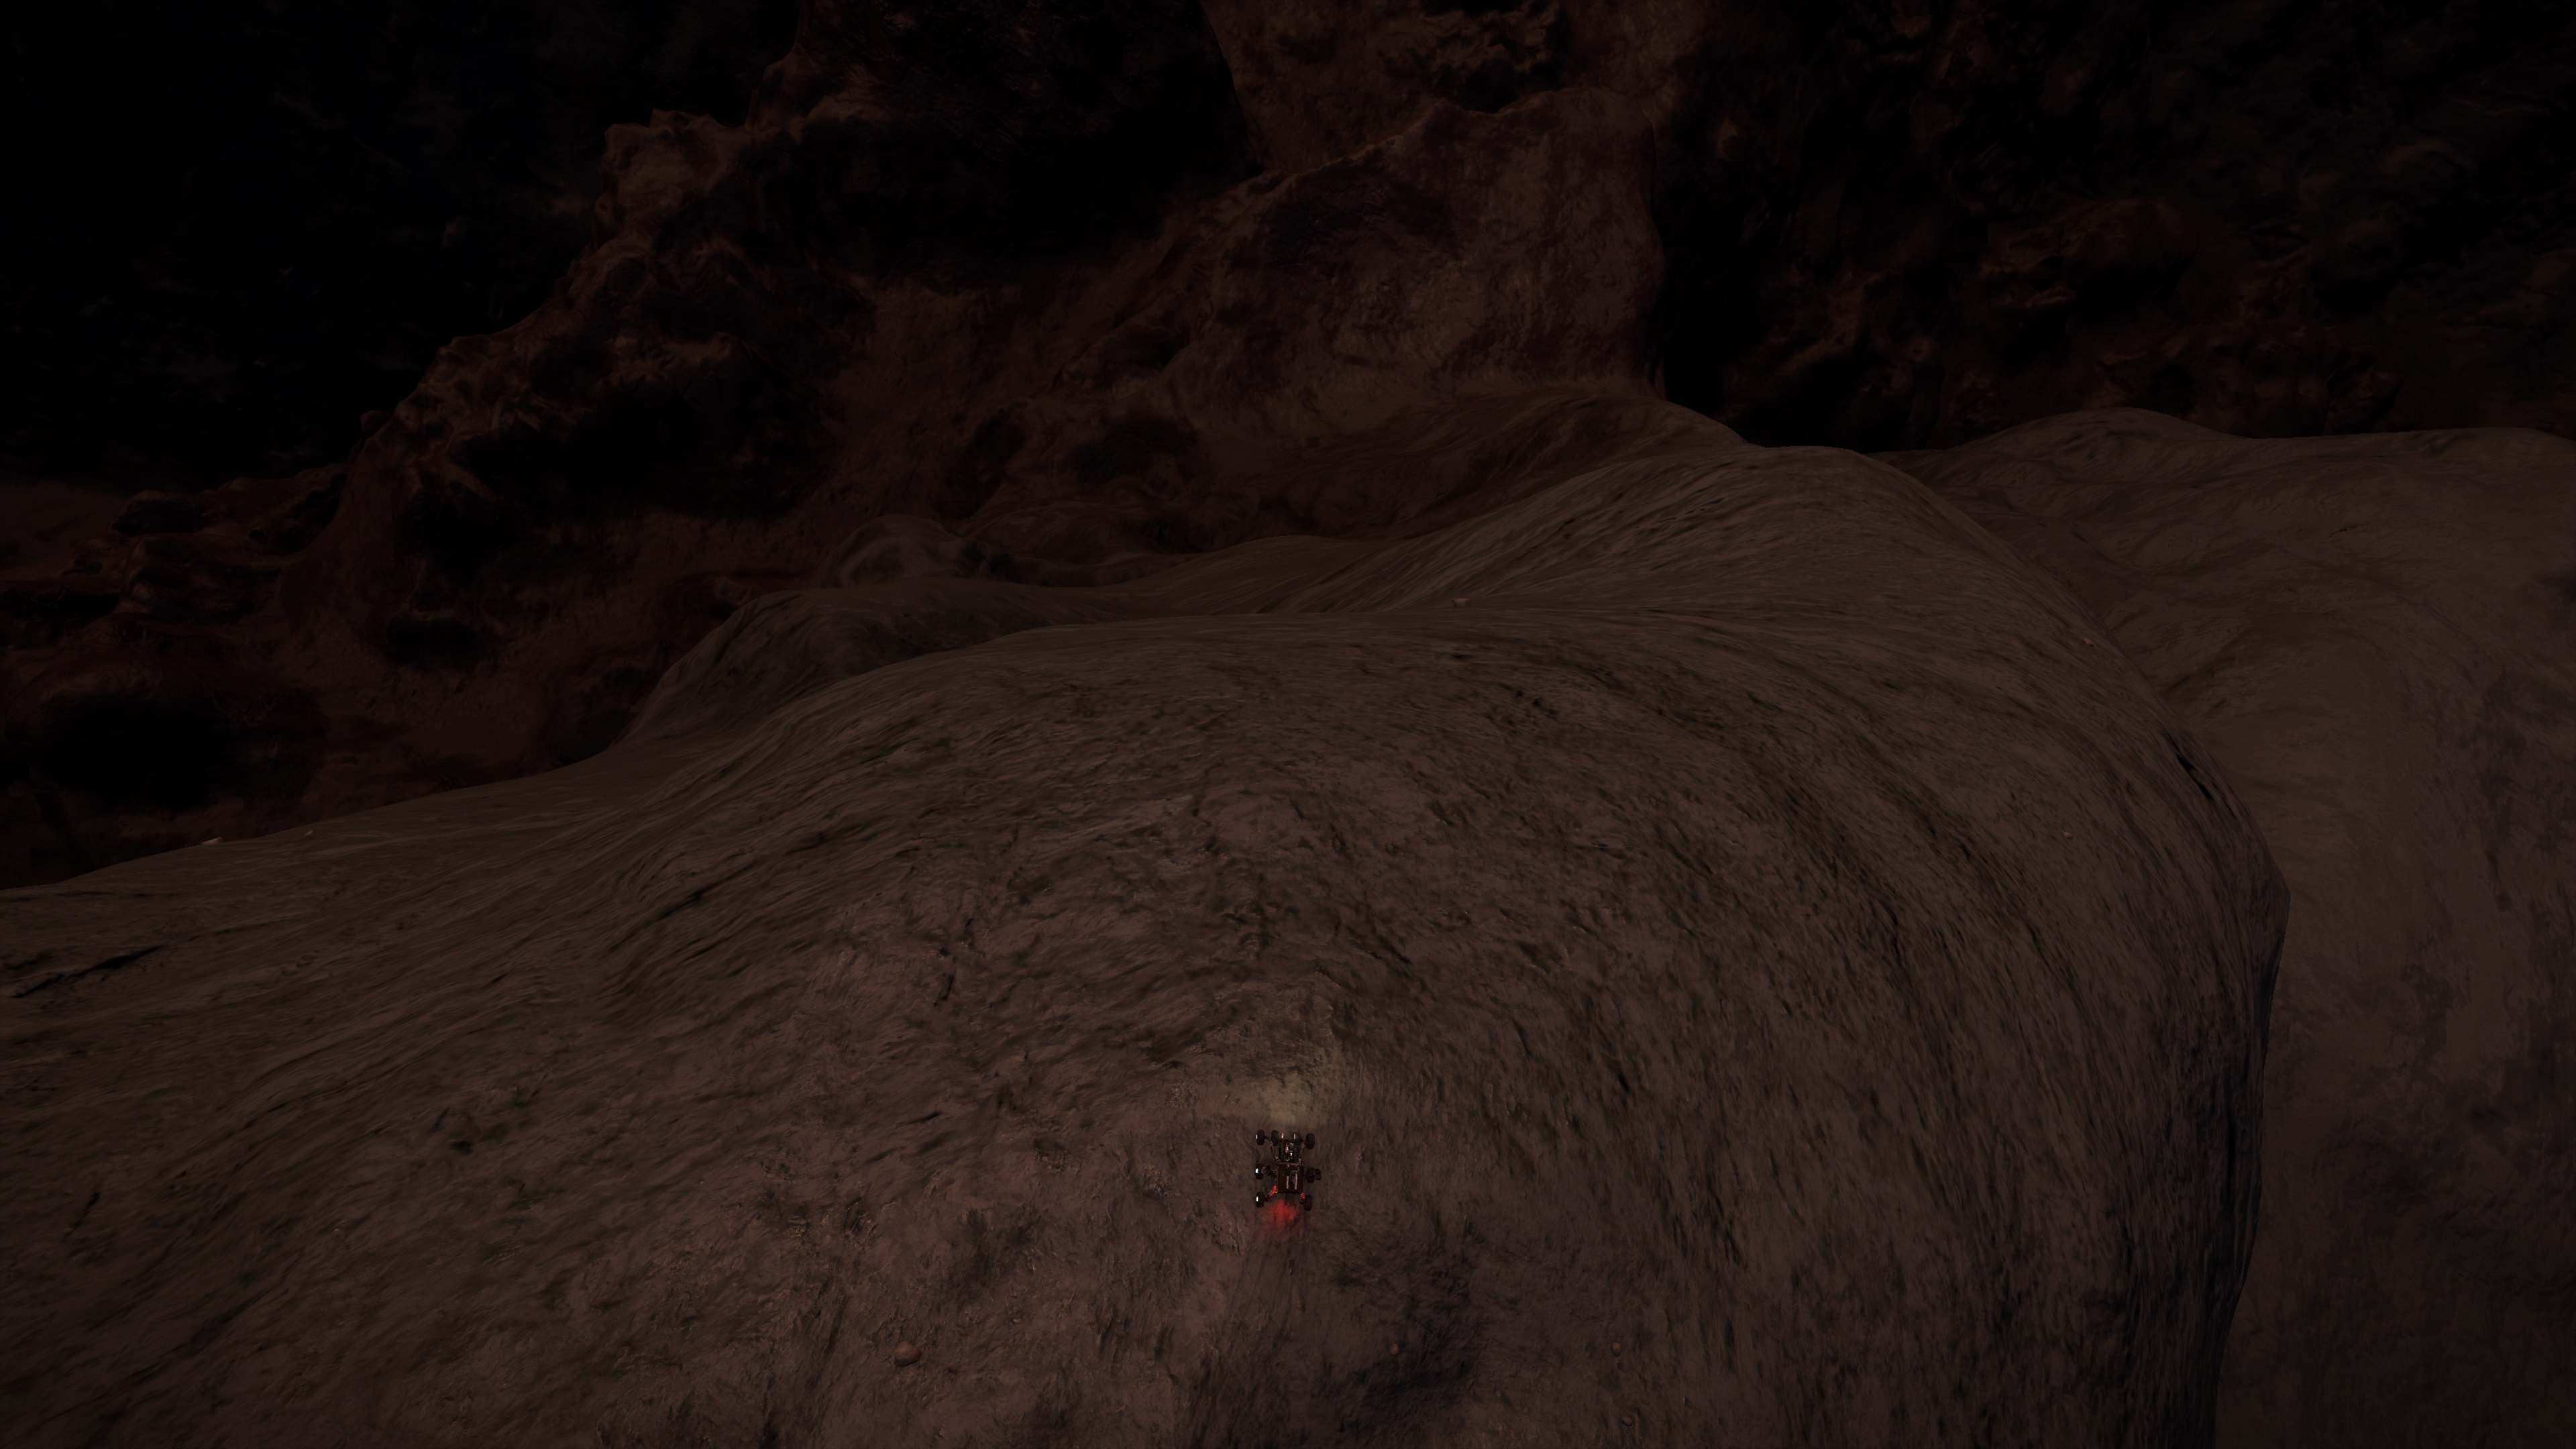
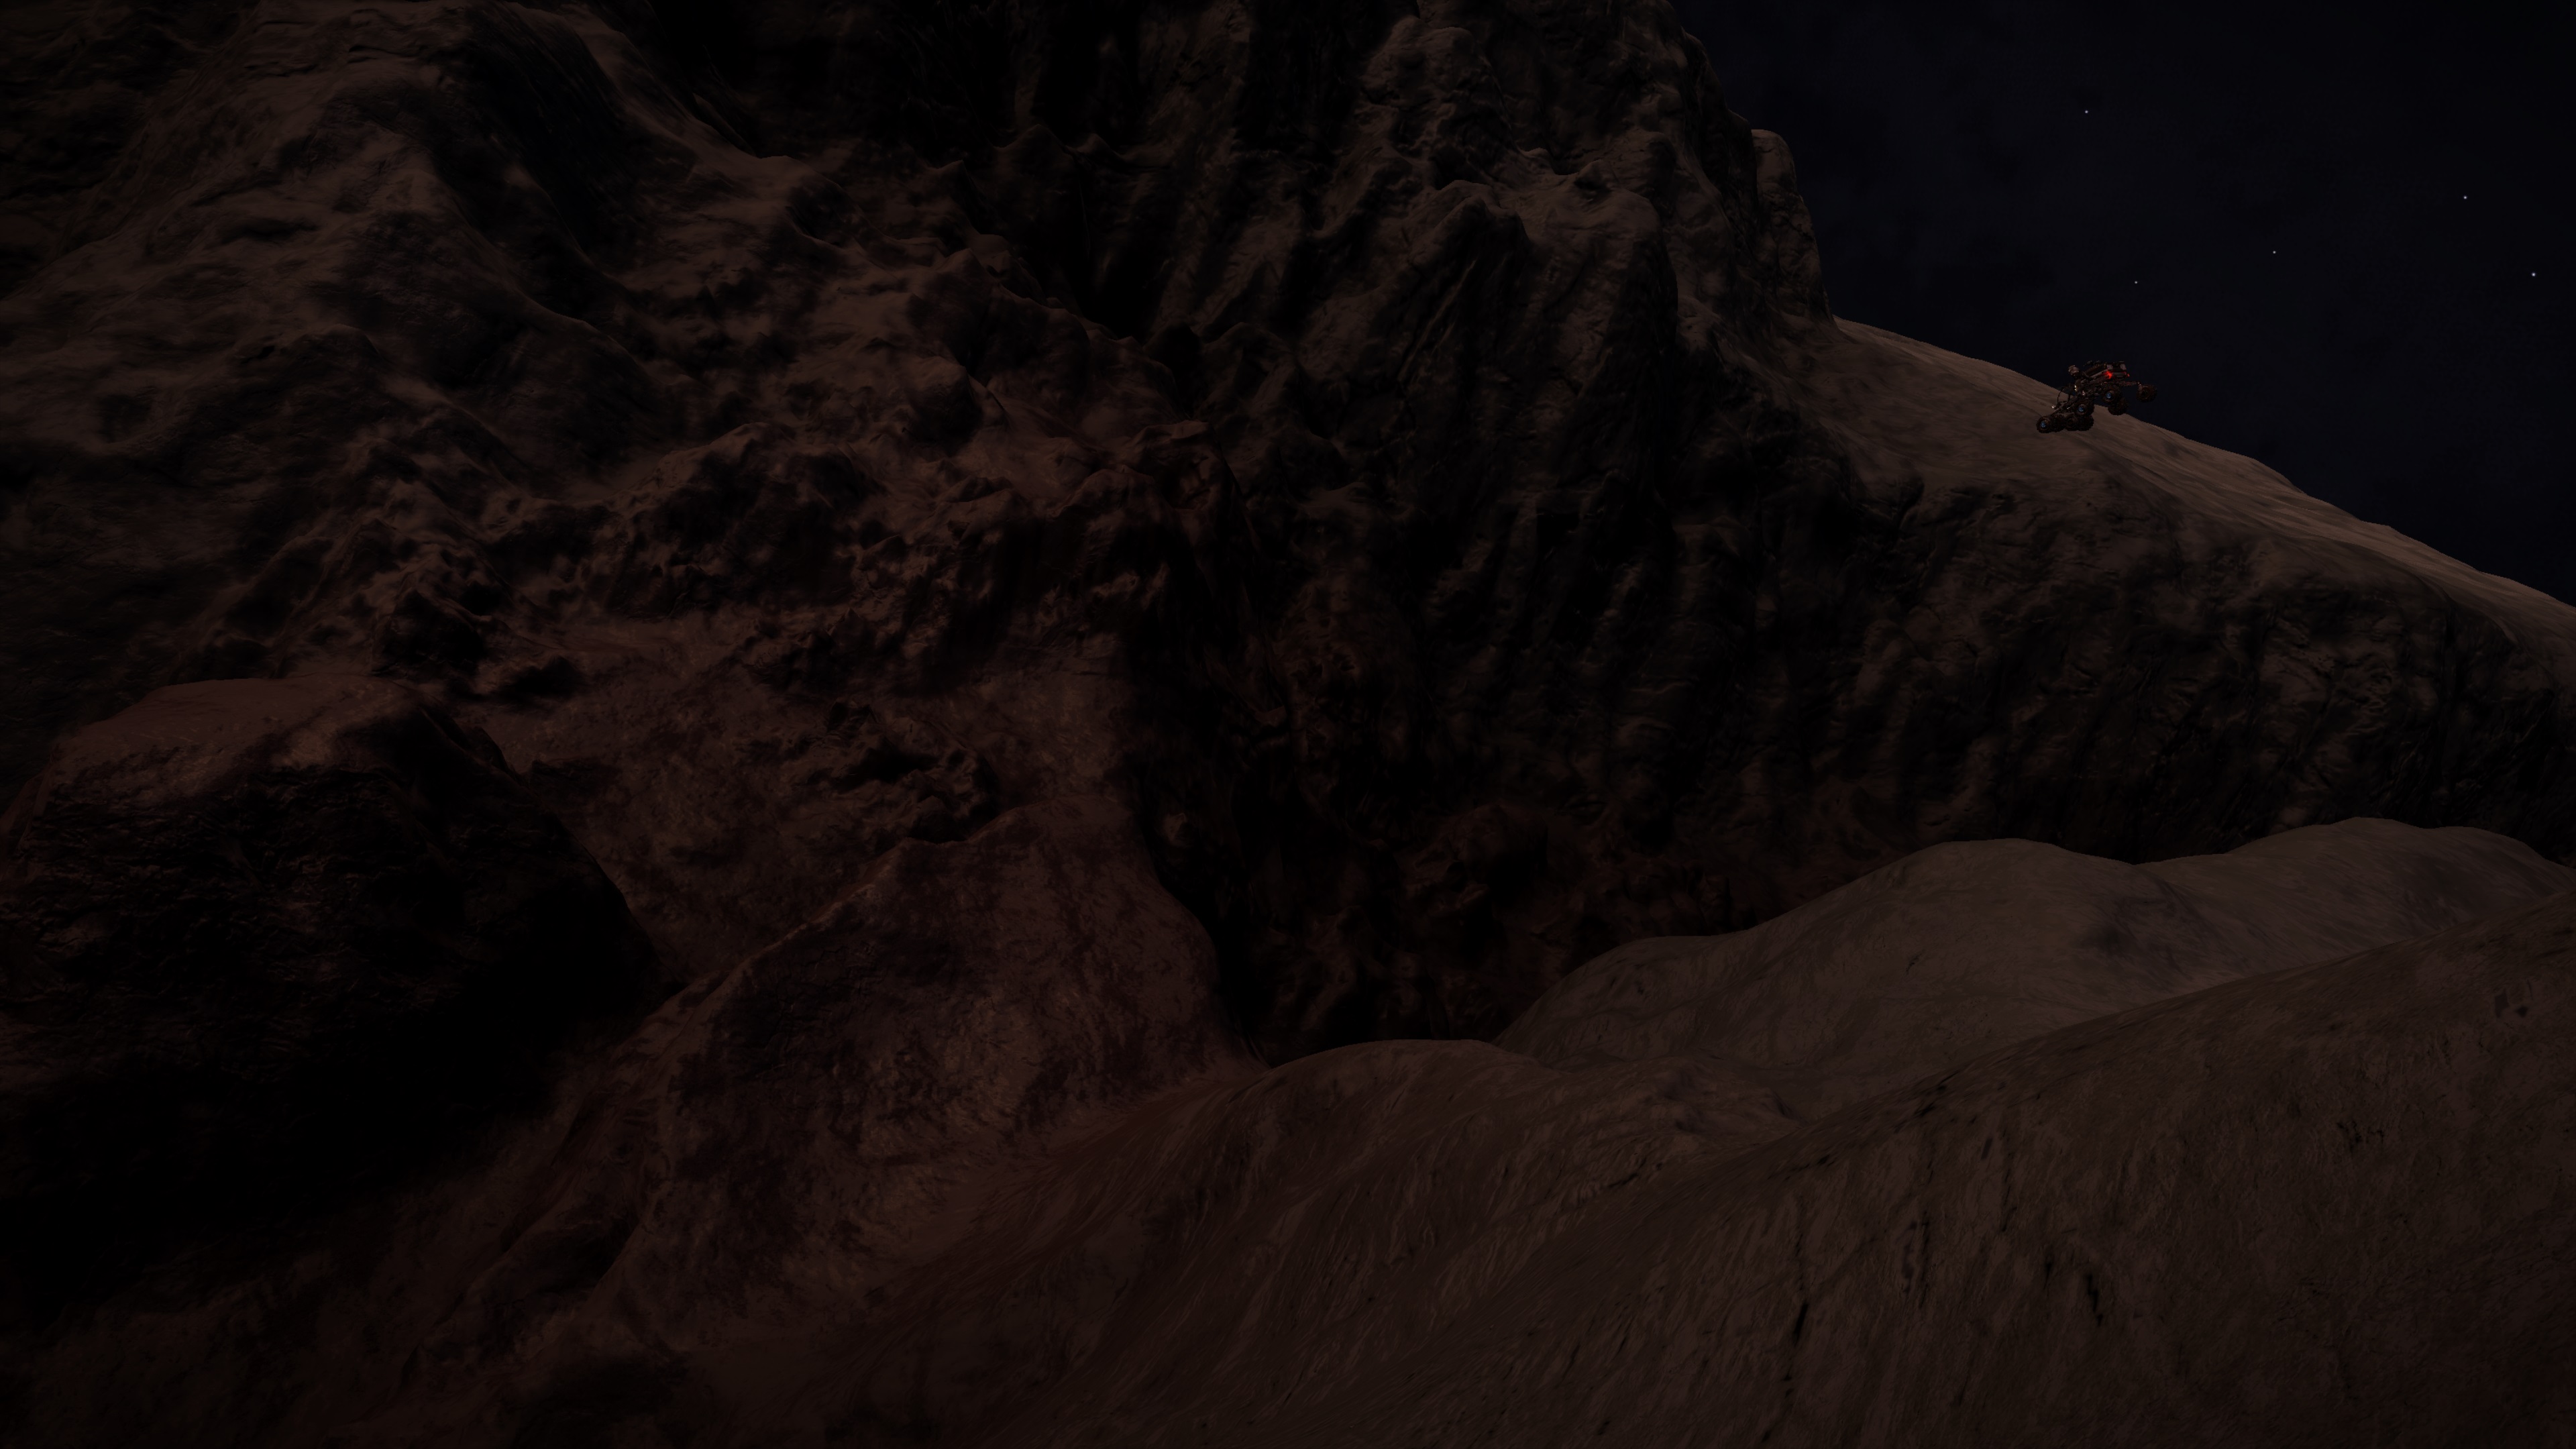
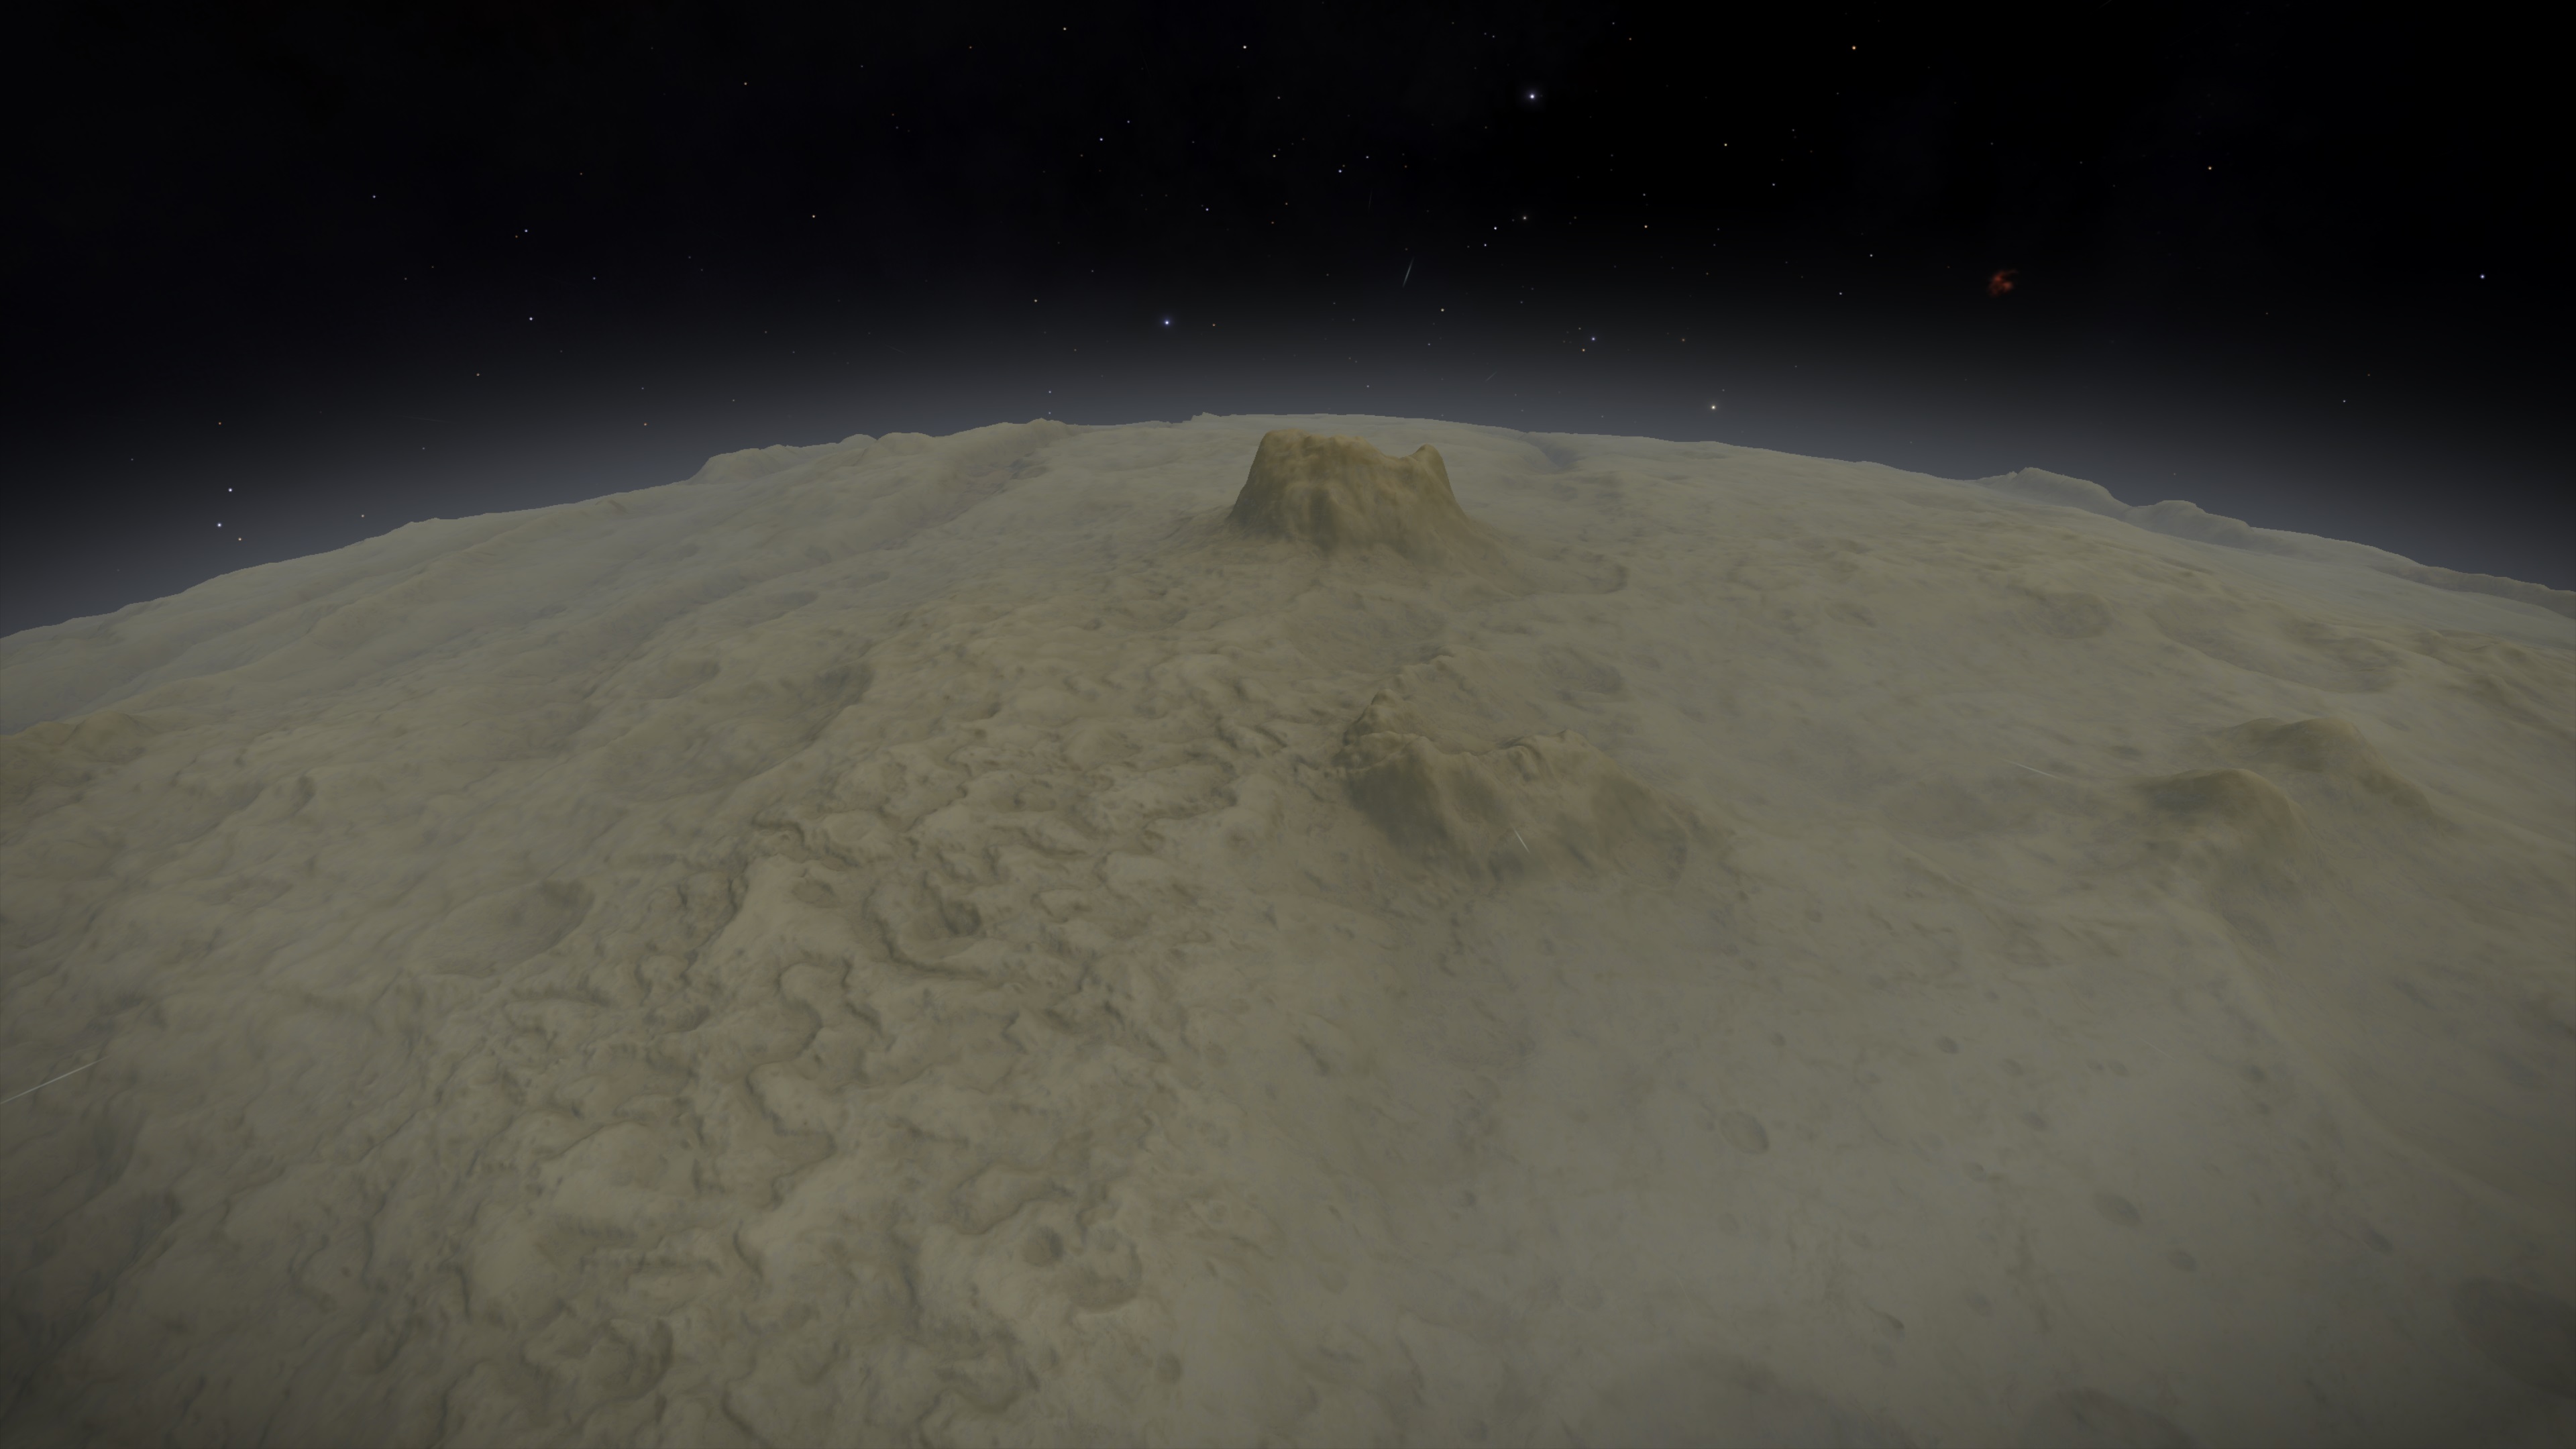
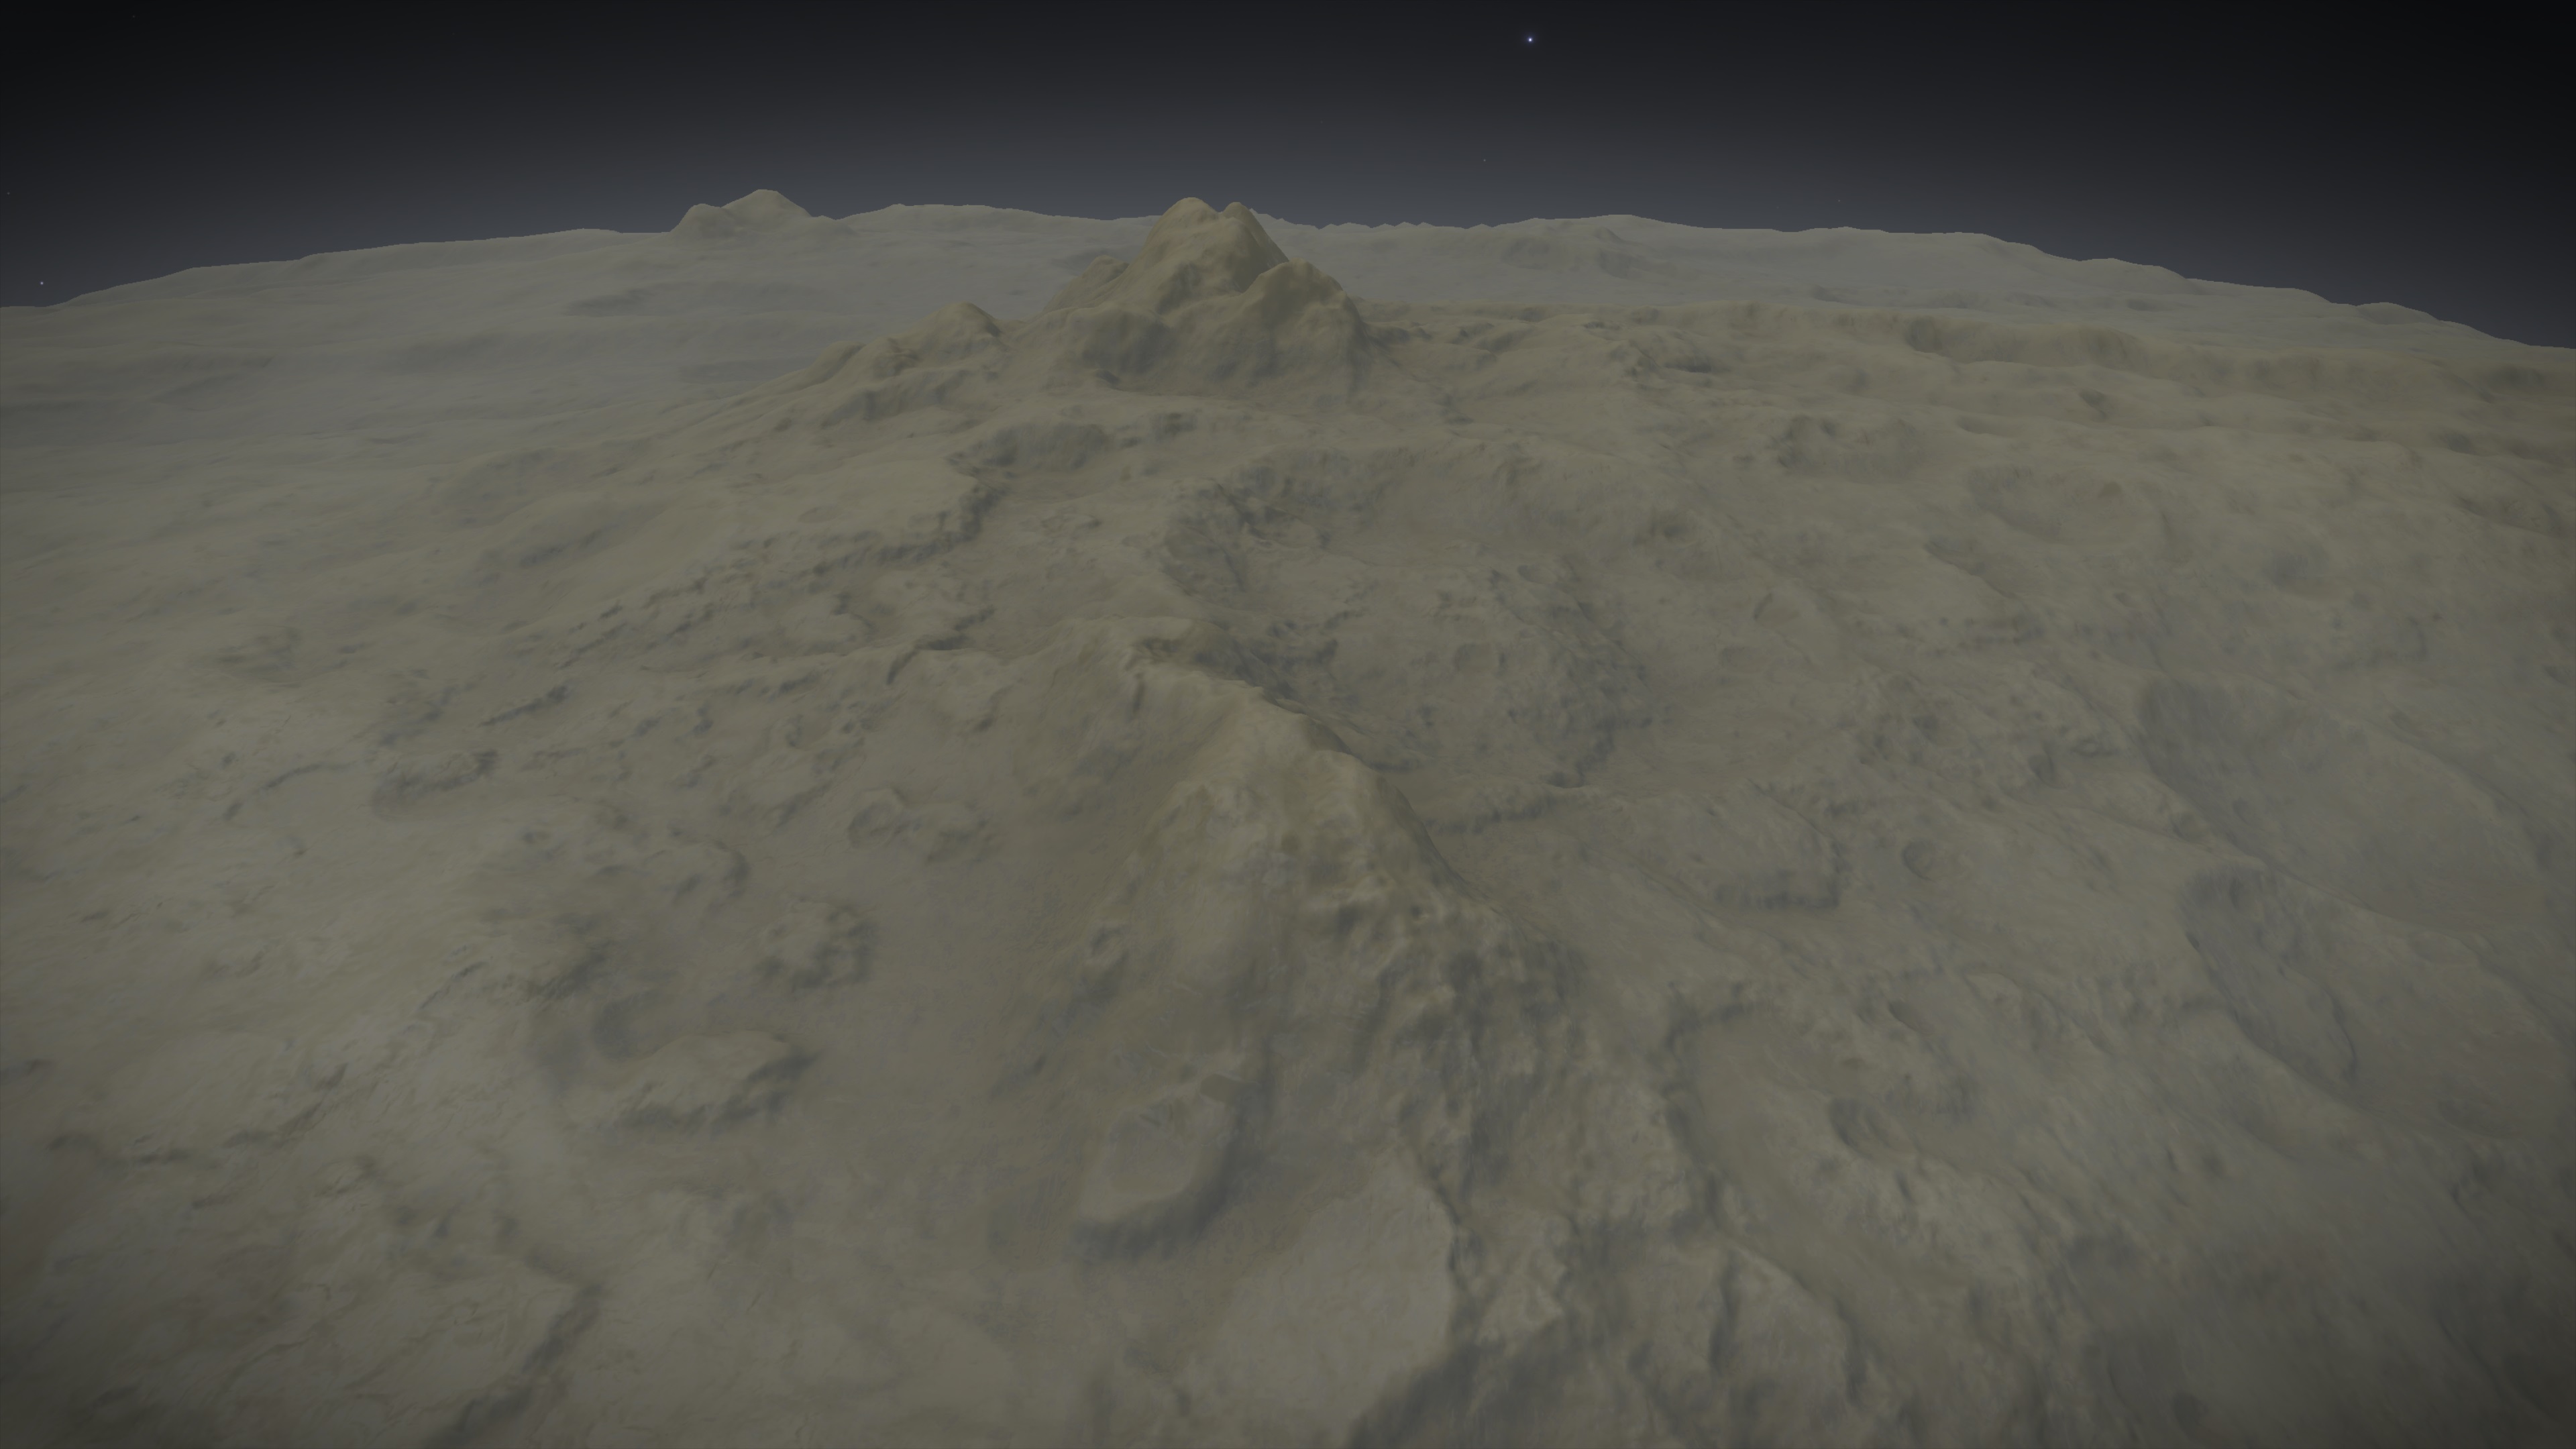
8. Mountain Climbing (-11.49/-144.71)
Here we have some more Mountains with the interessting one being the one at the top on the right
 With a size of 6.6km hes not as big as others on the route but other then those he those look like it could be possible to climb him in the SRV. Have not testet it since its not necessary that I make it so I will just try to find out when I get there. And just doing a bit of Mountain Climbing to mix things up should be good fun.
After that we are getting close the starting position, but it gets a bit more complicated
9/10 Canyon Diggin' (8.93/-167.16)
As you might notice on the overwiev map where you can see Point 8 and the starting position at Point 1 the direct way between those two points leads right across some Canyons. I did a lot of testing, jumping here and there, trying to drive up here and there and already failed making it across the very first Canyon in my SRV.
Which means its time for a detour, looking at the map going up was the clear winner as way to go. Which I will do buuuuuut... well I got a bit crazy again. I saw a potential way of driving through the Canyon there, would be better to just go around but I love driving in proper deep canyons and here we have proper deep canyons so I gotta do it!
I did a lot of testing and it should be possible to drive through the canyon there, maybe not without risk since I know all to well how easy it is to get stuck in the deep canyons of this planet but hey, gotta have fun
Also Point 10 is more "sorta about here" sugesstion, I will leave the canyon where I'm able to but its probably gonna be around there at the end of that Canyon.
Once out its a simple drive again to the next point
11. The Hill (-9.13/173.55)
This may be a little bit of an extra detour but I saw it and its nice little hill below 3km, easy to drive up it will provide a good resting place and a bit of an overview for the way ahead.
But I will be quite a lot off course at this point, but from here I can go straight to next point with a heading of about 220
12. Nostalgia Trip (-17.10/165.52)
Here will be the start the last part of this Circumnavigation and very nostalgic one! I did before drive up that ridge here and then along the ridge back to Bomba Point and I did so in the company of many great CMDRs. Its gonna be a very nice final stretch
At 12.A was a location where we had some party, gonna go there again. And 12.B was where I did write the SOS with my SRV in the ground and we also had some partys there. And then just back to Bomba Point where we also had some partys. There where many Partys on that Ridge
And yeah, thats about it, my planned route. I think, I hope, I didn't forgett anything and that it is not too much of mess. I'm not quite there yet, I plan to start on this weekend (most likley Friday or Saturday) just had to get this all done for now.
And last I like to mention that it will be a long trip, most important thing on a long trip is feeling comfortable. Which means I'm gonna destroy my ship before I start, would feel wrong spending a lot of time on Wilson while having a ship
Based on his radius the Distance to travel once around him should be 3637.857km, but you probably shouldn't pay too much attention to that Number since it won't be an all that straight forward drive so it will be a kilometer or two more. I have my route planned out and will try to put that in some proper order, mostly for myself so I got all those notes and screenshots sorted in a easy to follow list.
First off let me dump a bunch of pictures for the overview roadmap:
Now lets get into more detail of the various Waypoints, but also I'm not that great with naming stuff which means some of those waypoints have very boring names (please forgive me)
1. Bomba Point (-17.10/156.77)
This is the place that came to be known as Bomba Point, here I did put my landingears on the planet for the very first time. It was the beginning of my first adventure on Wilson and I can't imagine a better place to start my second one. The heading to go will be 270, which means I have to cross the canyon in which I once got stuck in and couldn't get out in my srv without help. But as long as you start up on the ridge there is a way across the canyon and back up the ridge on the other side
Starting point is on the right going left
While I don't have to go back up the ridge on the other side and could just drive on groundlevel driving up there should be nice with some great views, and then of course it makes the fun of the next waypoint possible.
2. Ridge Base Jump (-16.66/142.16)
The Ridge does a curve here, which means the straightforward way to go is a nice Basejump off the Ridge 3km down
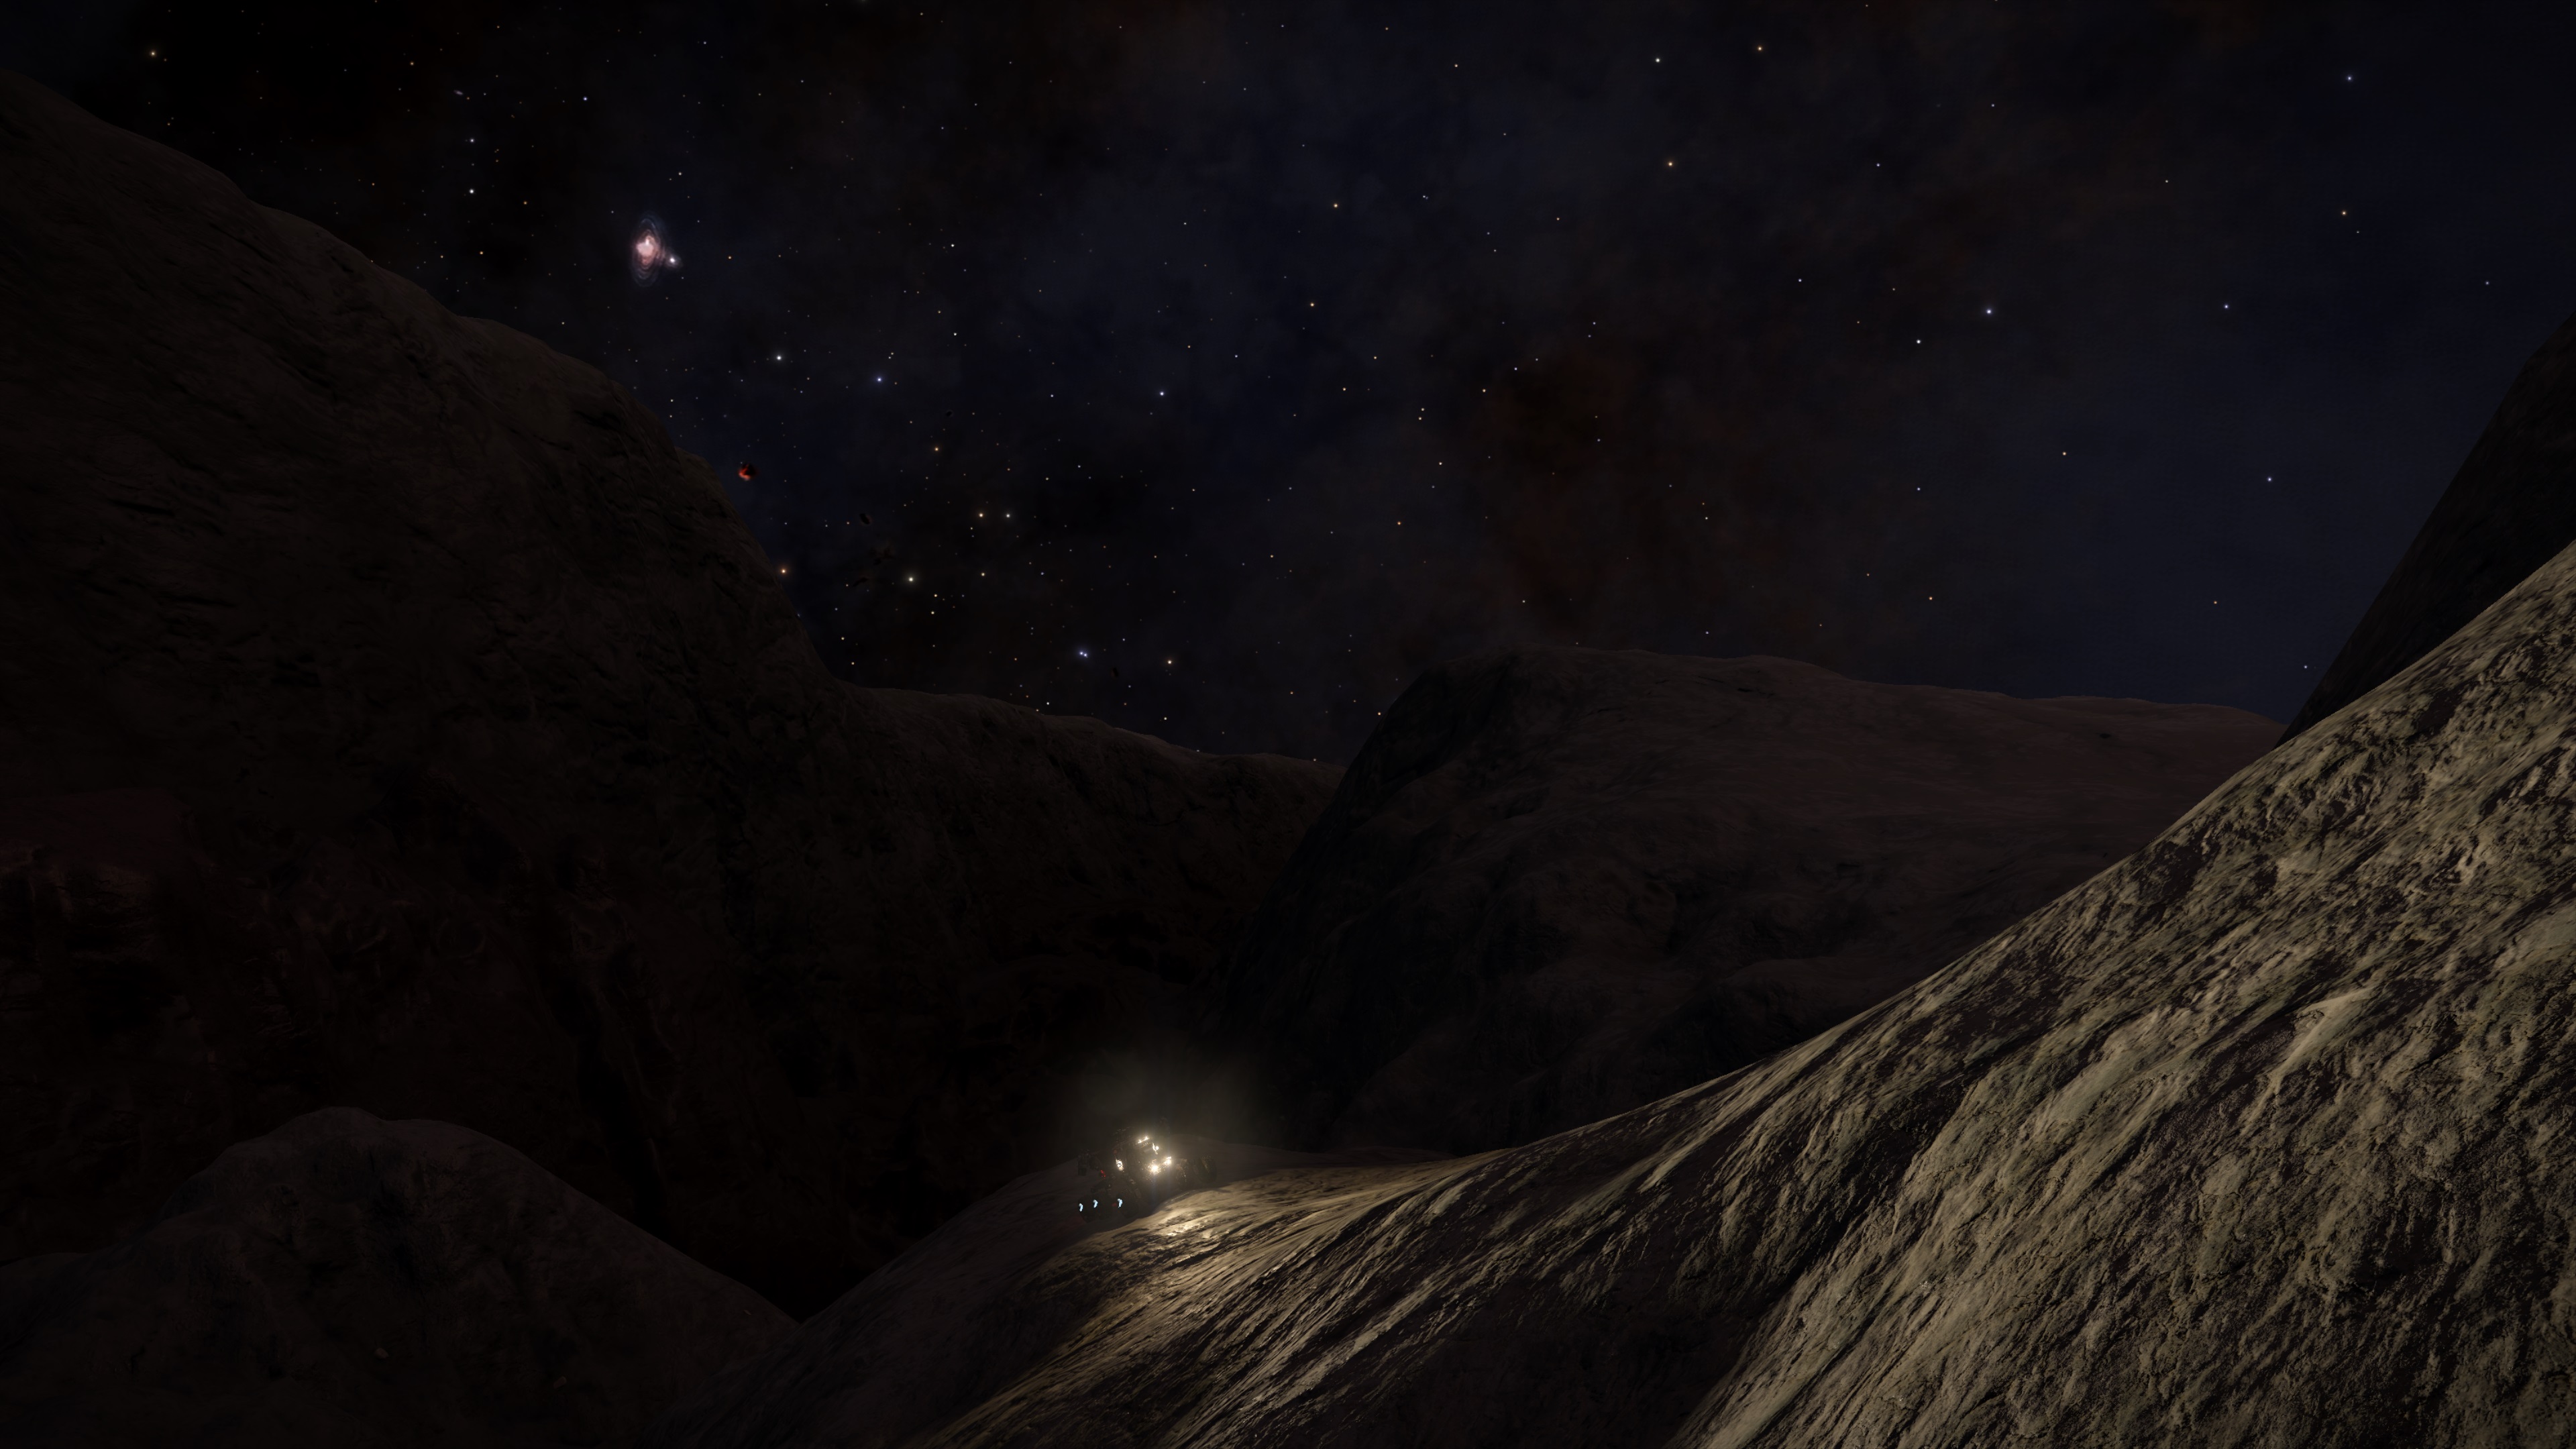
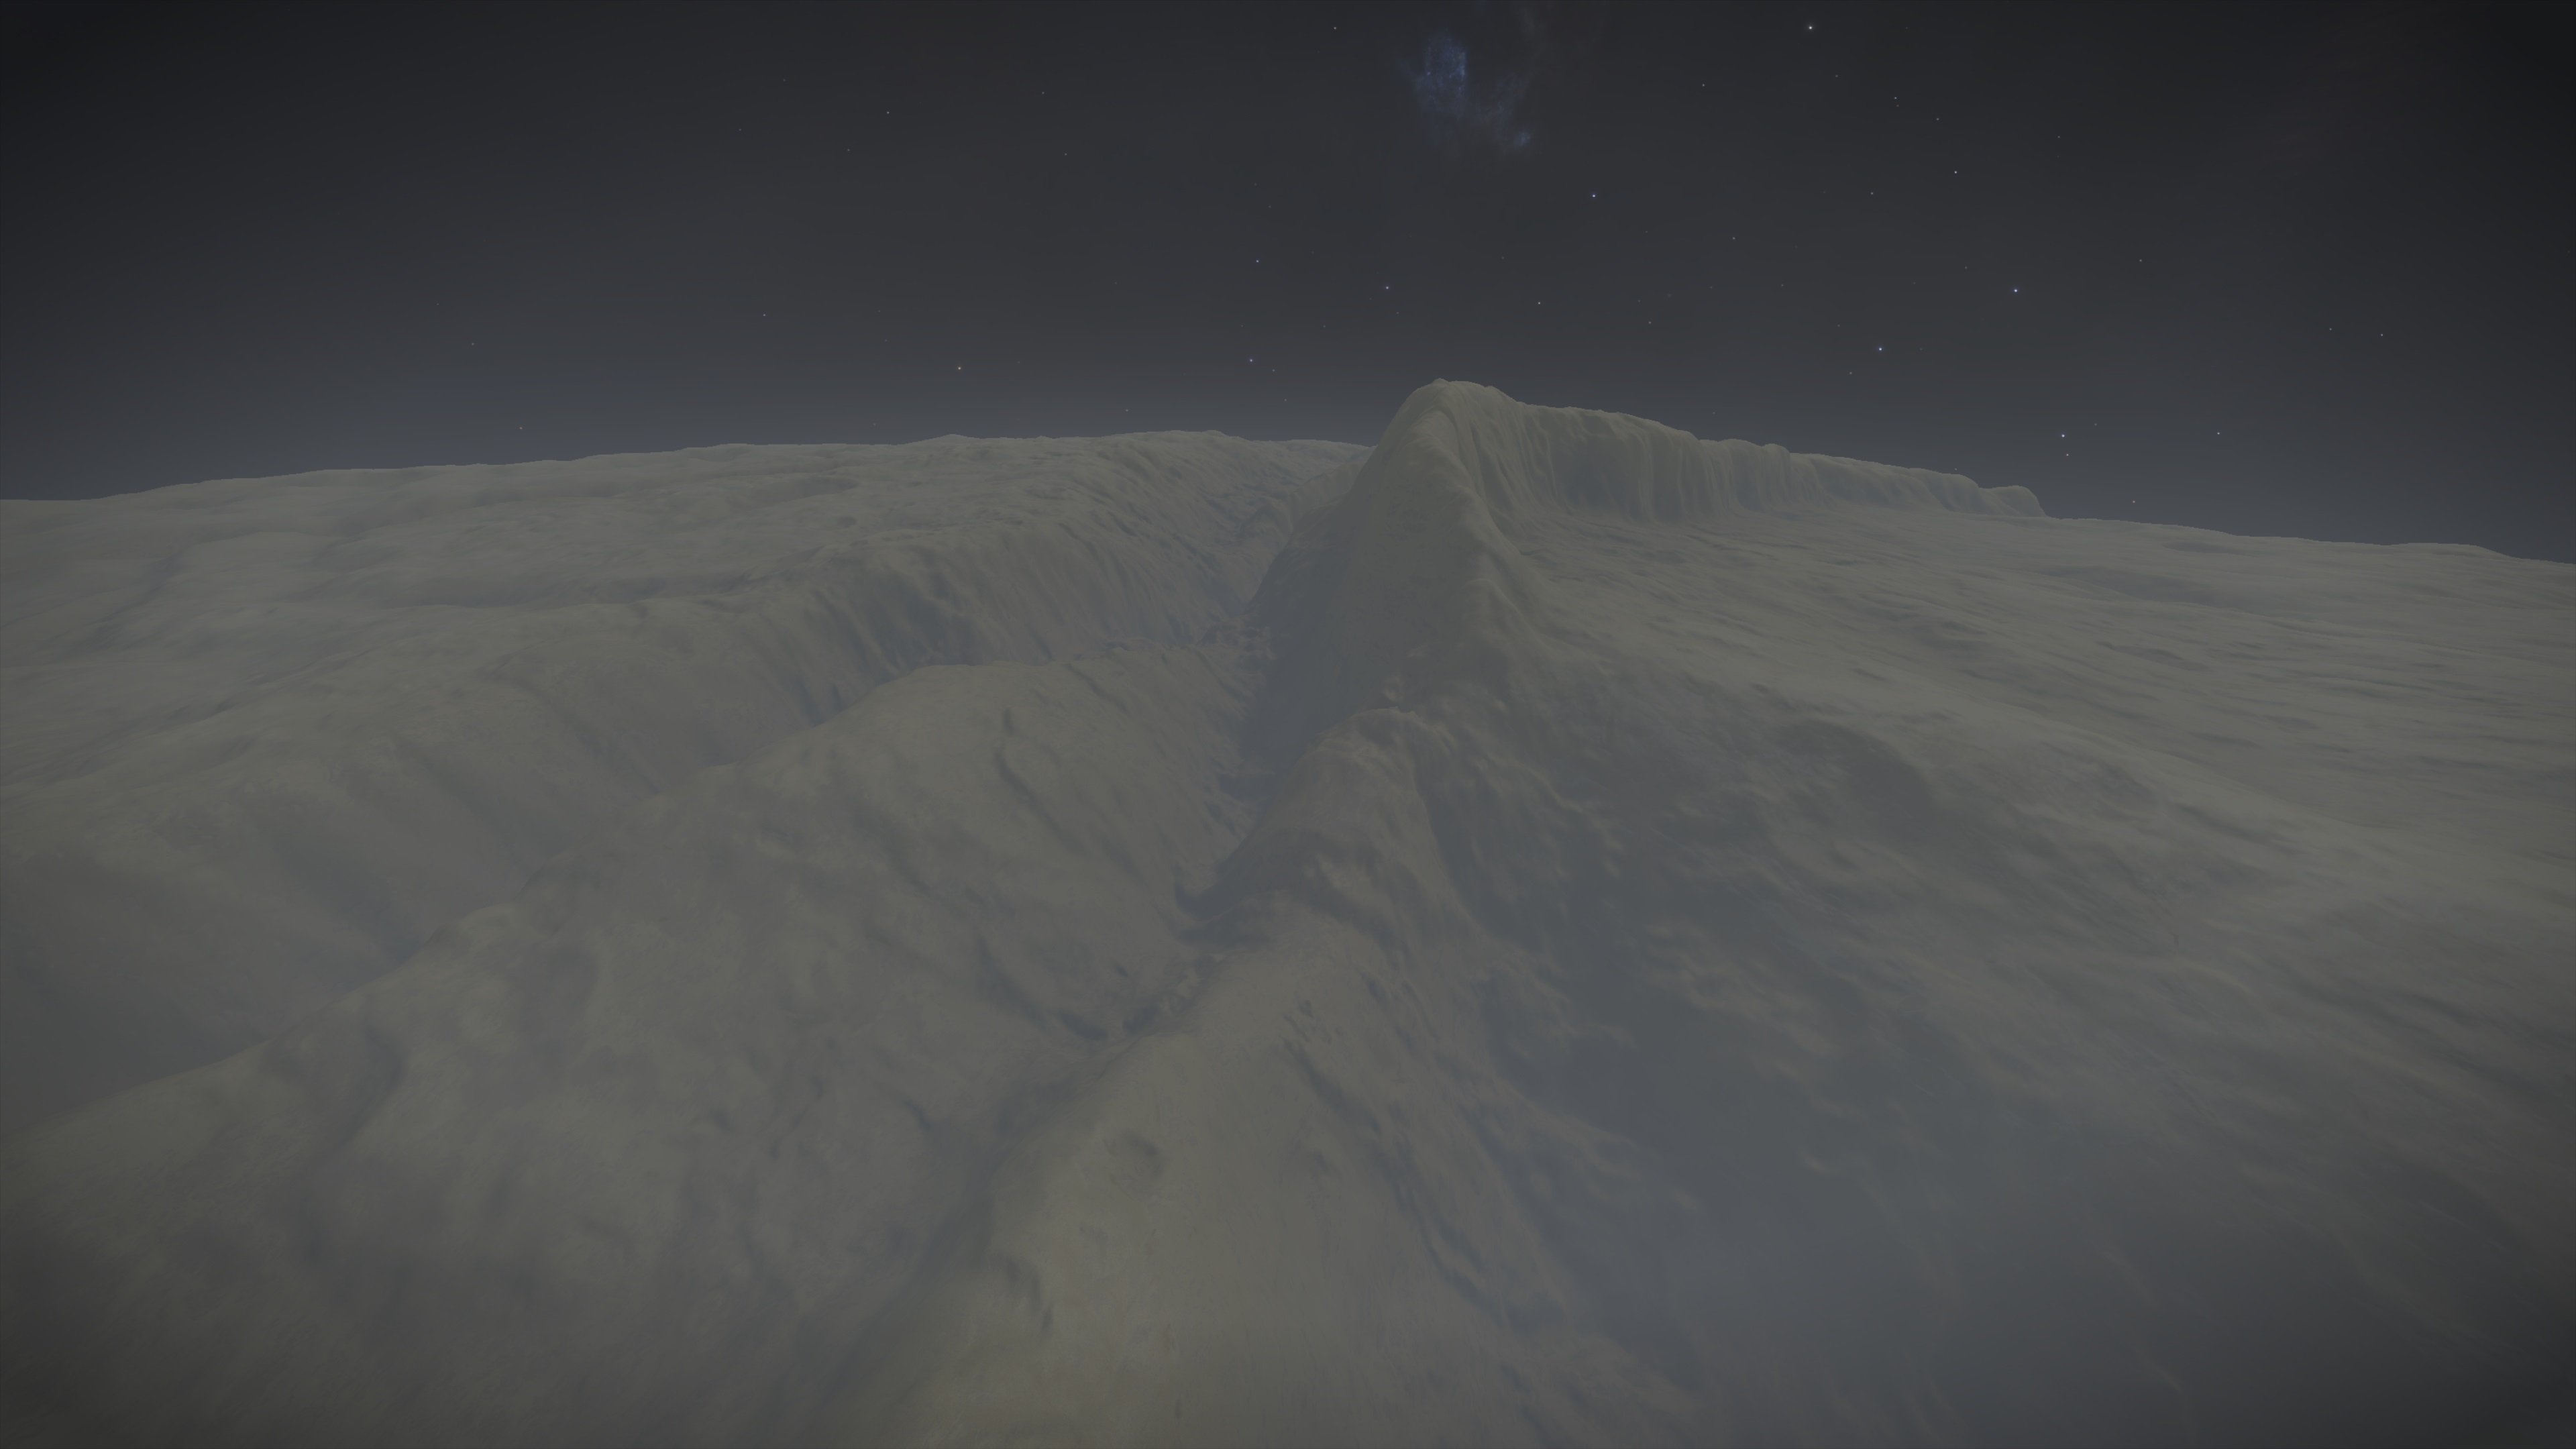
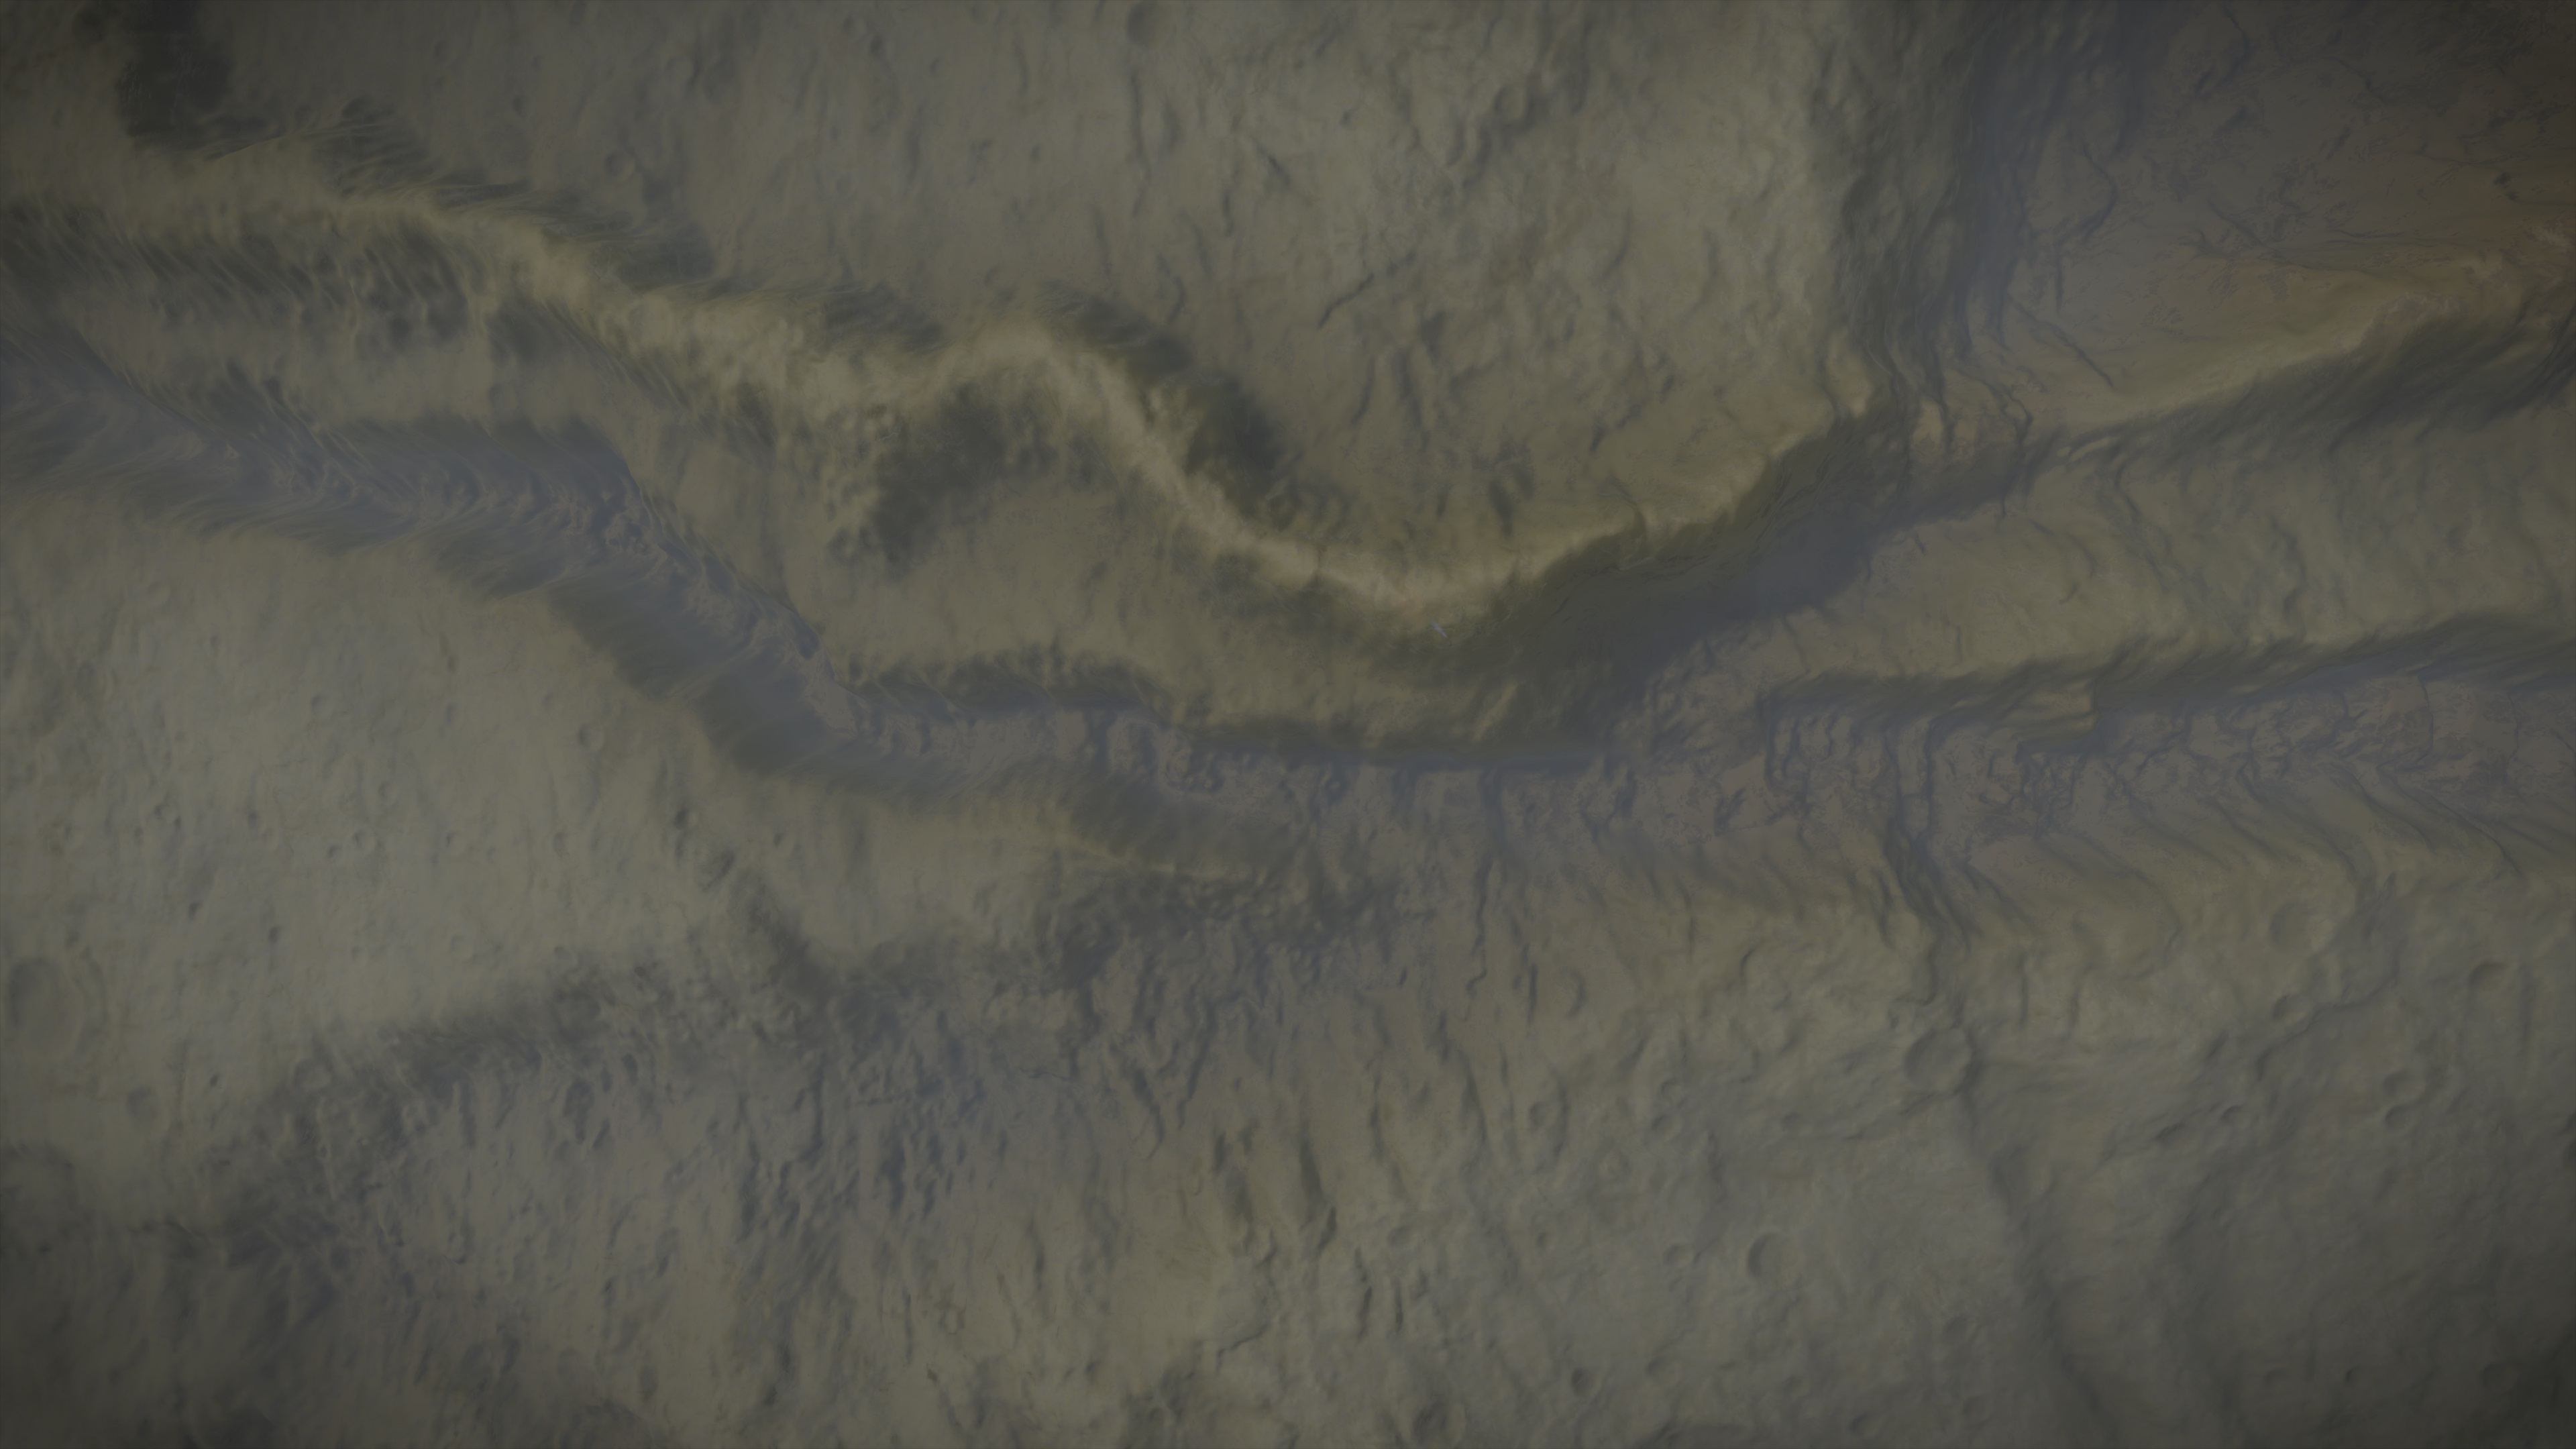
3. Canyon Run (-16.49/93.89)
Here I will encounter a Canyon where my way leads right through, it may be faster to stick to the side of the Canyon but driving in it should be good fun and change of pace. Its also not a very deep canyon, its more the shallow type so getting stuck shouldn't be something that can happen here
How it looks a bit higher up at about the beginning of the Canyon
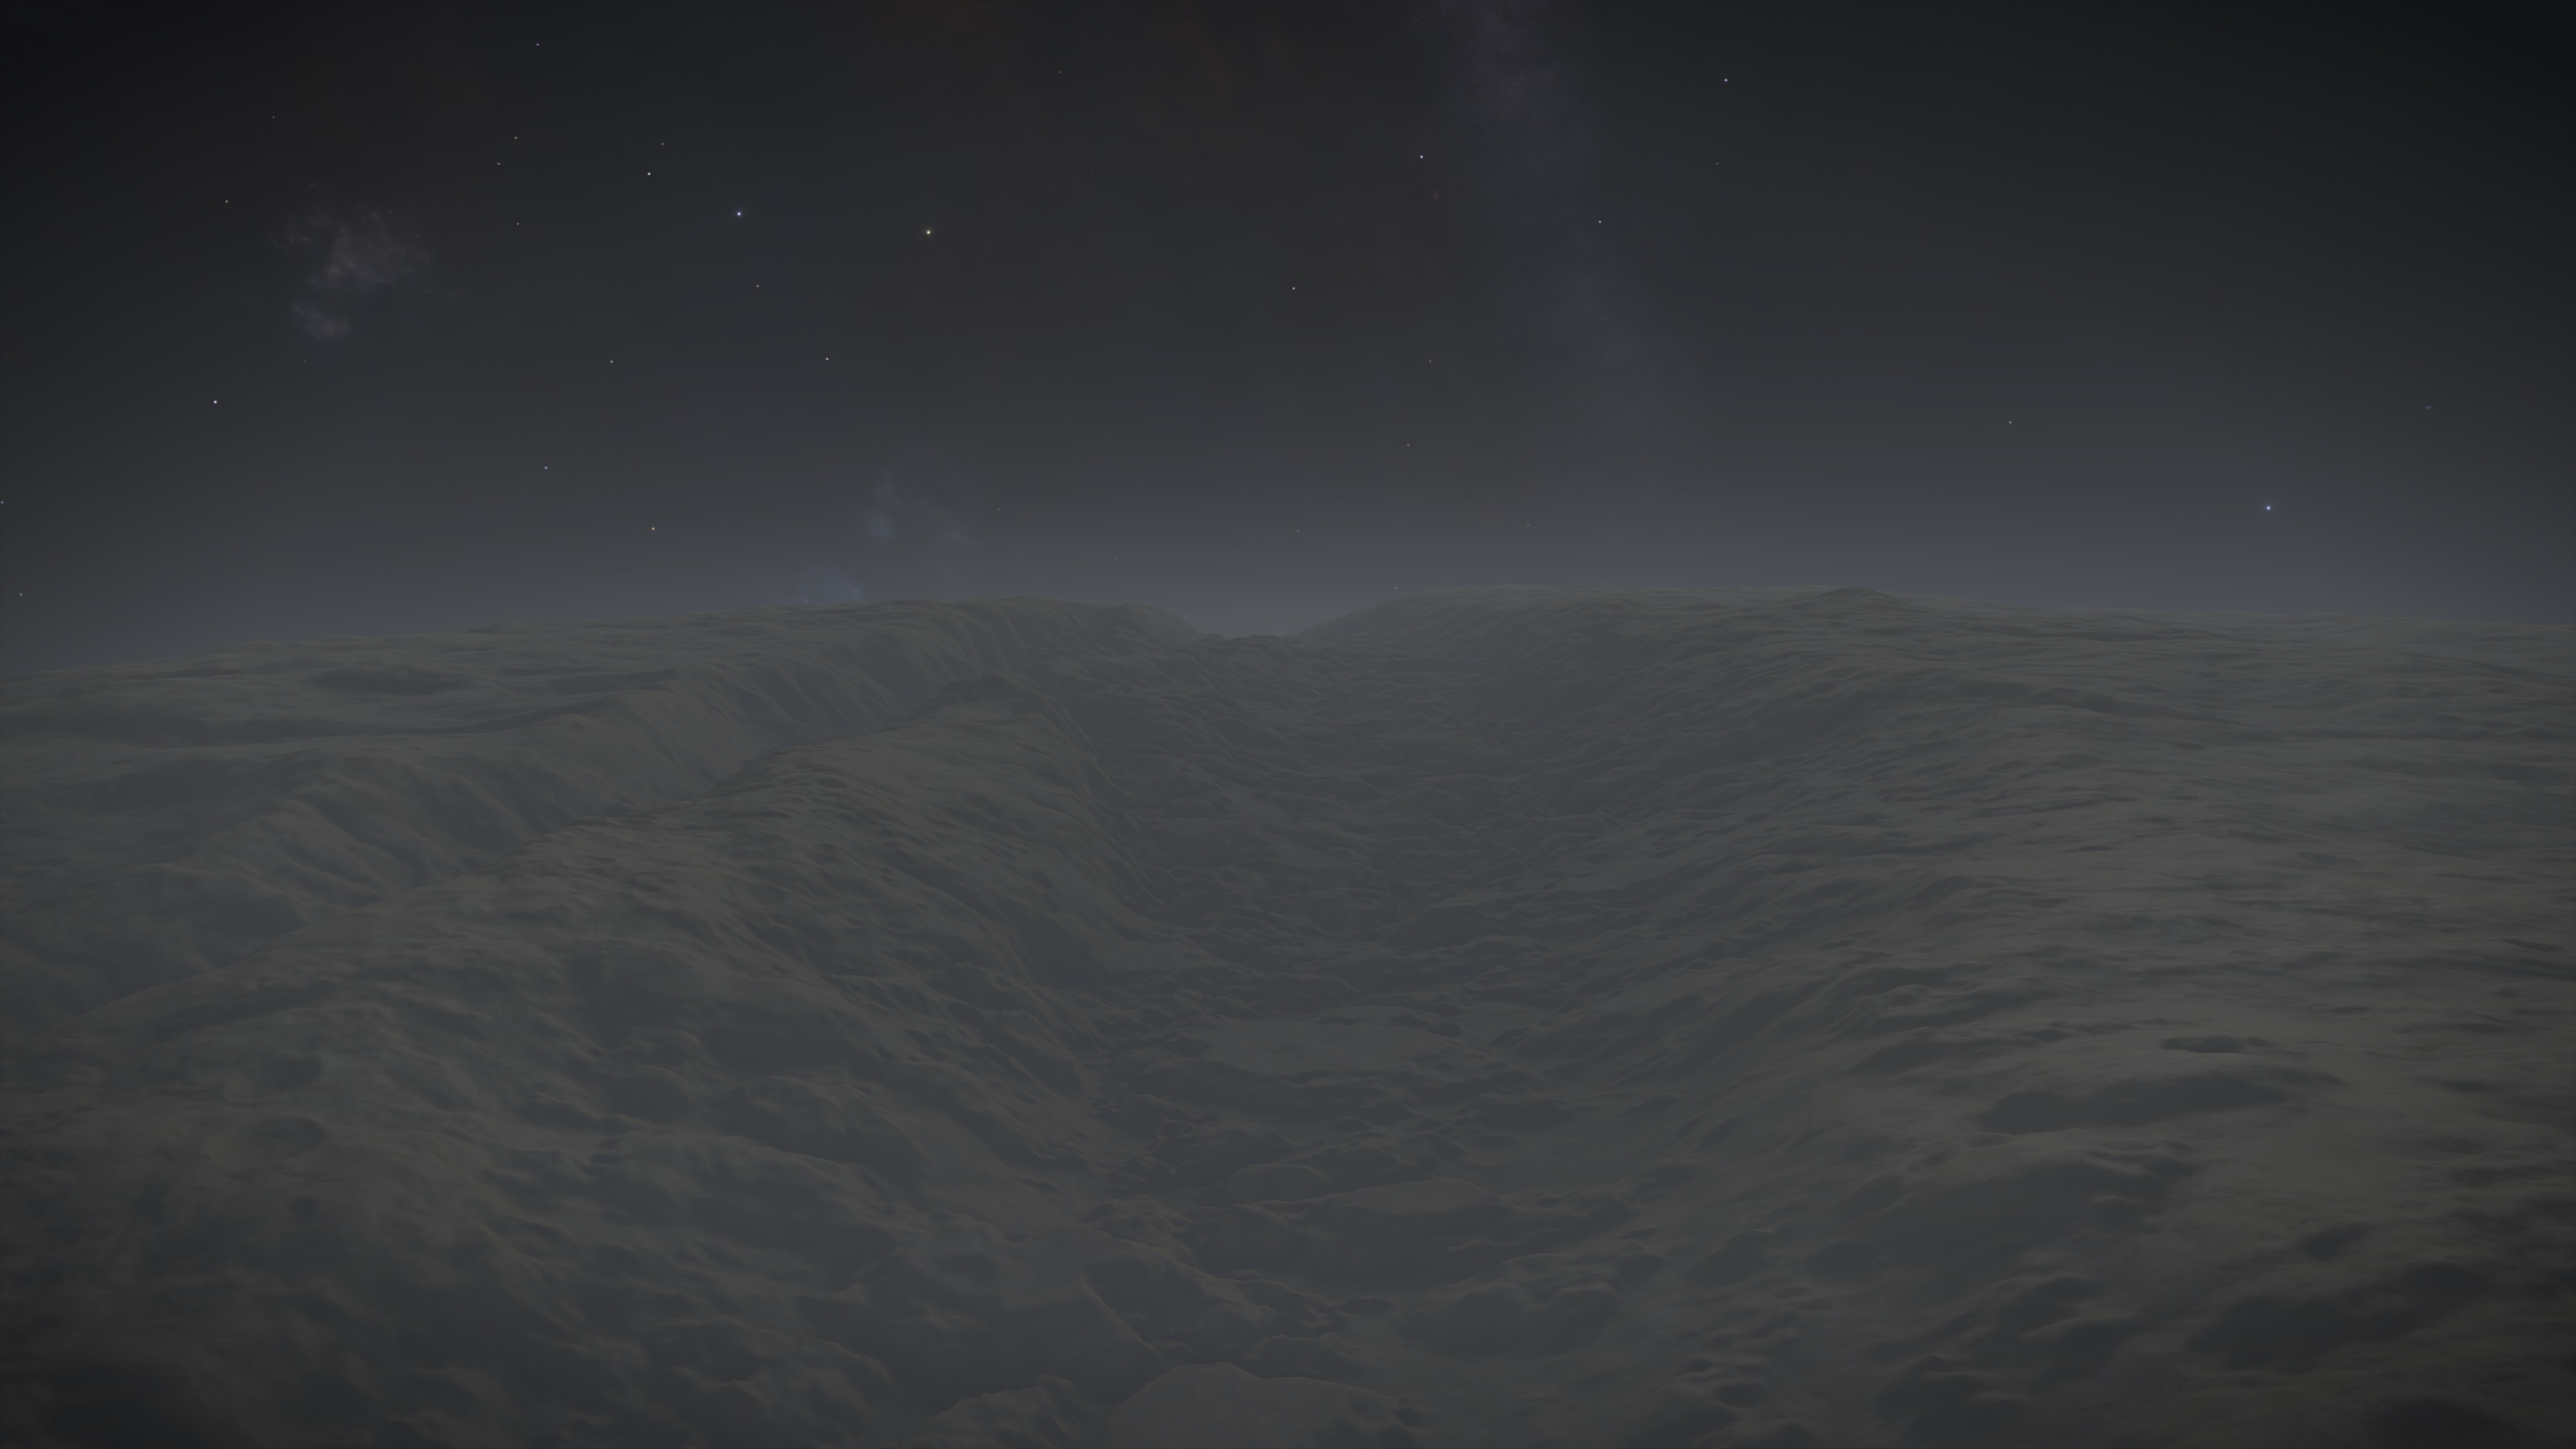
And close up from the SRV
And close up from the SRV
4. Mountain (-15.61/28.47)
Here we encounter the first Mountain on route (which could need a name, Ideas welcome), he has a size of 7.4km and will provide a nice landmark to follow in the Distance
5. Mountain Field (-13.25/-35.24)
There are various Mountains to find here, two stick out in Particular
Then its just a short way to the next part
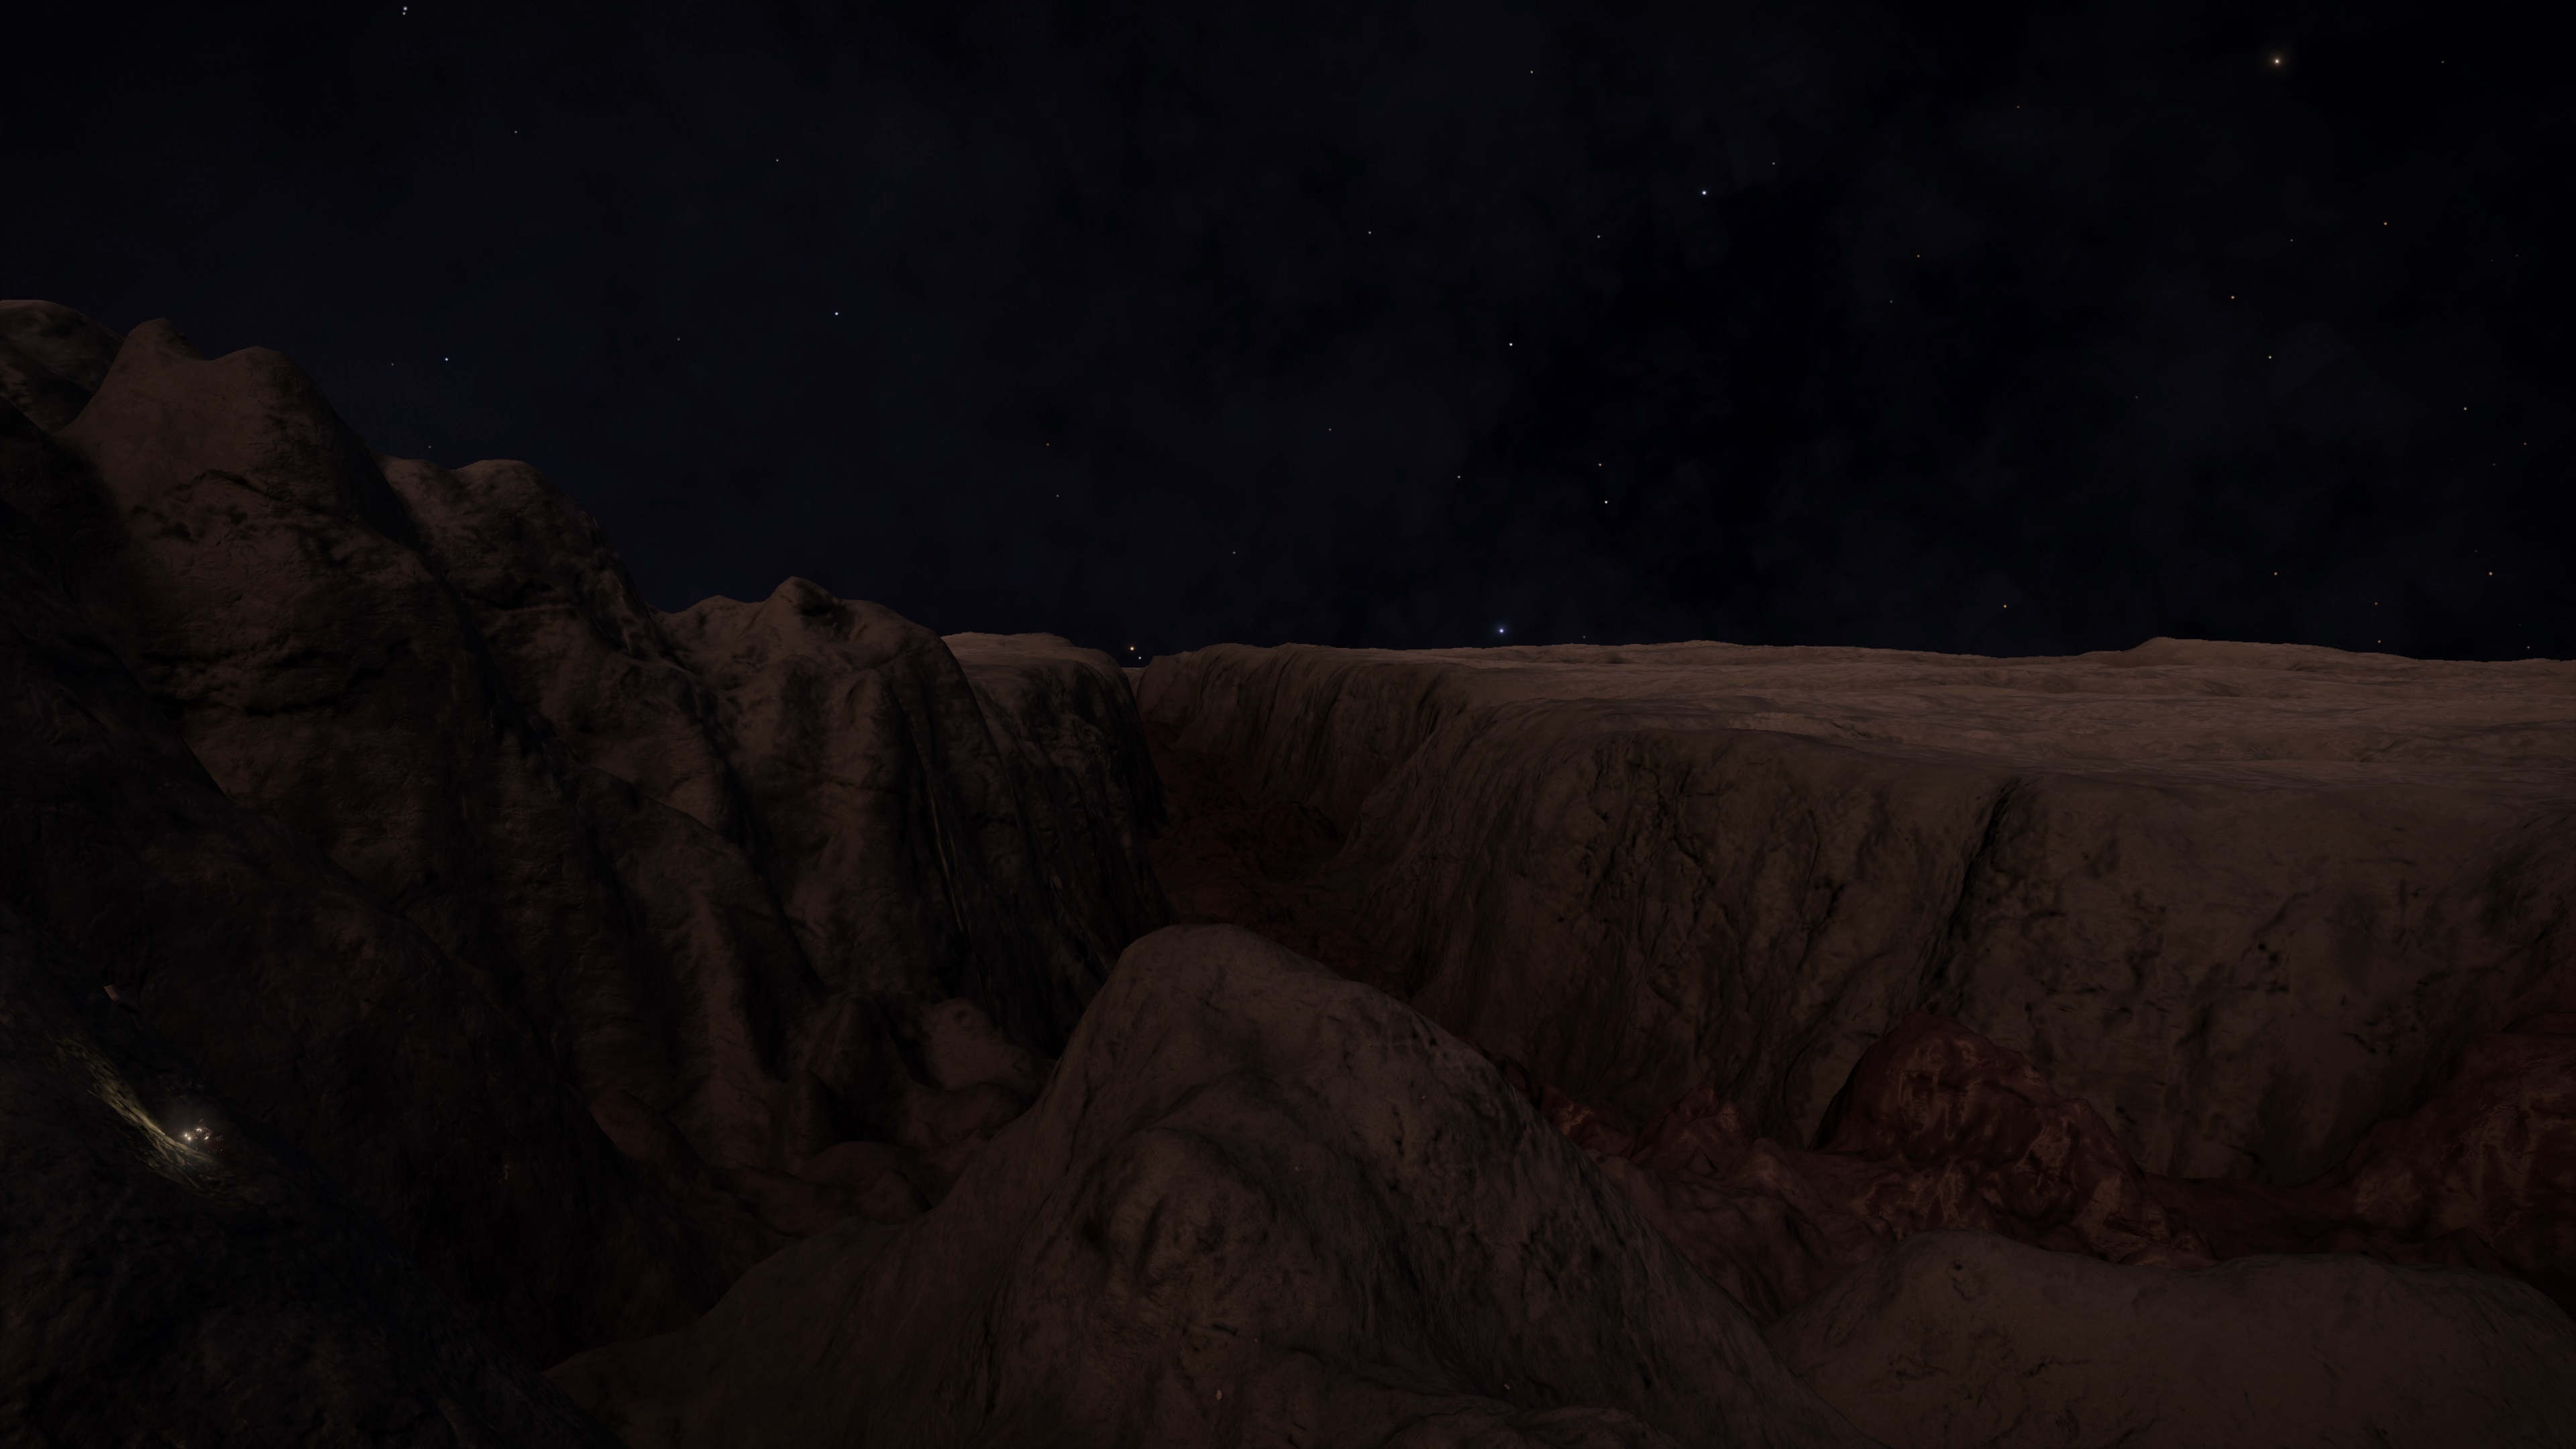
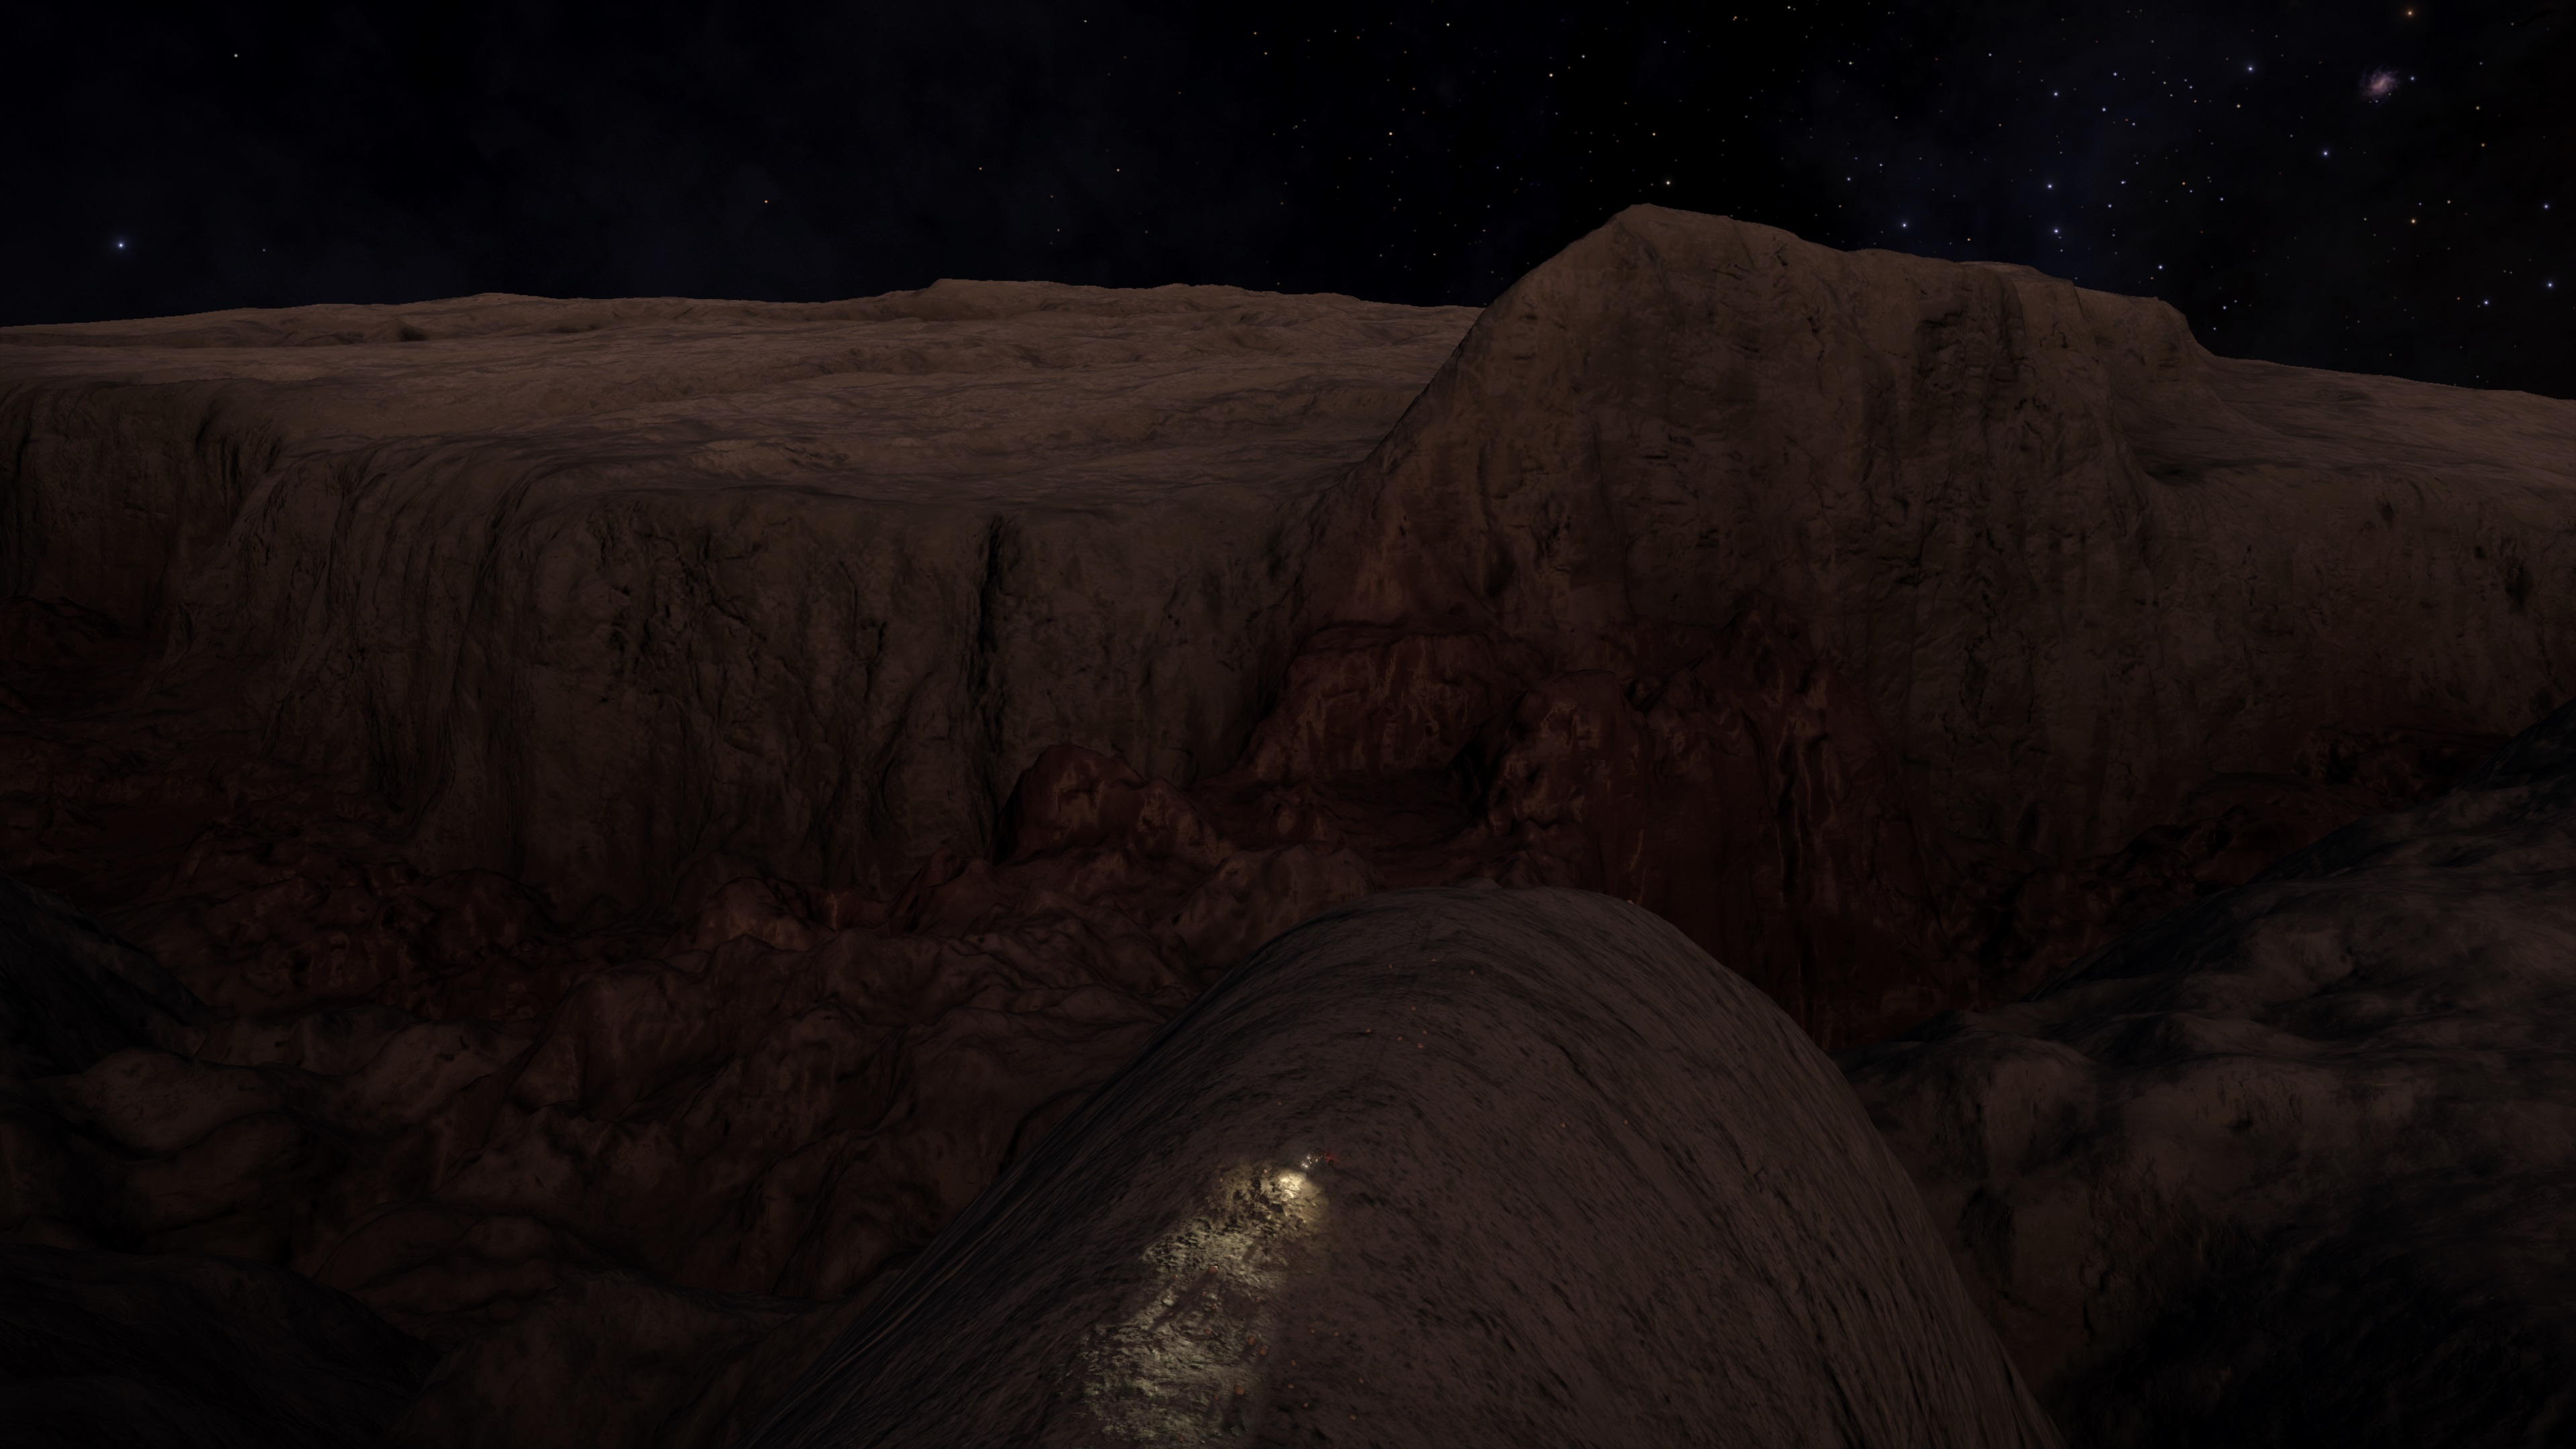
6. Madmans Ridge (-13.20/-44.15)
This Ridge gets its name because here the Madman inside of me took control over routeplanning. You might noticed the red arrow on the overviewmap, going there drving along the side of the Canyon would be simple drive, the smart way to go. I however will drive up the Madmans Ridge starting at point 6.
This ridge too is split by a canyon, going down, sticking to right and driving up the ridge again has been tested and is possible with some serious hillclimbing
Closer overwiev shot of the first part
Up ahead where the split is with ridge ahead I have to hillclimb
Up ahead where the split is with ridge ahead I have to hillclimb
7. Madmans Jump (-14.65/-61.78)
Here is where the Madman naming really comes into play, because from here I will make a jump from the top of the Ridge across the canyon to the other side. Which is risky and very unecessary since I in the case of a success will just end up where I would end up taking the smart way.
I have to jump a Distance of roughly 7.8km starting with a height advantage of 6.5km
Overview of the jumparea
The ramp to take (x marks where I should try to land)
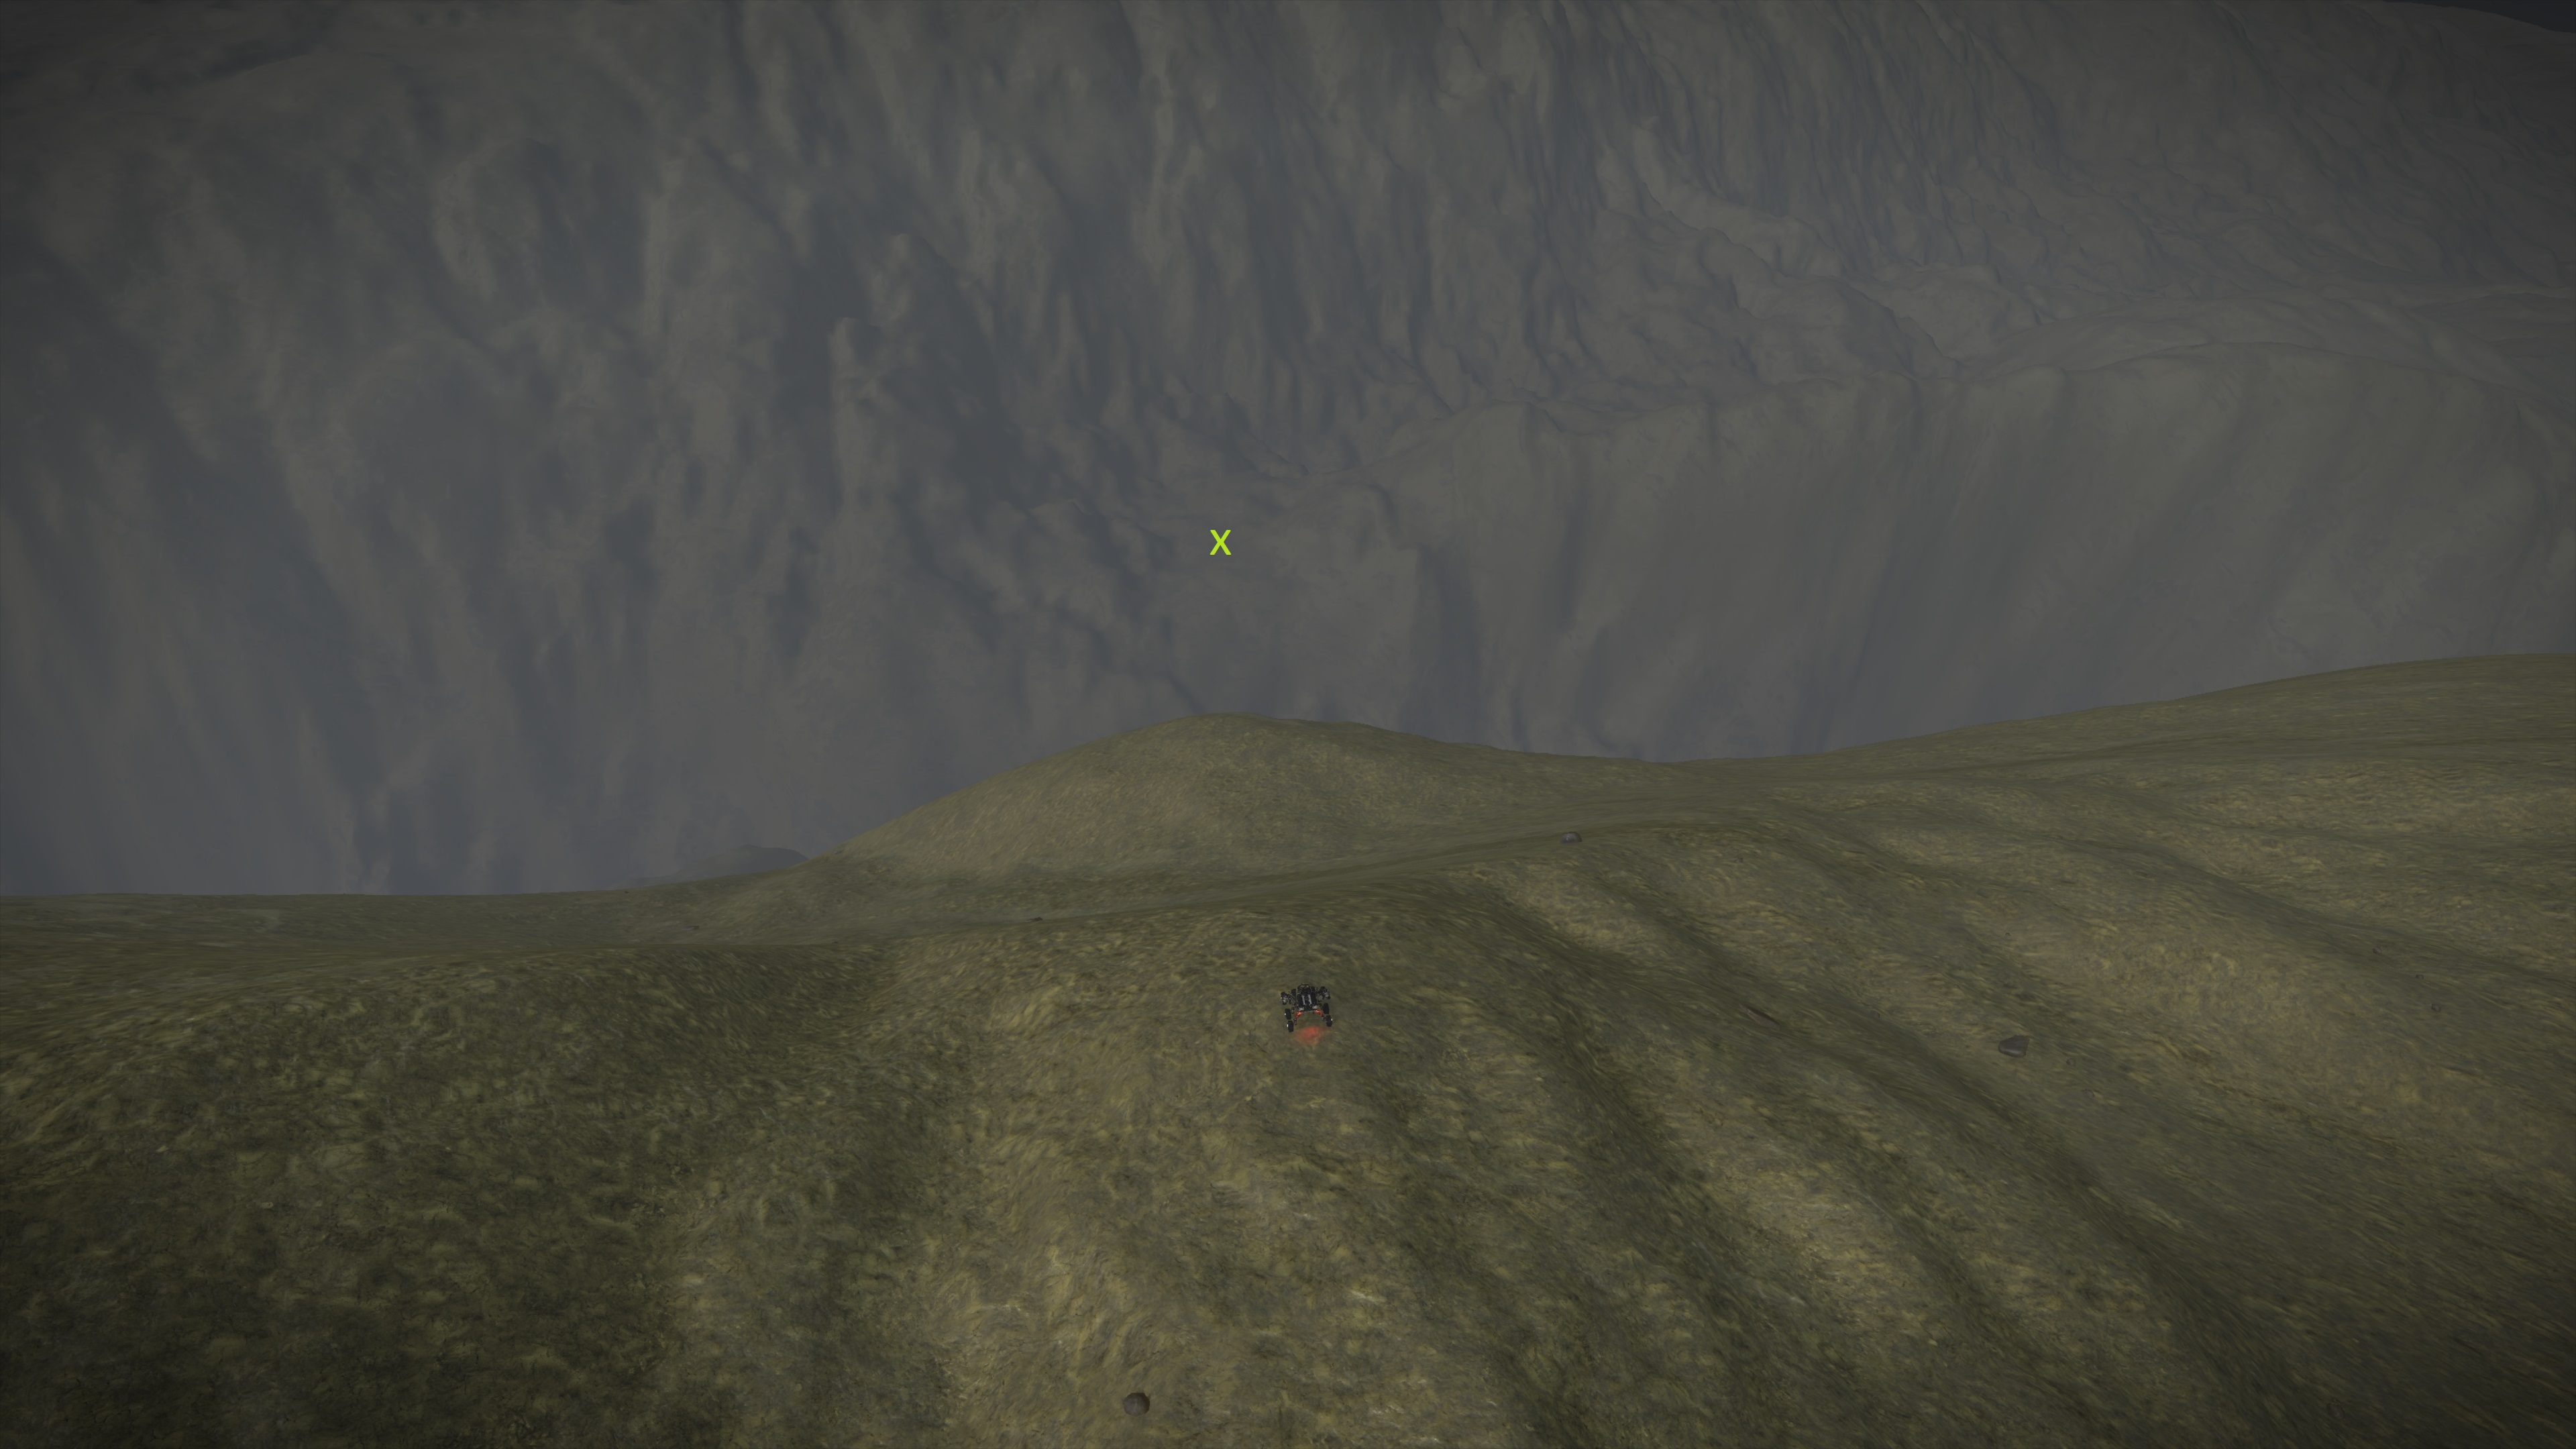
The ramp to take (x marks where I should try to land)
And having a bit fun here can't hurt since it will be very long drive to the next point
8. Mountain Climbing (-11.49/-144.71)
Here we have some more Mountains with the interessting one being the one at the top on the right
After that we are getting close the starting position, but it gets a bit more complicated
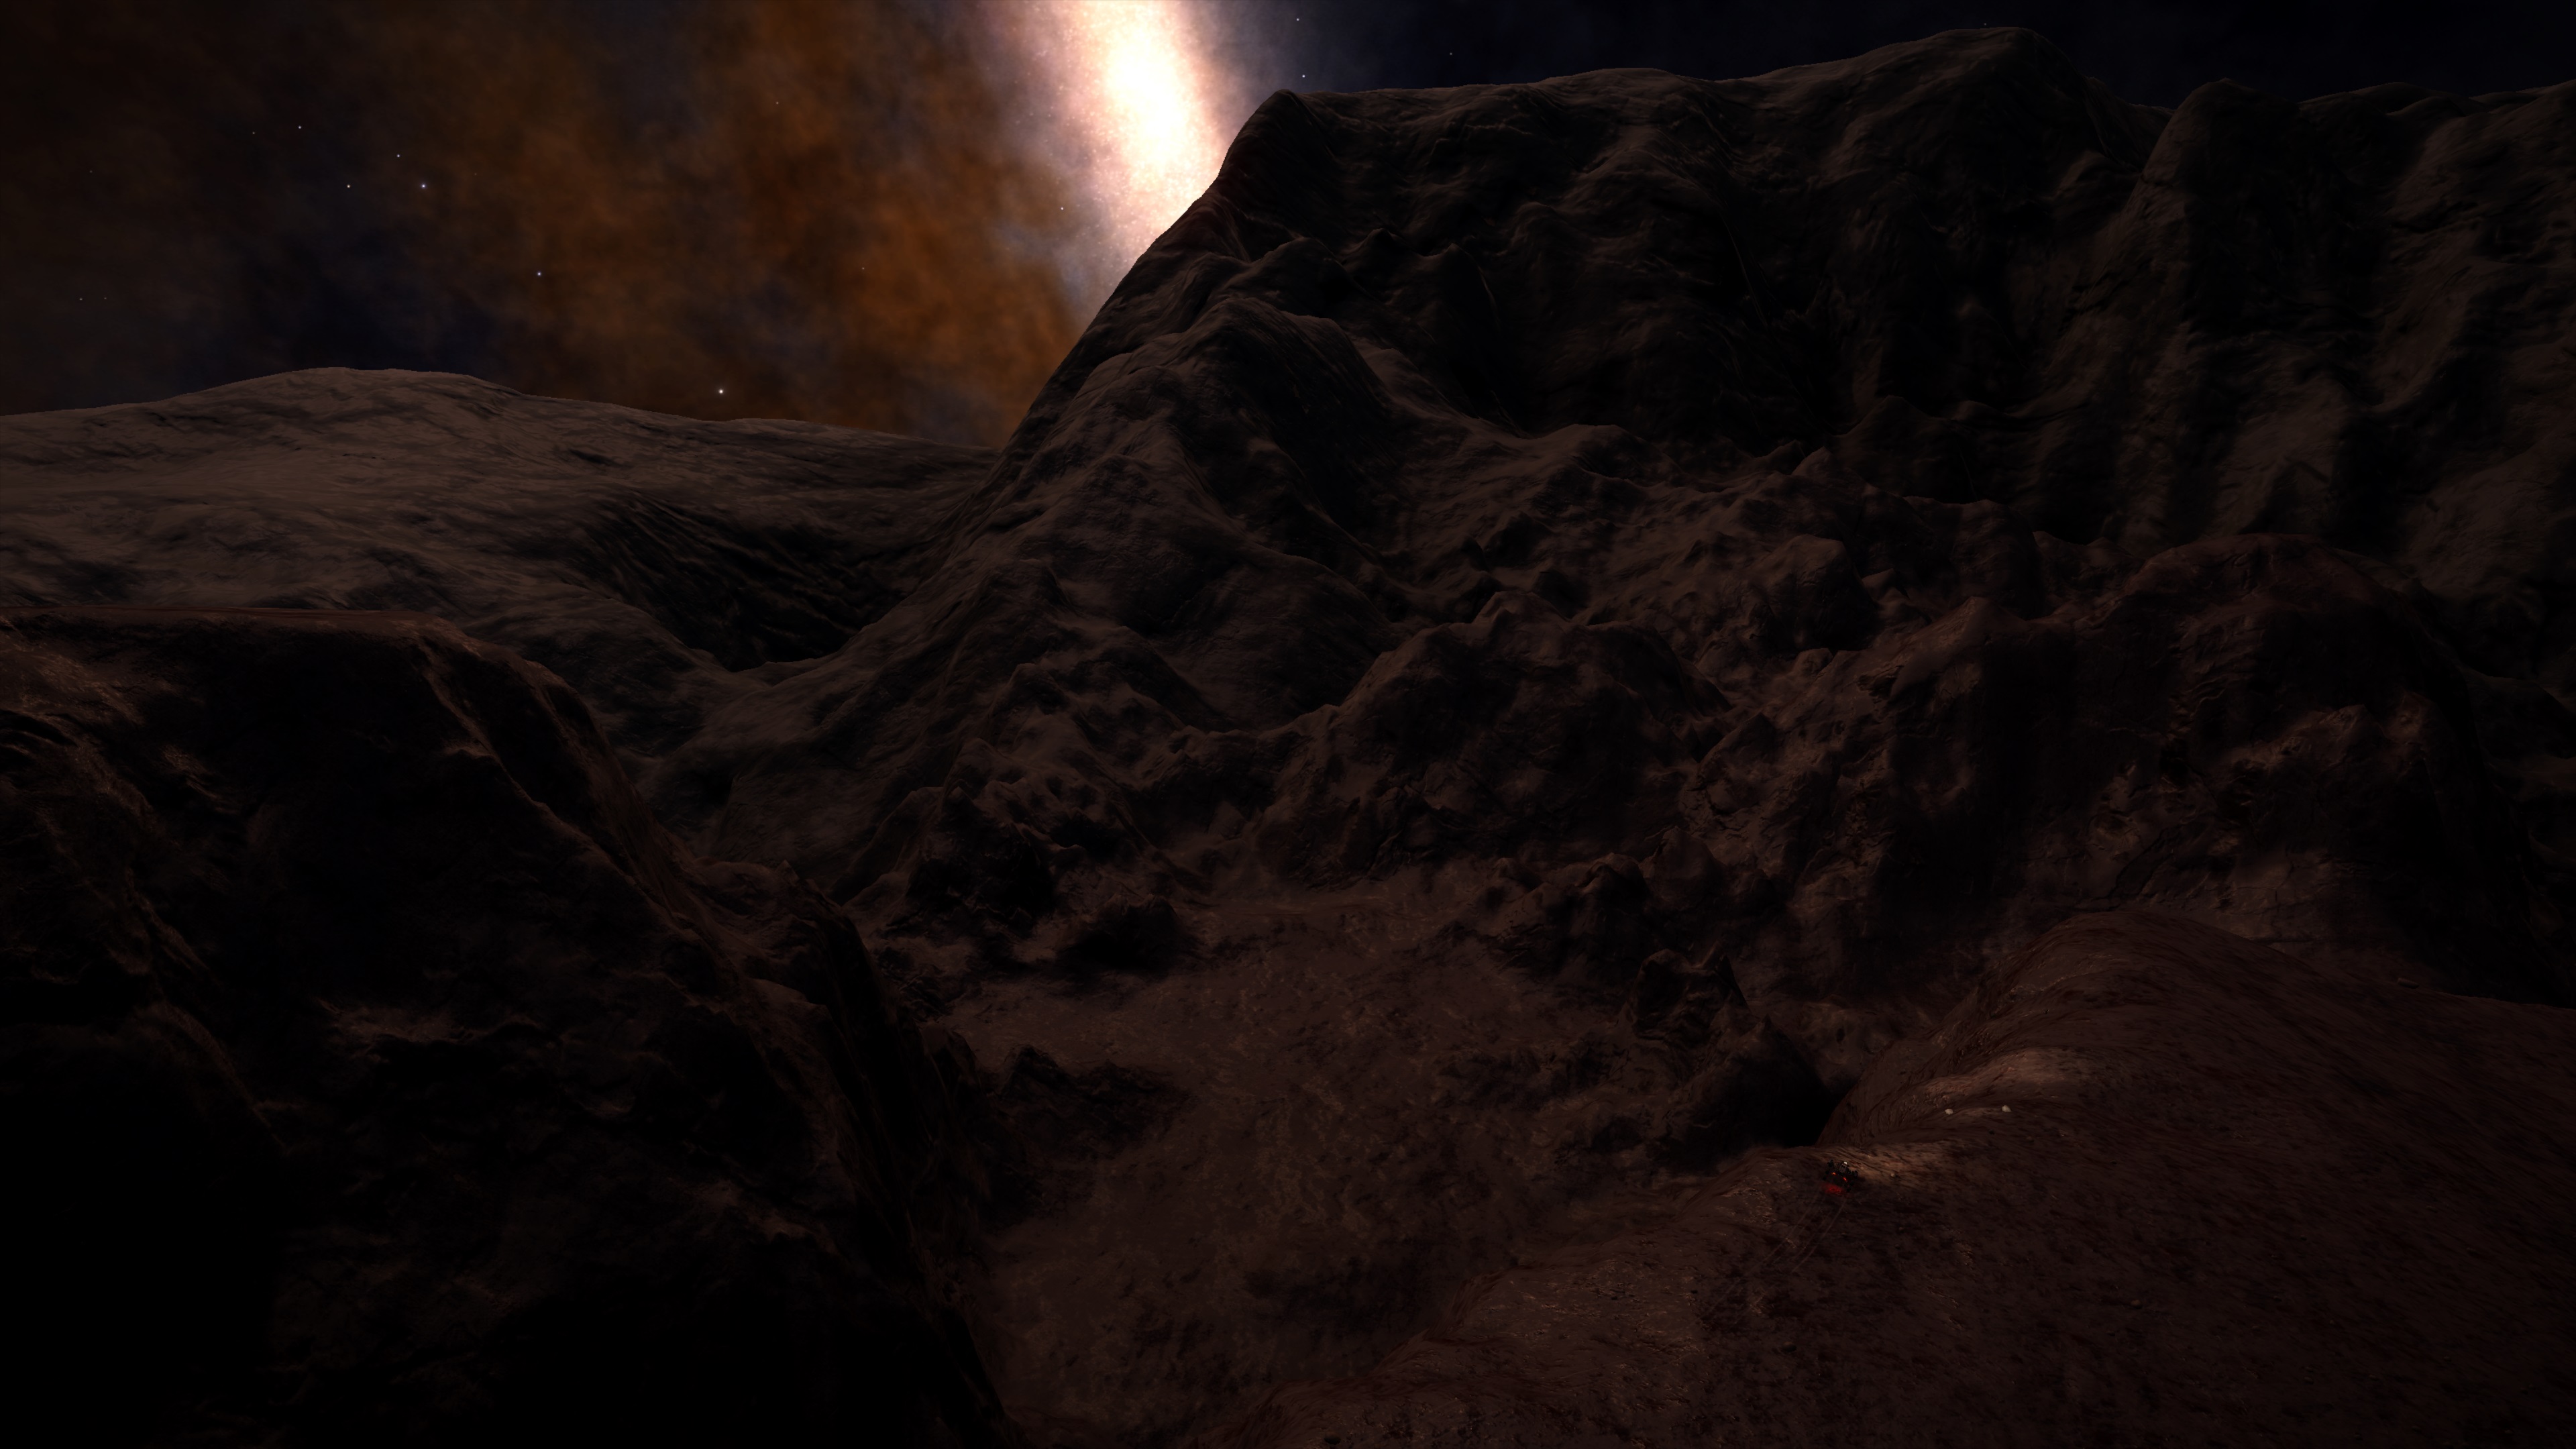
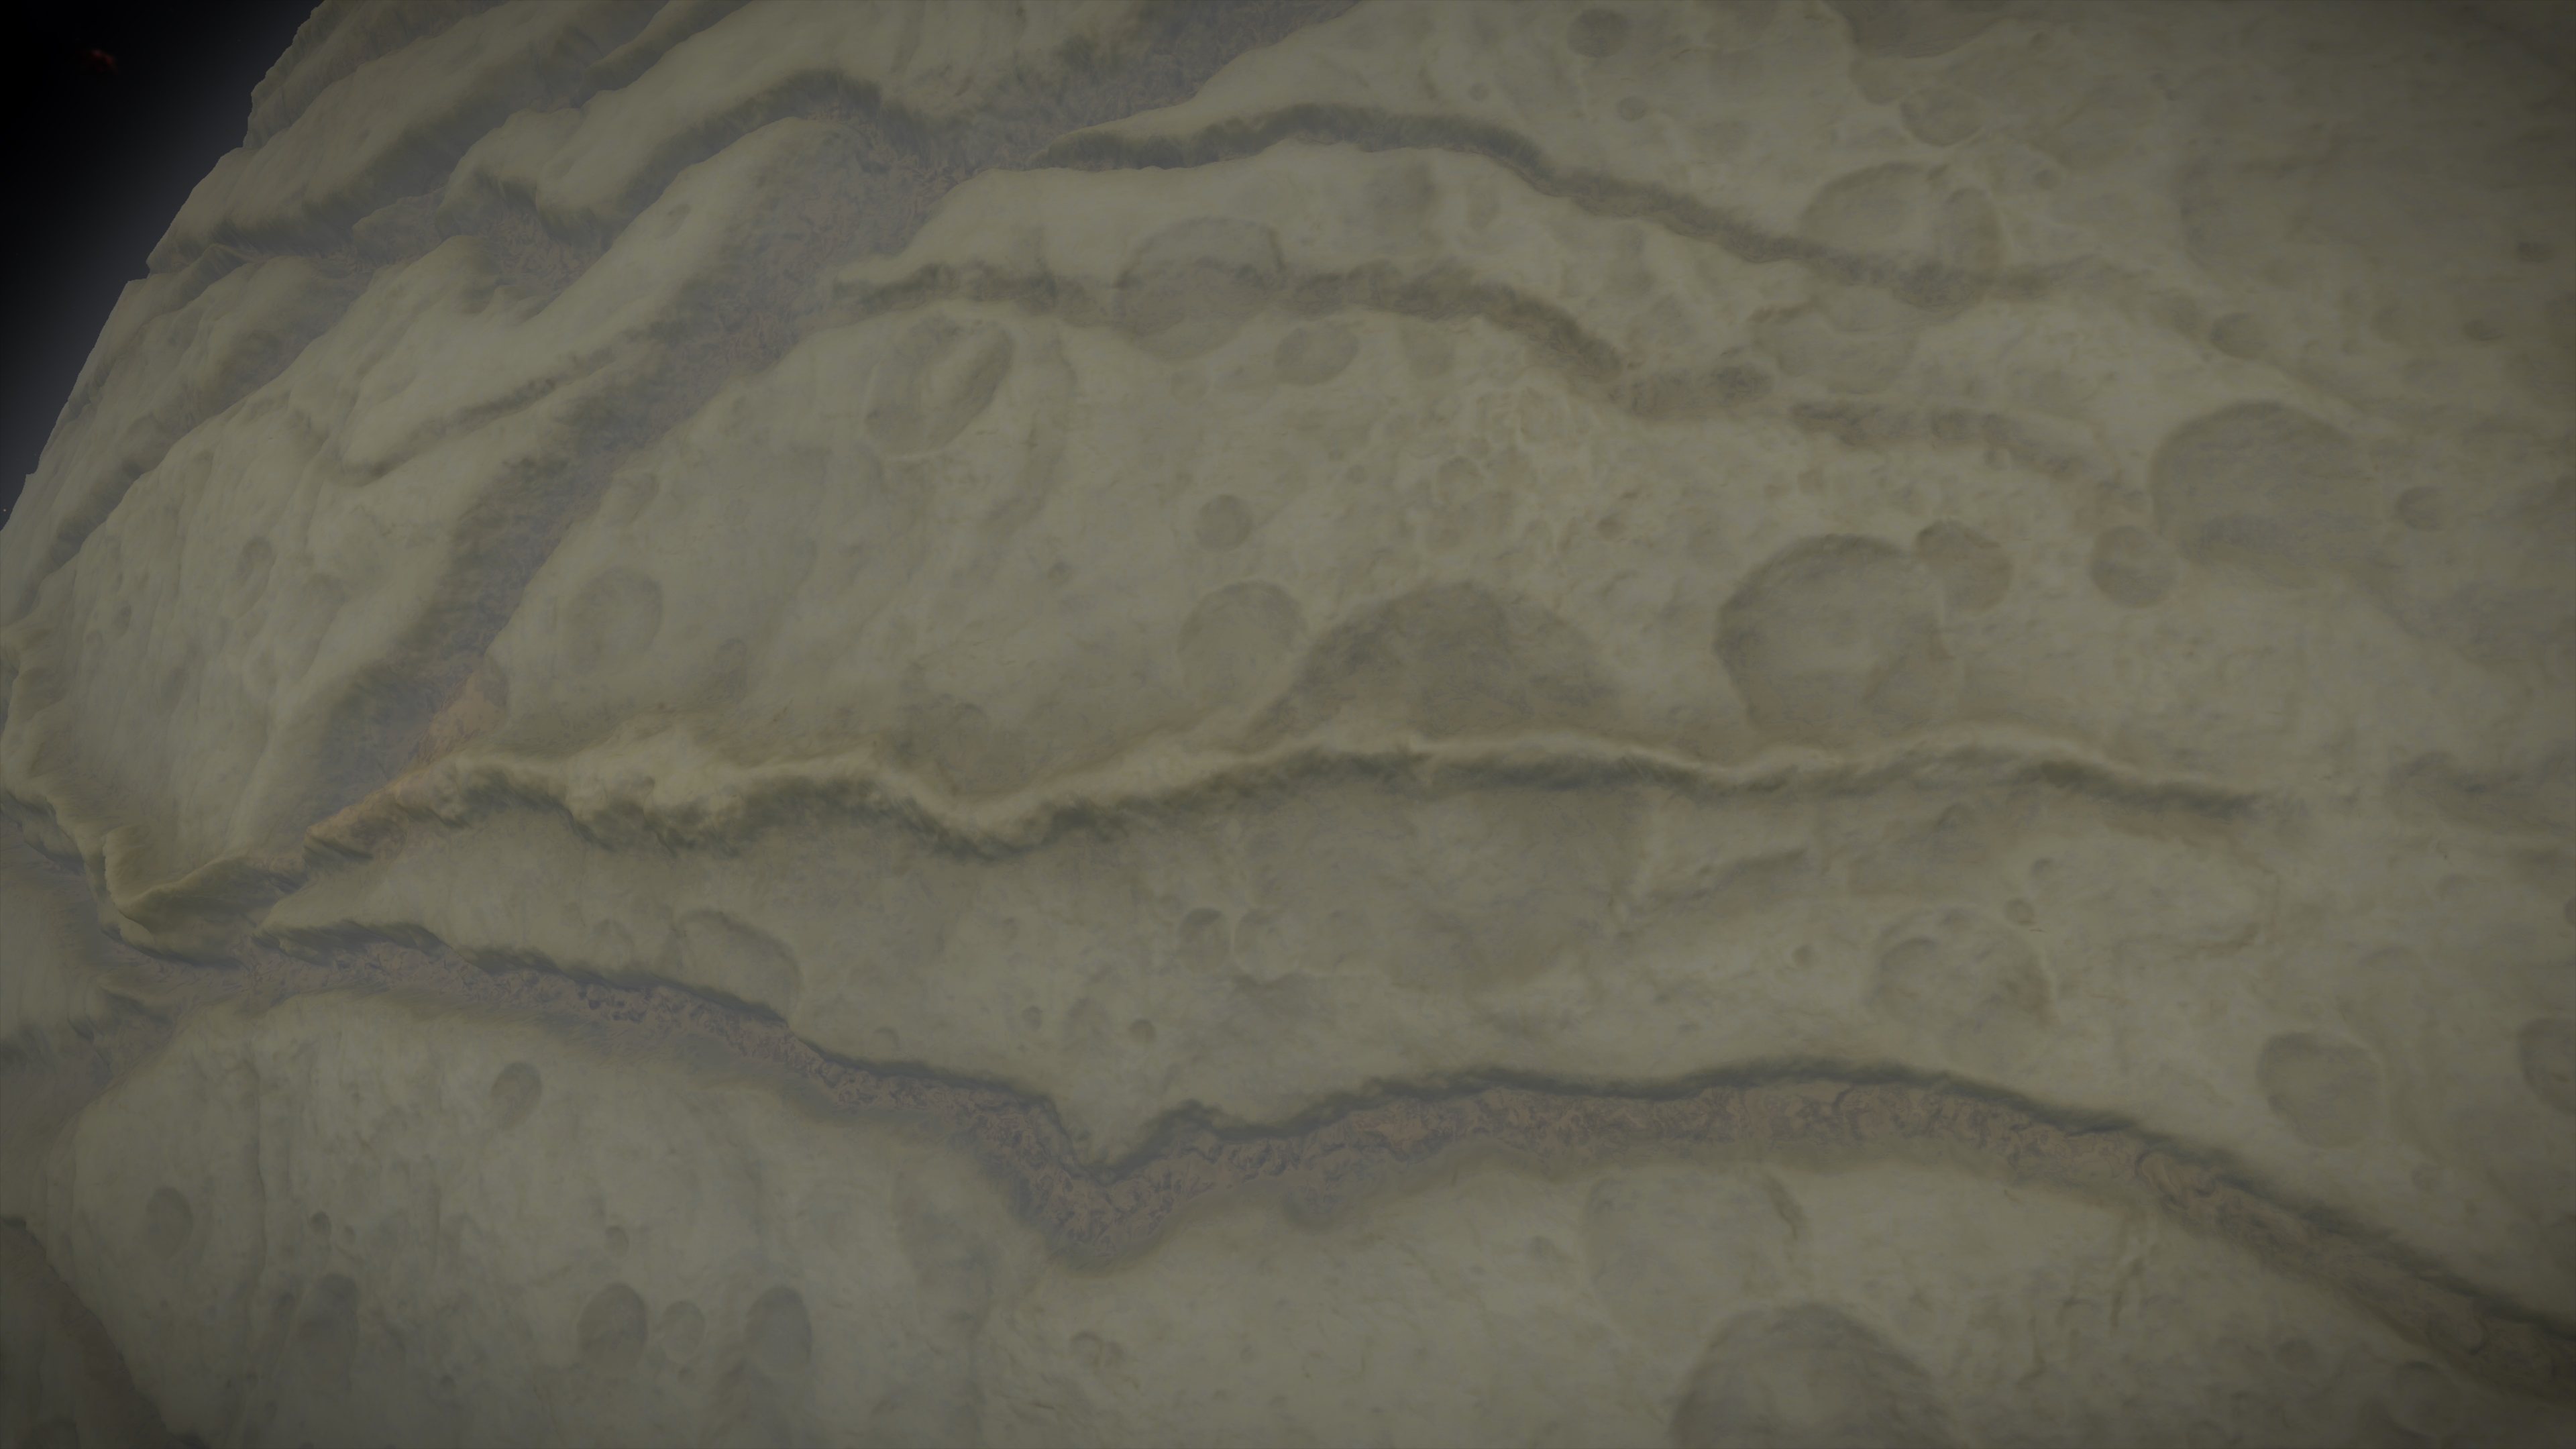
9/10 Canyon Diggin' (8.93/-167.16)
As you might notice on the overwiev map where you can see Point 8 and the starting position at Point 1 the direct way between those two points leads right across some Canyons. I did a lot of testing, jumping here and there, trying to drive up here and there and already failed making it across the very first Canyon in my SRV.
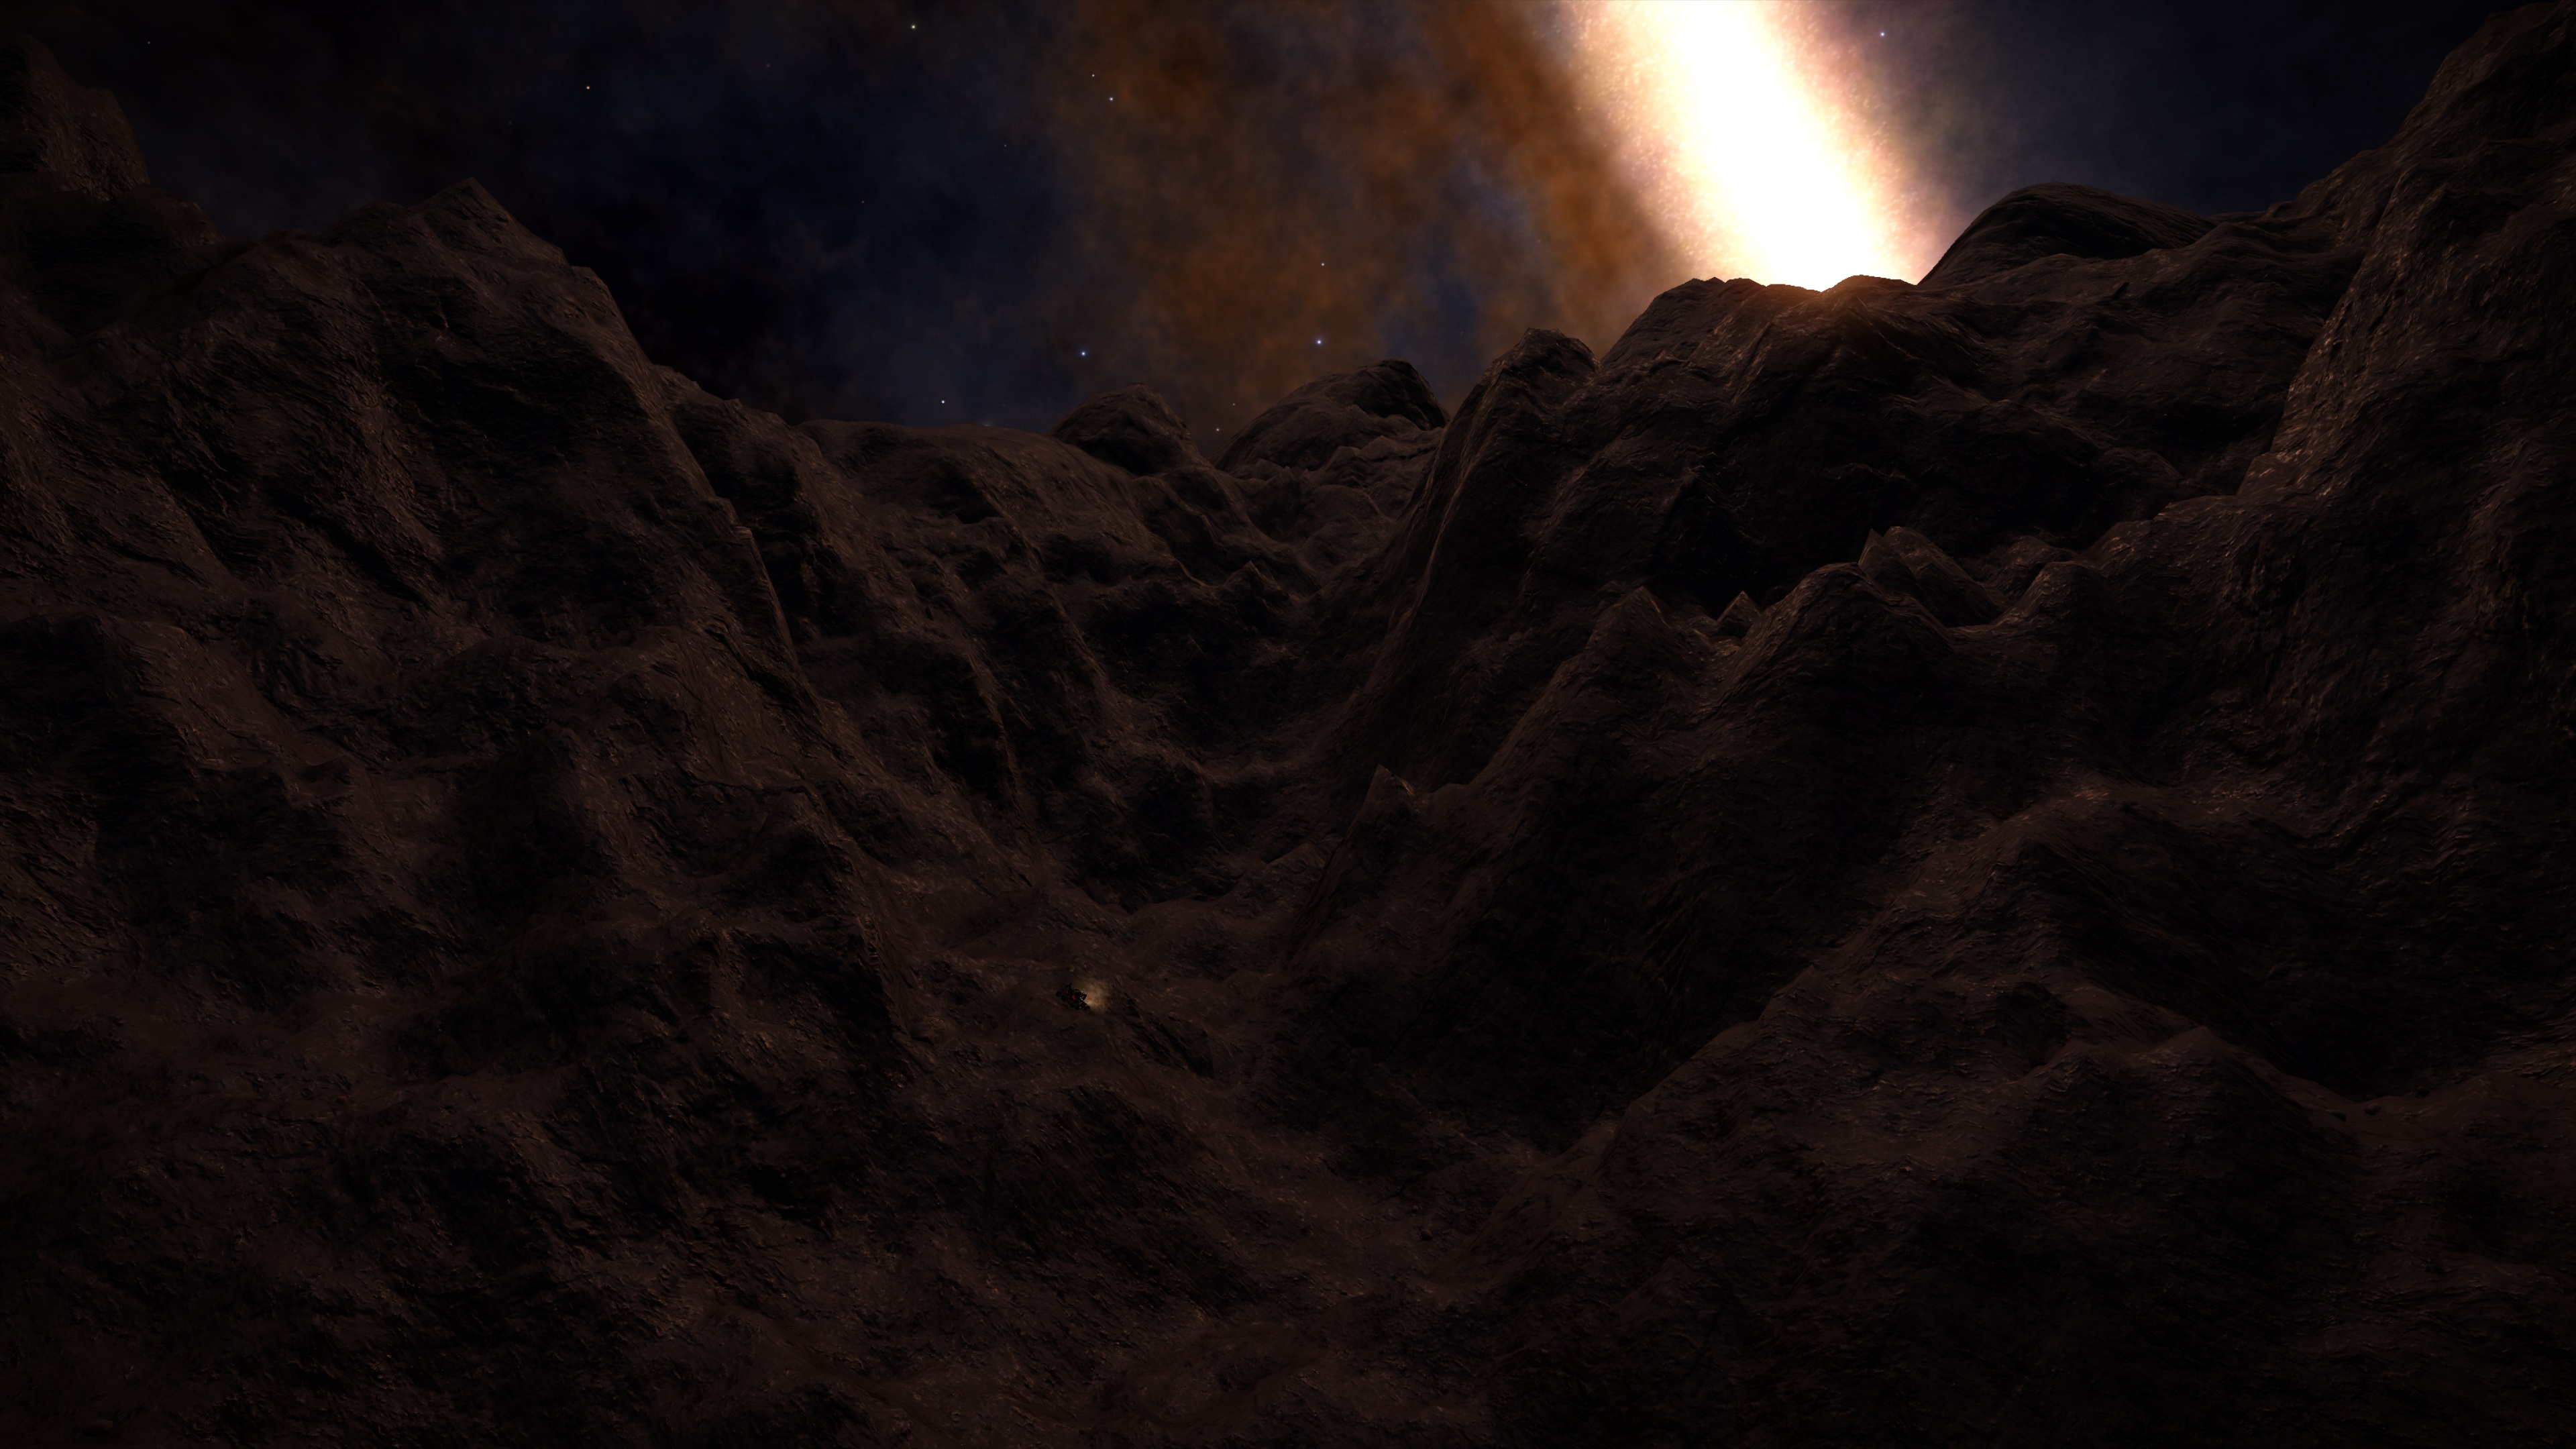
Which means its time for a detour, looking at the map going up was the clear winner as way to go. Which I will do buuuuuut... well I got a bit crazy again. I saw a potential way of driving through the Canyon there, would be better to just go around but I love driving in proper deep canyons and here we have proper deep canyons so I gotta do it!
The way through the Canyon
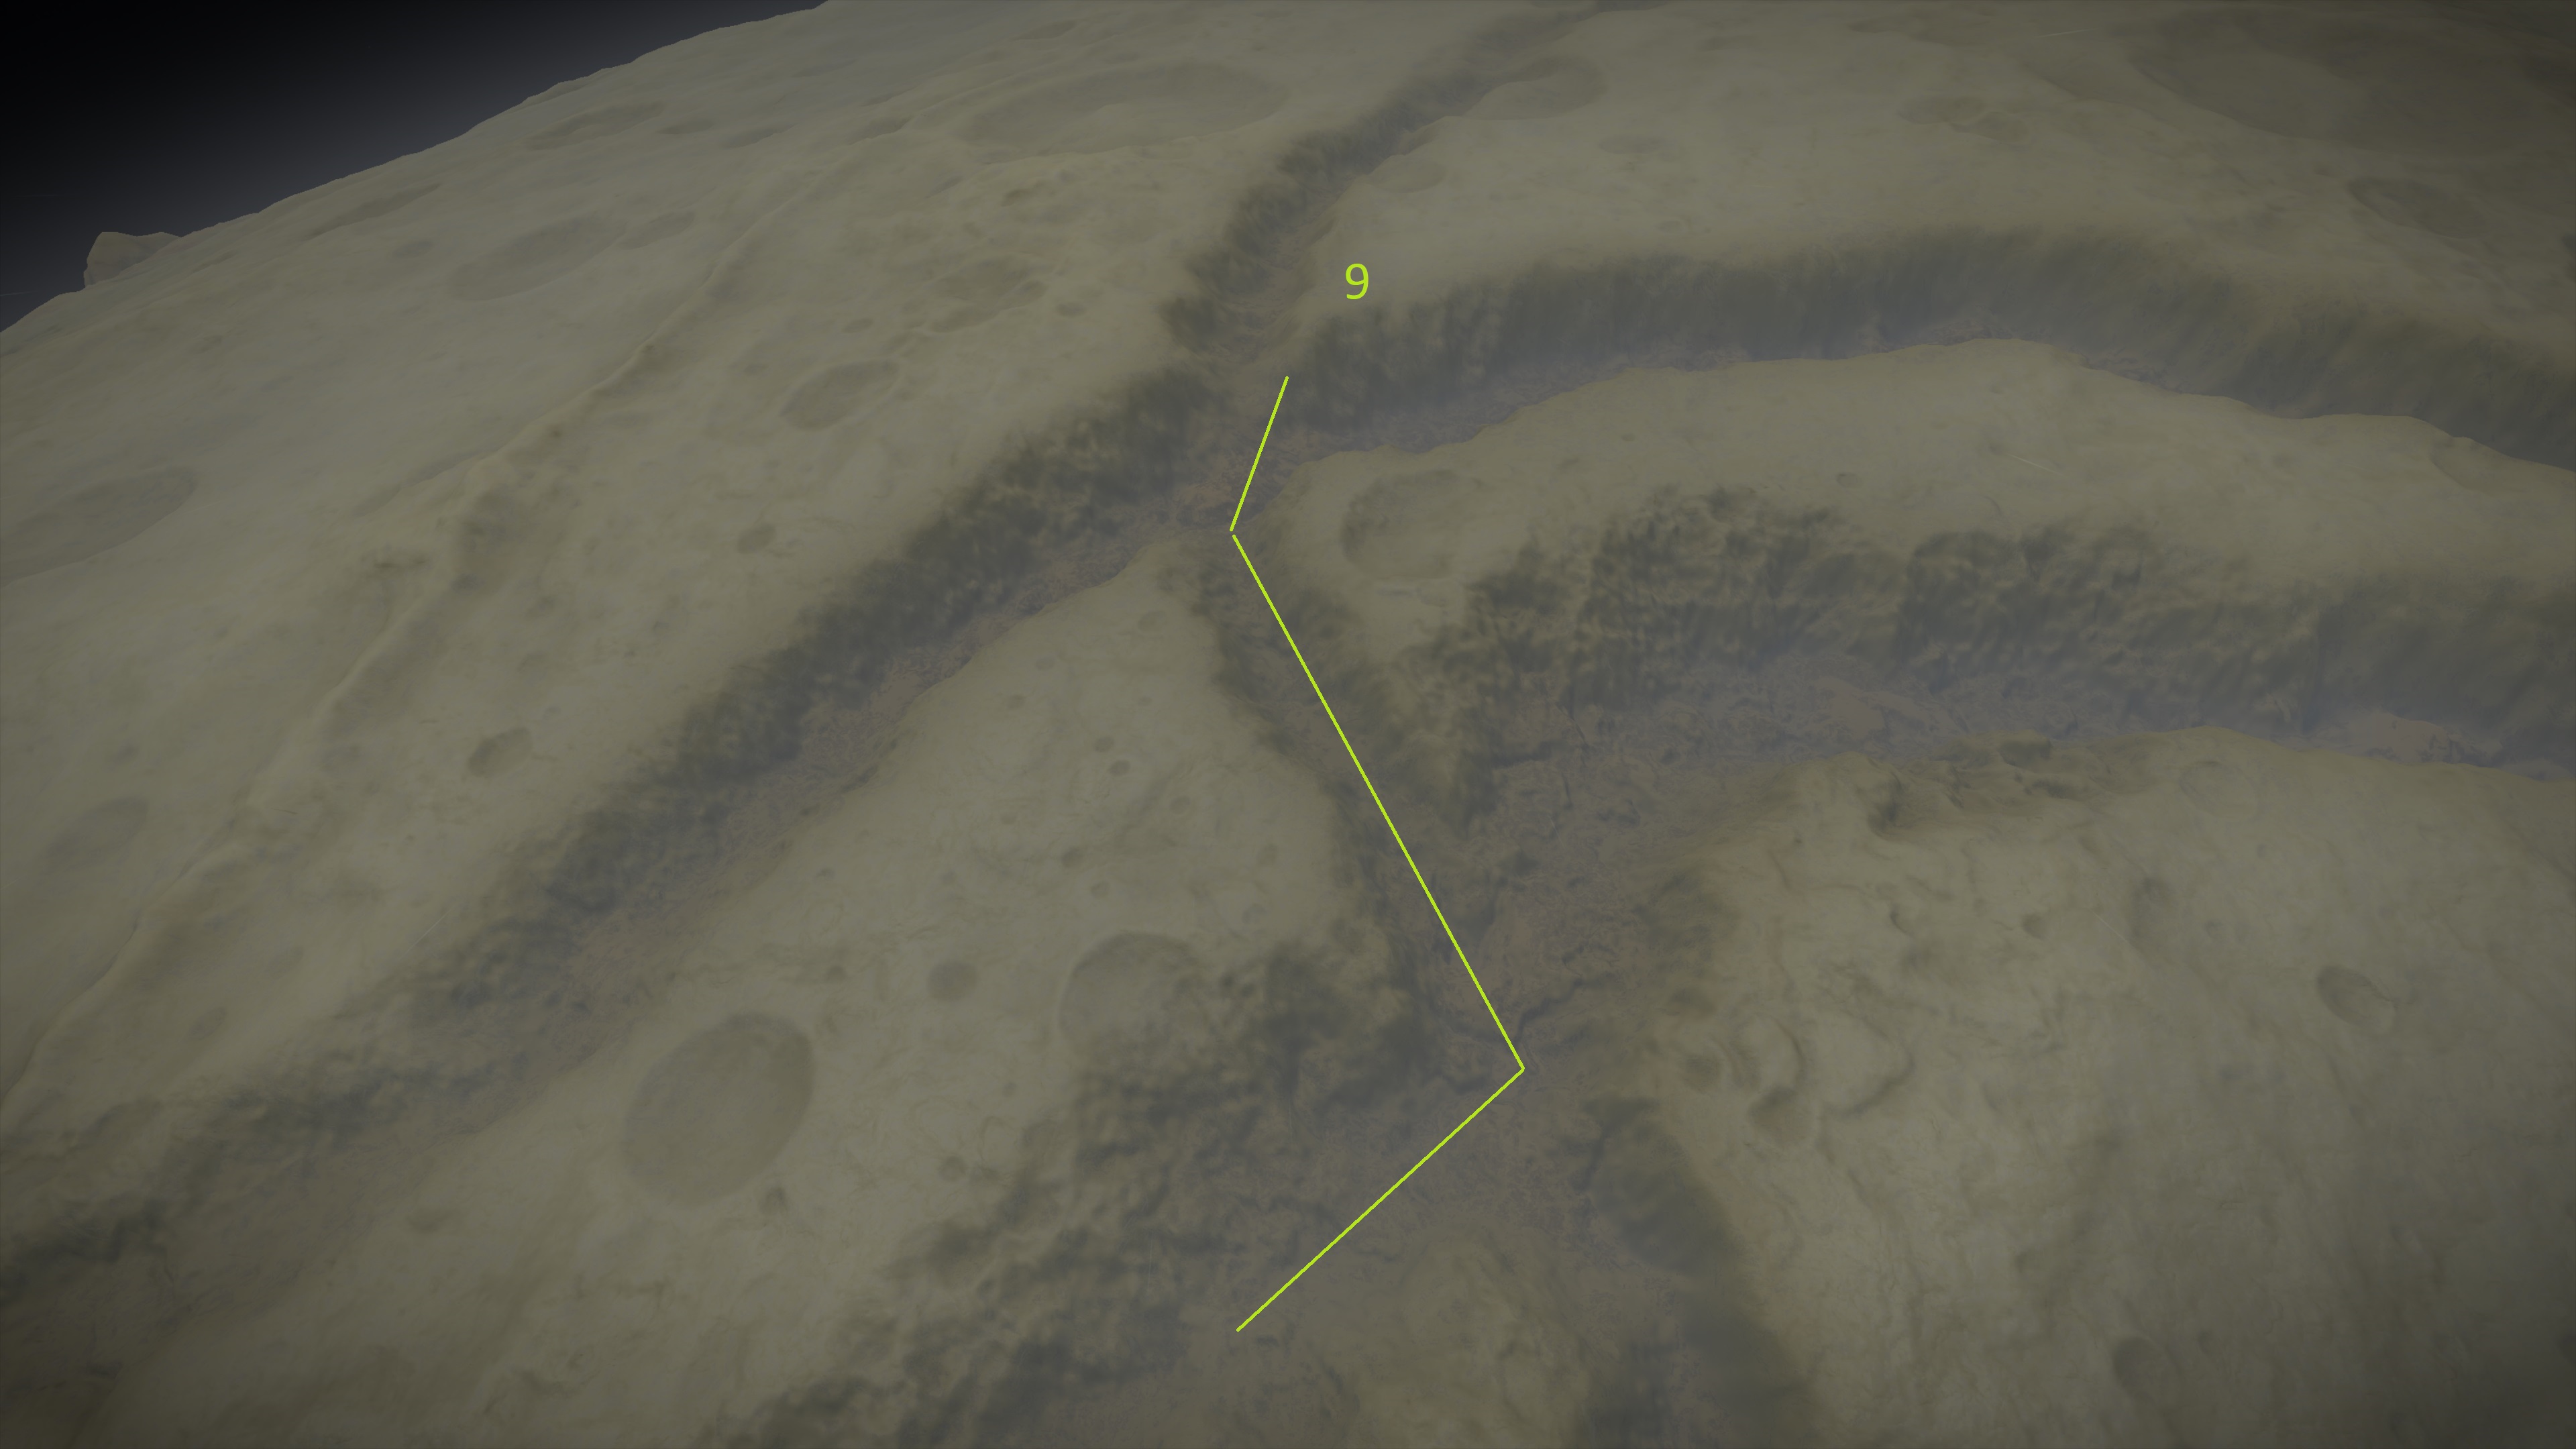
Close up from the entrance point
Close up from the entrance point
Also Point 10 is more "sorta about here" sugesstion, I will leave the canyon where I'm able to but its probably gonna be around there at the end of that Canyon.
Once out its a simple drive again to the next point
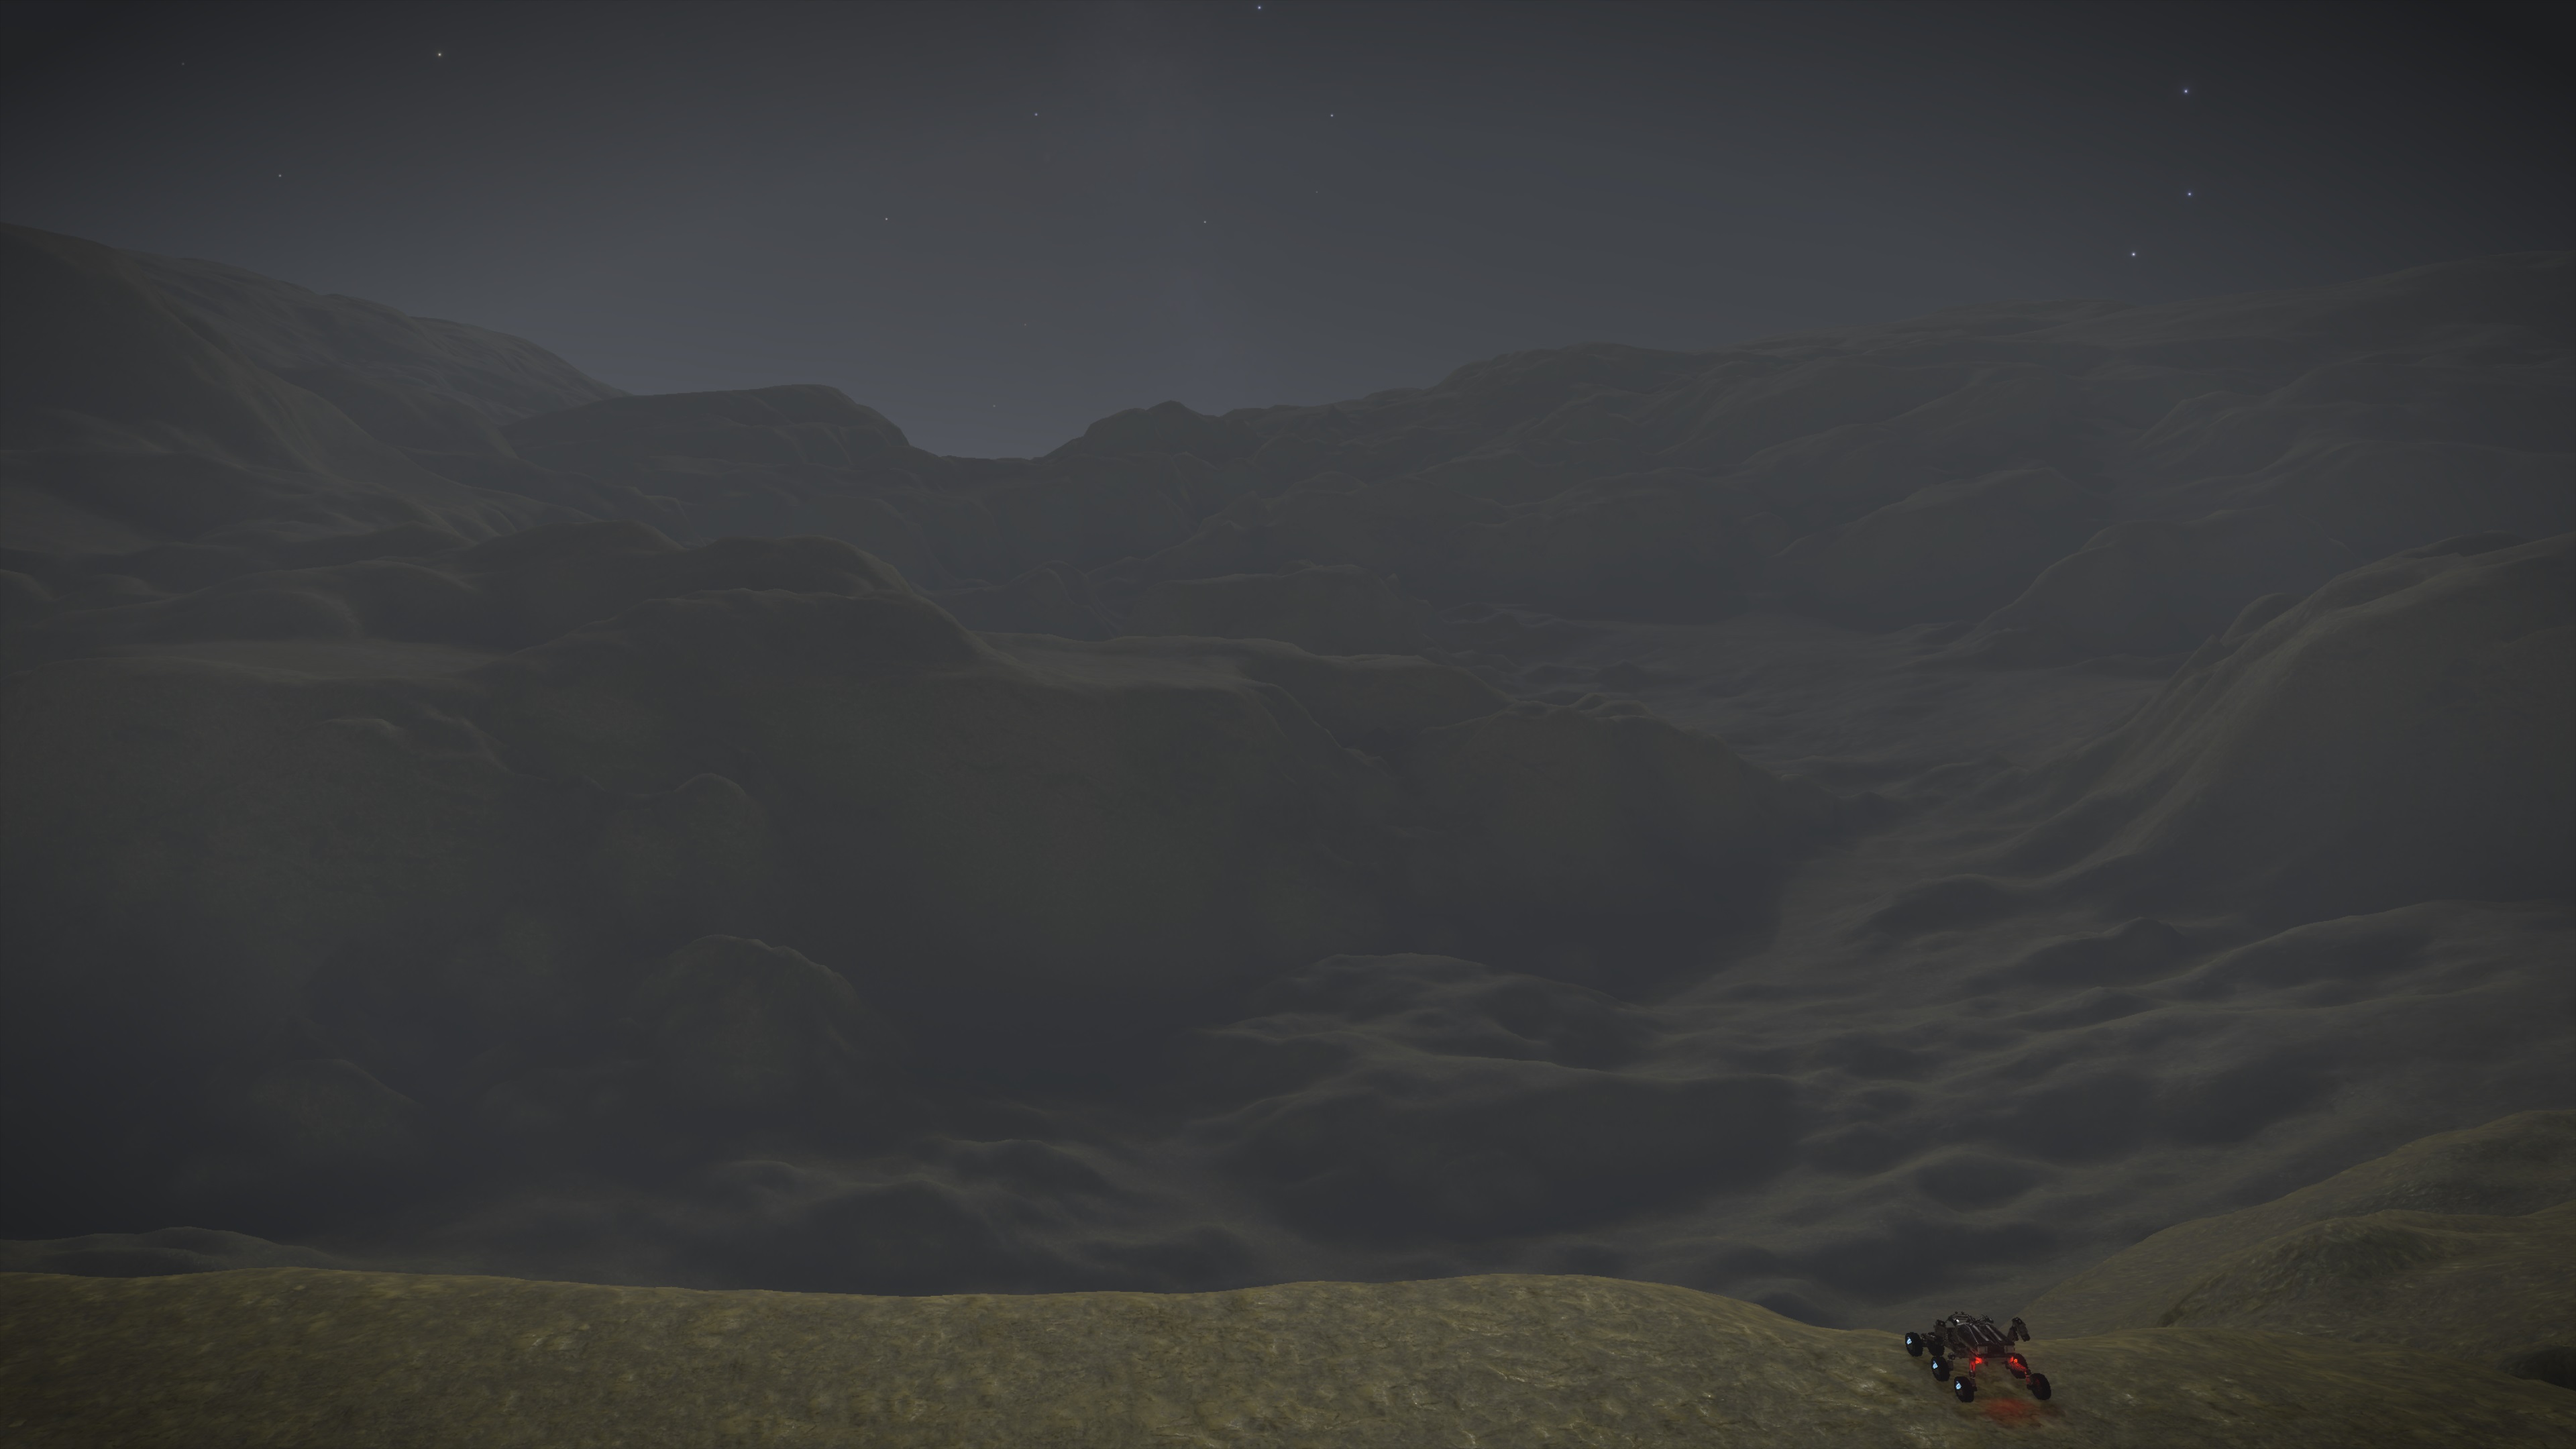
11. The Hill (-9.13/173.55)
This may be a little bit of an extra detour but I saw it and its nice little hill below 3km, easy to drive up it will provide a good resting place and a bit of an overview for the way ahead.
Its the little bump in the foreground, not the big one in the back
12. Nostalgia Trip (-17.10/165.52)
Here will be the start the last part of this Circumnavigation and very nostalgic one! I did before drive up that ridge here and then along the ridge back to Bomba Point and I did so in the company of many great CMDRs. Its gonna be a very nice final stretch
A nice way up the the Ridge once souted out by CMDR Maxmilian Czhilli, I gonna try retracing that coming in at the Ramp Camp

Overview of the Ridge with extra markers
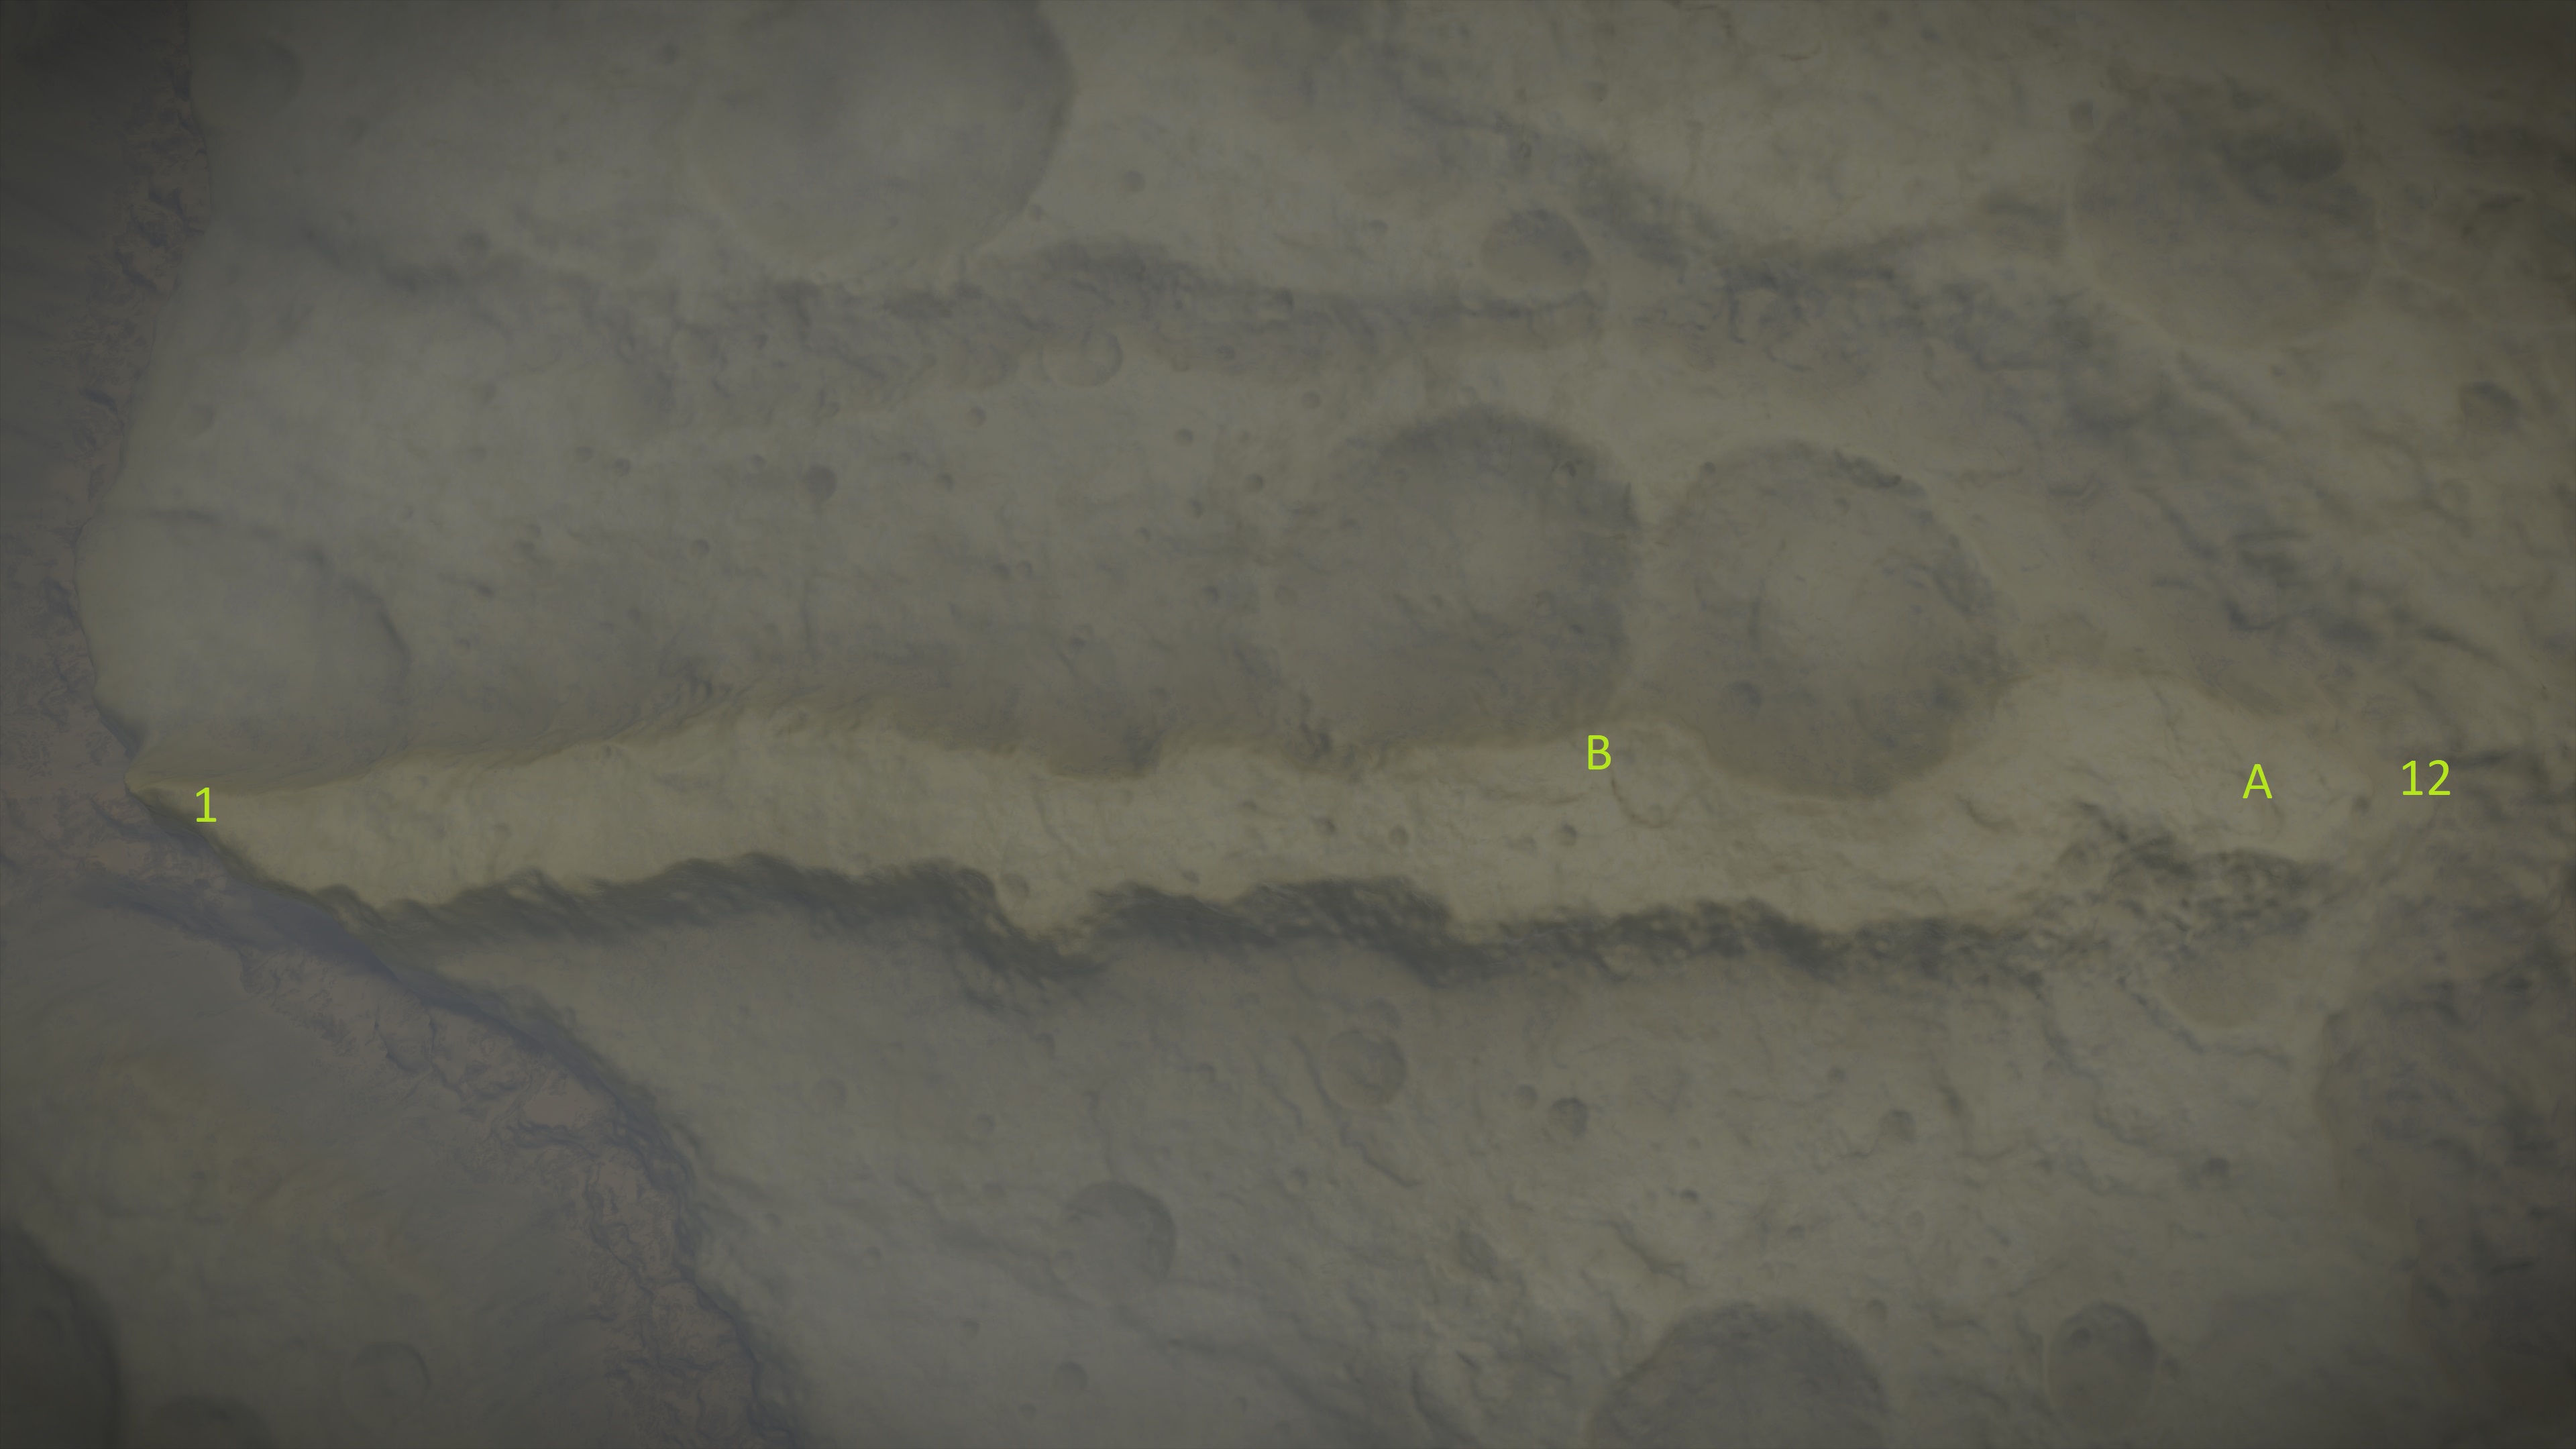
Overview of the Ridge with extra markers
And yeah, thats about it, my planned route. I think, I hope, I didn't forgett anything and that it is not too much of mess. I'm not quite there yet, I plan to start on this weekend (most likley Friday or Saturday) just had to get this all done for now.
And last I like to mention that it will be a long trip, most important thing on a long trip is feeling comfortable. Which means I'm gonna destroy my ship before I start, would feel wrong spending a lot of time on Wilson while having a ship