A Visual Guide to the Creation of Heightmaps

Hello folks!

In my other thread, I already shared a bunch of heightmaps I created. If you want to create custom heightmaps yourself but aren't quite sure how that works, you have come to the right place. I had way too much time on my hands and prepared a small tutorial. I hope someone will find it helpful :) If you have any questions, please let me know and I'll try to help as best as I can.

Have fun everyone!

Edit: For yet another tutorial please see my second post within this thread.

PZ Heightmap Tutorial.jpg
 
Last edited:
Works great! This is the best tutorial I have seen for the tool. The website for the elevation data is also really useful. I used GIMP to edit my map, you can do the same should you not have access to Adobe Photoshop. Using this program I found the best way to adjust the heightdata to Planet Zoos groundlevel value is to edit the exposure of of the image until it fits the value. Make sure to add a control layer with a small, RGB 128 colored spot to make this easier. Then go to Colors>Exposure and play with the Black Level and Exposure sliders until the gray matches the groundlevel value.

BeforeAndAfter.png


Map Sun.png
 
Hi everyone!

Thank you very much for your feedback – I'm glad I could be of some help to others :D I have to say, this is really motivating!

I messed around in Photoshop some more and came up with another really simple way to create custom heightmaps. Basically, you can just let filters do most of the work for you. I also opened up GIMP and checked if it has a similar function – lo and behold: it does! So, I made another tutorial for anyone who wants to try this method. (For the GIMP users: The filters mentioned in the following tutorial can be found under Filters > Render > Noise > Difference Clouds and Filters > Blur > Gaussian Blur.)

Allow me to give a short synopsis: The whole tutorial is about creating clouds, making mountains out of clouds and making dunes out of mountains. Sounds crazy, but works like a charm 😀

Edit: Unfortunately, the image is too big to upload it here. I had to upload it to imgur instead. For maximum quality and readability, please make sure to download the image.

Edit 2: Okay, that's strange. For some reason, this doesn't seem to work. Change of plans! I'll upload the tutorial to my google drive folder: https://drive.google.com/drive/folders/1rl_-WaDVd9AeC5OoGjC8qeo9FwSRKS0A?usp=sharing

I'll create a folder named 'Tutorials' within the 'Planet Zoo Heightmaps' folder. You should be able to access the files that way I hope.

Edit 3: And now it works. Funny. The wonders of the modern age!

2GBGDzU.jpeg
 
Last edited:
Wow.
I was hesitant to even use this new heightmap feature but with this tutorial I might actually give it a try.
Thank you for sharing this!
 
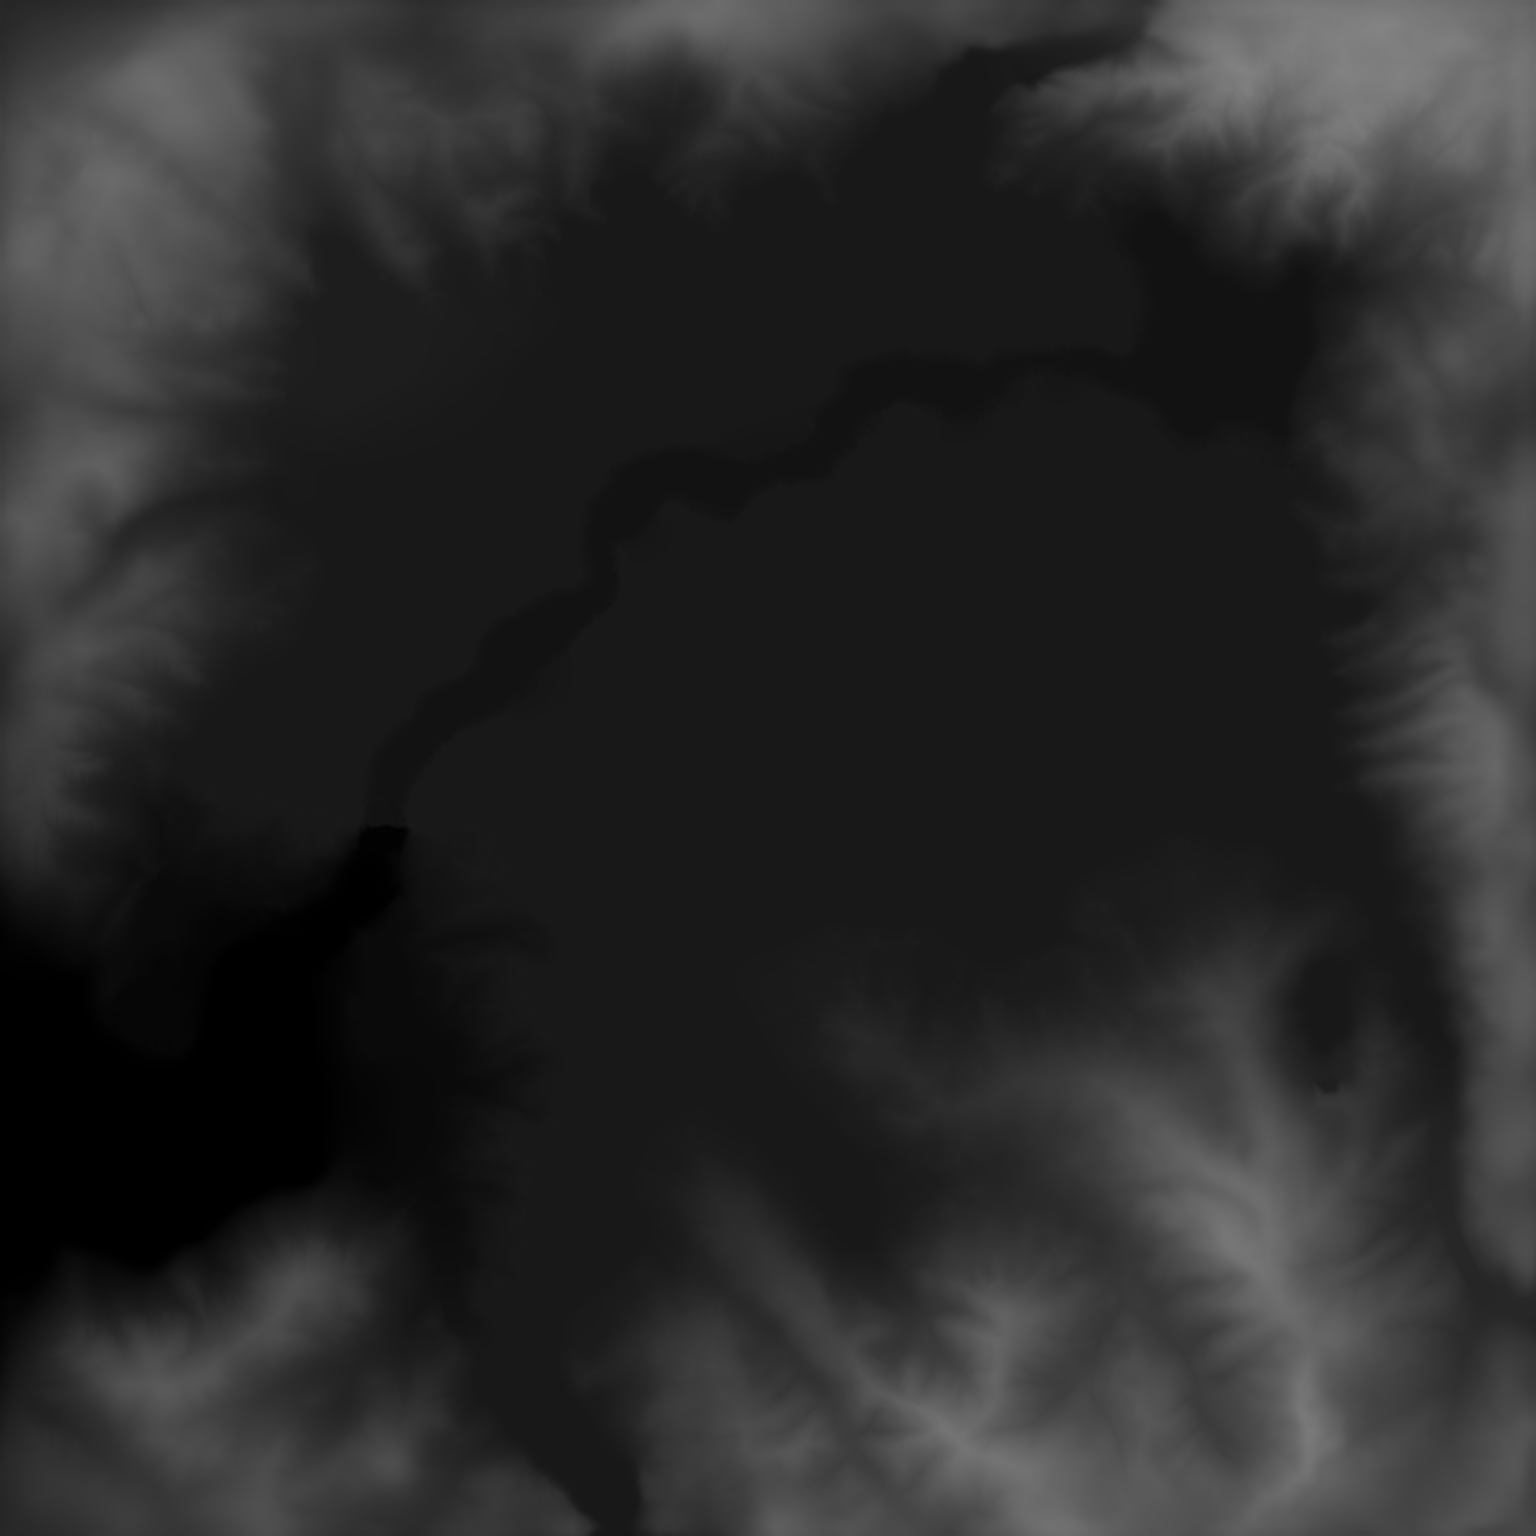
I have attached my example Sims 3 Heightmap.
Sims 3 Heightmaps can have the sizes 256x256 until 2028x2028. Other than Panet Zoo, the Sims 3 levels are basically big Water worlds, with that piece of ground depending on the size of the heightmap. Black means it is under the water level. white above the water level. The water level can be set by the user, if he is creating an own World with the "Create a World" Tool (100, 200 and 300).
I am using Photoshop Elements 15, the functions and features are a little bit cutted.(Example: the Glow filters for the corners from a layer cannot reach true 100 opacity, even PSE says it is 100%)
When I use the Grayscale Tool and set white and black to 128 than the whole map is this gray. No, hills or anything. :S

moonlightfalls_499992cnkfy.png
 
I have attached my example Sims 3 Heightmap.
Sims 3 Heightmaps can have the sizes 256x256 until 2028x2028. Other than Panet Zoo, the Sims 3 levels are basically big Water worlds, with that piece of ground depending on the size of the heightmap. Black means it is under the water level. white above the water level. The water level can be set by the user, if he is creating an own World with the "Create a World" Tool (100, 200 and 300).
I am using Photoshop Elements 15, the functions and features are a little bit cutted.(Example: the Glow filters for the corners from a layer cannot reach true 100 opacity, even PSE says it is 100%)
When I use the Grayscale Tool and set white and black to 128 than the whole map is this gray. No, hills or anything. :S

Ah, I see! There's a misunderstanding: If you set the values for both black and white to 128, you'll get a flat map because you basically tell Photoshop: 'Hey, I'd like you to paint everything that is black and white in gray (RGB 128)!' Thus, you'd get a completely flat map. In order to raise the terrain to Planet Zoo's ground level, it is sufficient to only change the value for black to 128. Playing around with the value for white is only neccessary if you want to change the height of mountains, for instance. I went ahead and adjusted the value for black to 128. Is this the way you wanted the heightmap to be? If not, let me know, we'll fix this together, I'm sure! :)

edited_moonlightfalls_499992cnkfy.png
 
Last edited:
Back
Top Bottom