") Yes in HD its so real.
Yes in HD its so real.You are using an out of date browser. It may not display this or other websites correctly.
You should upgrade or use an alternative browser.
You should upgrade or use an alternative browser.
Community Event / Creation The C-Pod: A DIY Command seat (build log)
- Thread starter ThereIs0nly0ne
- Start date
Thanks Sanderson
I want to make sure that I keep a track of all the resources used for this build. One concern I had was with the Warthog throttle looking out of place with the default labels. I came across this:
I will use it to create an overlay for the throttle.
Credit goes to Pirato in the Rise of Flight forums. The link to the template is here:
http://riseofflight.com/forum/viewtopic.php?f=350&t=39254
Last edited:


Thanks for the pics Demonmaker, it's appreciated. I'll have a good look through all of those. If only I had more space ...
Tomorrow I will be embarking on the build proper. Off to buy the first sheets of MDF and some wood strips. Still waiting for my upholstery foam to arrive though.
Tomorrow I will be embarking on the build proper. Off to buy the first sheets of MDF and some wood strips. Still waiting for my upholstery foam to arrive though.
The main challenges for this build are clearly going to be:
- HOTAS stability on the side mounts (I'd like to make these removable if possible)
Have you considered mounting the stick and throttle to pieces of MDF that can then slide into a rest or holder of some sort?
Even just a groove to slide the whole thing back into, then a pin or lock/clamp to stop them moving around in it. I'd draw a picture and share it but I'm not signed up with any photohosting sites. I'm sure you get the idea
PS - Are you leaving yourself some time to actually PLAY the game, or are you only focused on building right now?
Last edited:
Have you considered mounting the stick and throttle to pieces of MDF that can then slide into a rest or holder of some sort?
Even just a groove to slide the whole thing back into, then a pin or lock/clamp to stop them moving around in it. I'd draw a picture and share it but I'm not signed up with any photohosting sites. I'm sure you get the idea
PS - Are you leaving yourself some time to actually PLAY the game, or are you only focused on building right now?
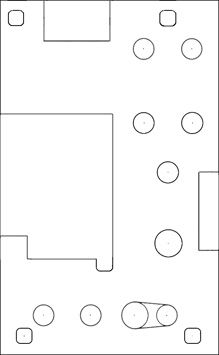
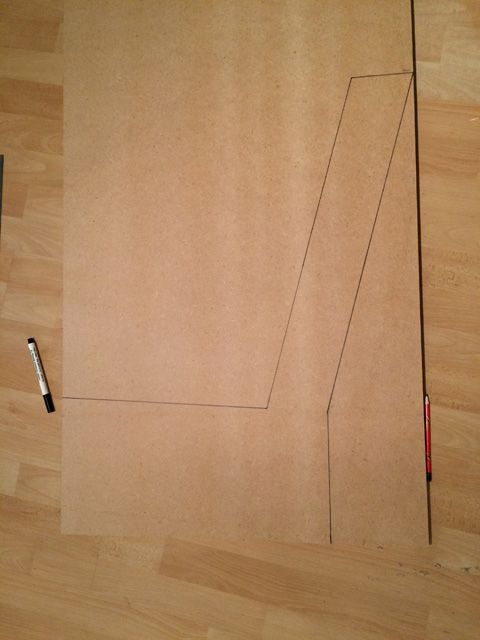
Yes, that's exactly the approach I've been contemplating! If you look at the original picture, you can see 3 points of attachement indicating my initial view on how this would work. My ideas have evolved as follows.
Option 1:


The shaded parts show where would pieces will be attached in the side frame to stabilise the removable throttle. This will come away in 2 sections with the frontmost piece including a platform to support the front of the throttle. The prongs would be hardwood batons (banister spindles) screwed and epoxy'd to the base of the throttle container.
This is the best looking option in my opinion but requires the most engineering but may be less stable than option 2.
Option 2:


As option 1 but uses a 3 pronged approach. The disadvantage of this is that it will require a greater degree of accuracy to have everything line up correctly and actually result in the unit being removable and not getting stuck.
A variant of options 1 and 2 would be to use 2 mount points rather than 3.
Option 3:


This uses a shaped panel to slot into a retainer. This is the easiest design to implement but will need to use MDF (double piece of 18mm). The shape has been designed so it remains tight with no movement fore and aft; only an upwards movement will be possible i.e. when removing it. It will be difficult to attach the lower shaped section to the base of the Throttle container (MDF doesn't like screws in the edges) and remain stable so may require further pieces of wood to keep it stable and prevent flexing.
Option 3 is my preferred approach at the moment . I will be able to make some cutouts in the lower panel for a better finish.
Just a view on my thinking so far ...
Yes, still finding time to play
Edit. It the removable approach doesn't work or isn't sufficiently stable, I'll simply hard mount.
Last edited:
I tend to post a lot of pictures during the build process, so this may all seem a bit dull. It's really to document everything as much as possible.
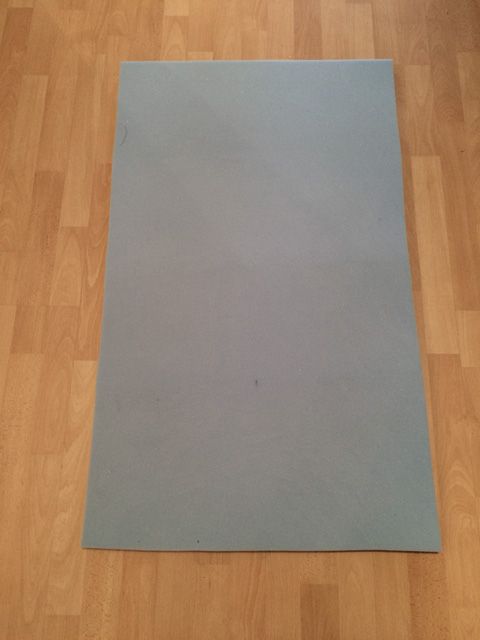
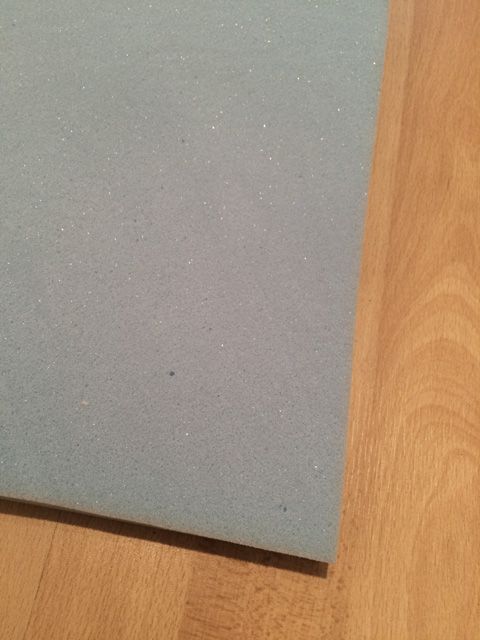
High density foam has arrived:
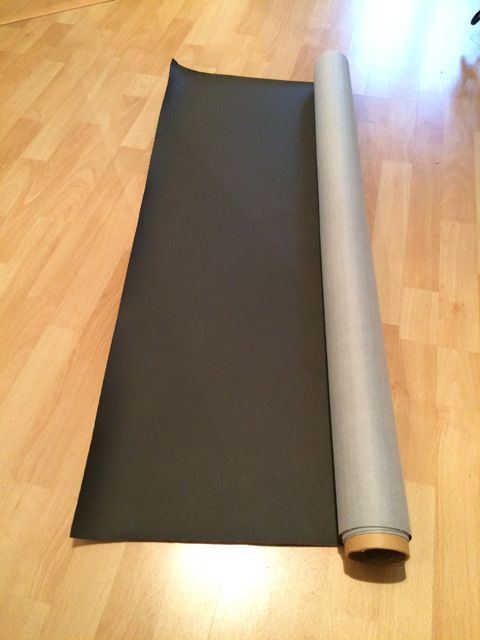
Flint grey material (it's important that it's sent rolled and not folded - the creases are very difficult to get out):

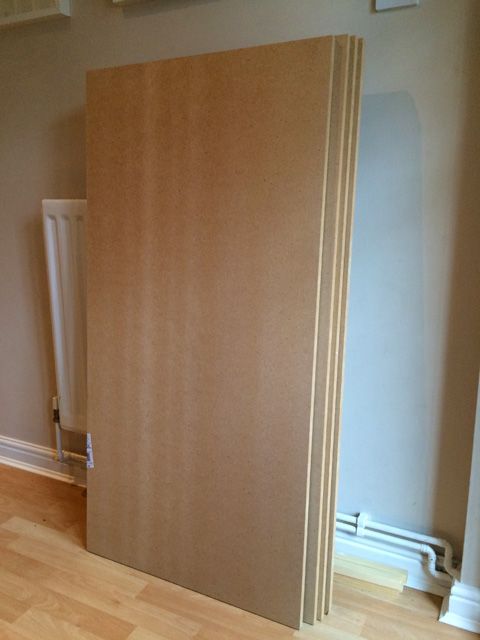
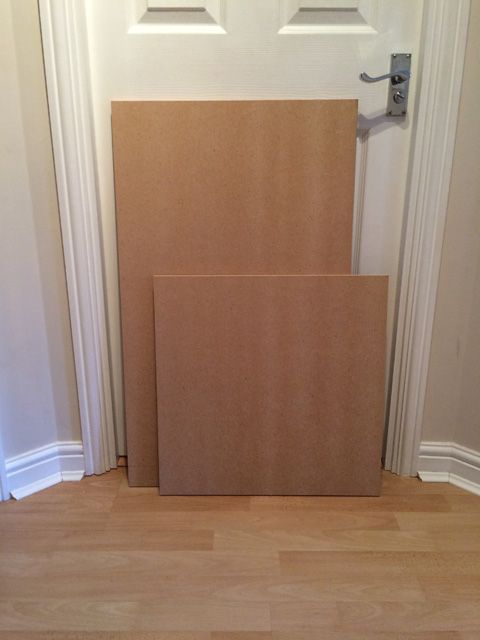
1 large sheet of MDF cut into 4 (£20):
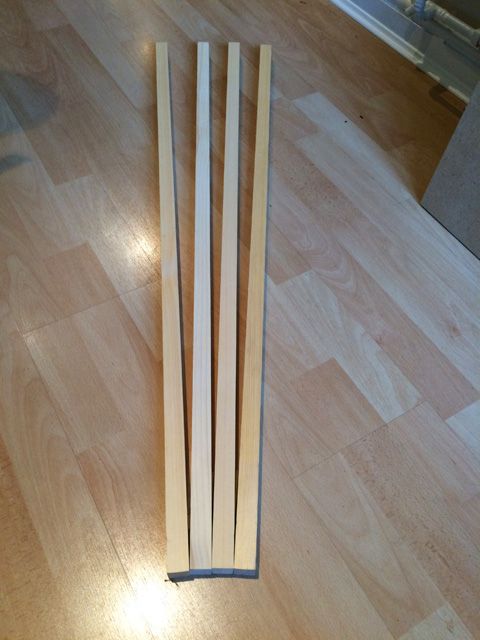
4 pine strips £2.14 each)
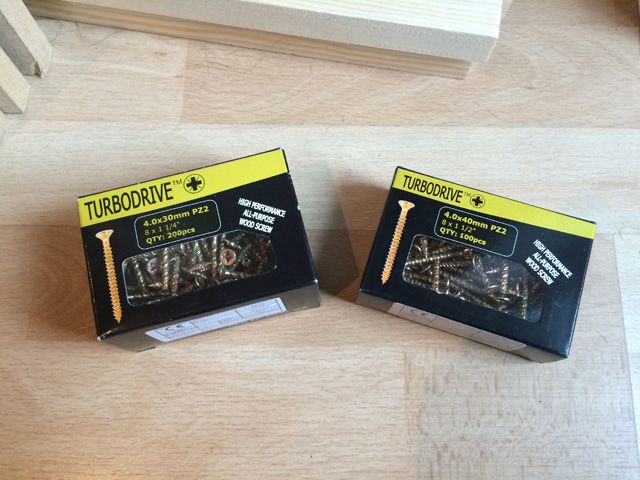
30mm and 40mm Turbodrive wood screws (very effective in MDF and worth the expense - £9.86):
I'll have some lunch and then start measuring. Wish me good luck!
High density foam has arrived:


Flint grey material (it's important that it's sent rolled and not folded - the creases are very difficult to get out):


1 large sheet of MDF cut into 4 (£20):

4 pine strips £2.14 each)

30mm and 40mm Turbodrive wood screws (very effective in MDF and worth the expense - £9.86):

I'll have some lunch and then start measuring. Wish me good luck!
Thanks for the responses, it's appreciated. Comments and feedback are sustenance to me when building and I get very hungry!
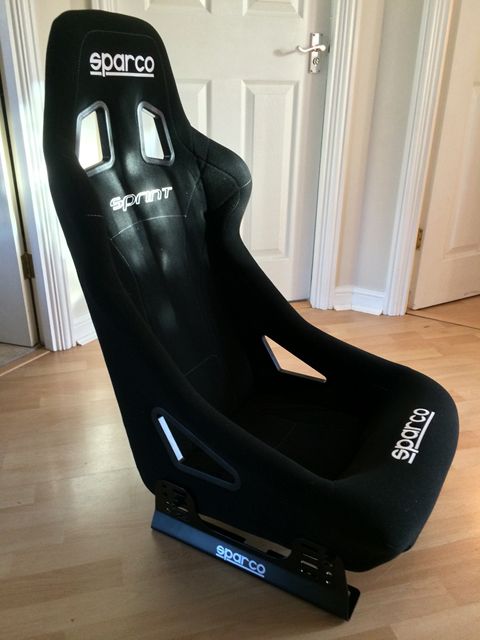
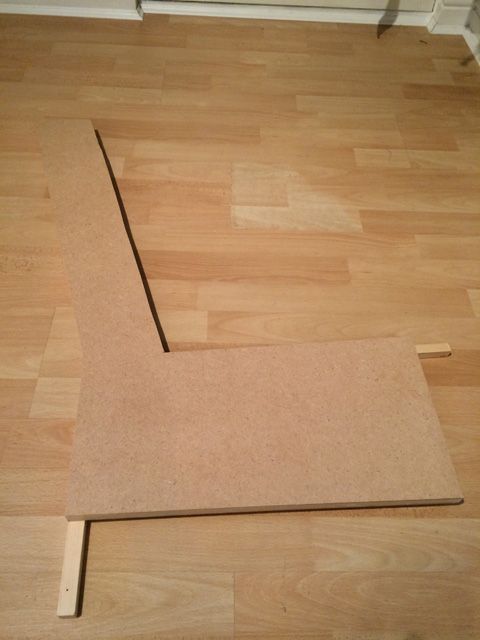
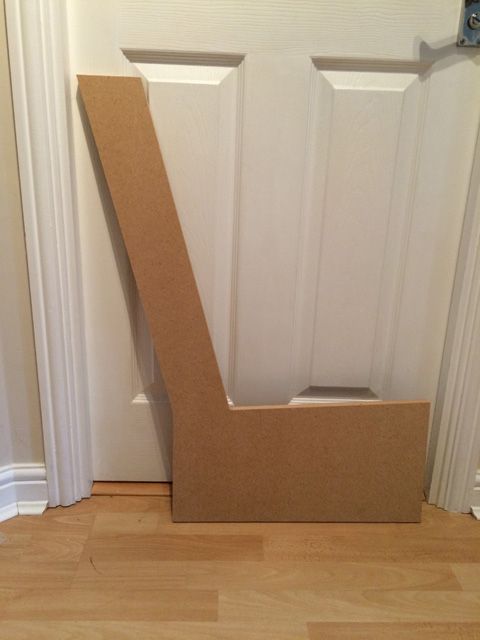
I'm using my bucket seat as a means of figuring out a comfortable position. I've measured up the first panel to reflect the angle and rake:
The first task is to make a frame. These 2 pieces will run towards the centre of the seat back and seat base. I've cut the first one.
Marked out:
Rough cut:
Router guides attached:
After routing:
First piece complete:
I'm using my bucket seat as a means of figuring out a comfortable position. I've measured up the first panel to reflect the angle and rake:

The first task is to make a frame. These 2 pieces will run towards the centre of the seat back and seat base. I've cut the first one.
Marked out:

Rough cut:

Router guides attached:

After routing:

First piece complete:

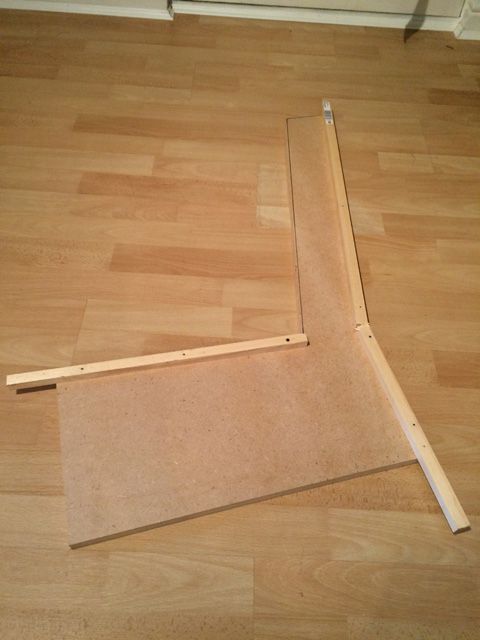
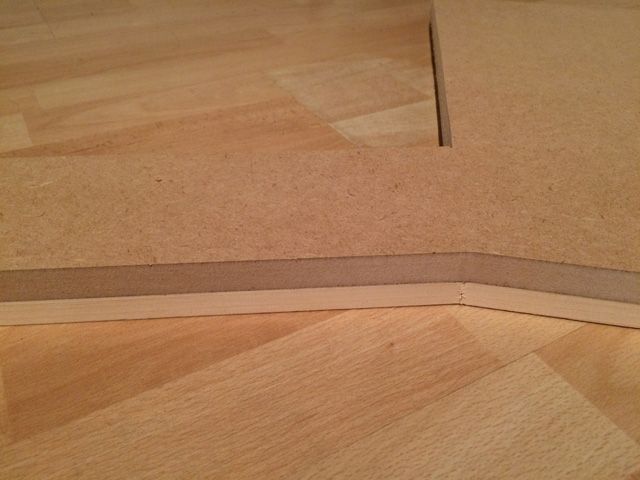
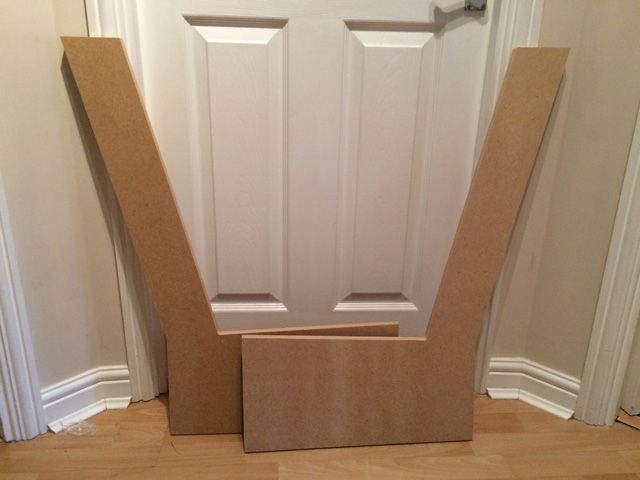
The first piece has been used as a template for the second piece so it was simply traced, rough cut, clamped and flush trimmed.

Edit: @Zplintz, don't tempt me!


Edit: @Zplintz, don't tempt me!
Last edited:
lol, hope you enjoy the process!
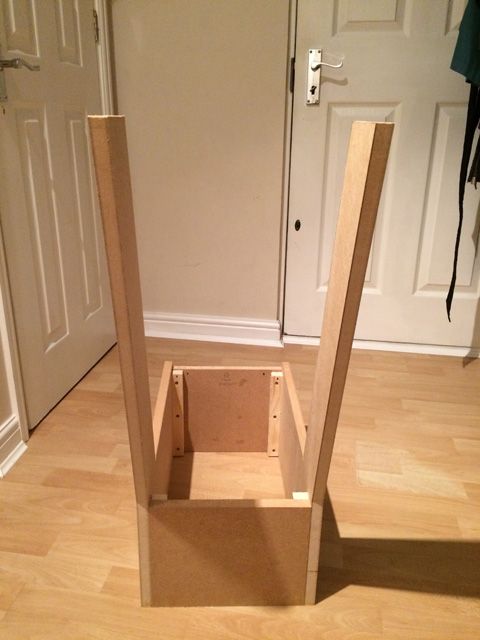
A few more pieces cut. Dull, but important.
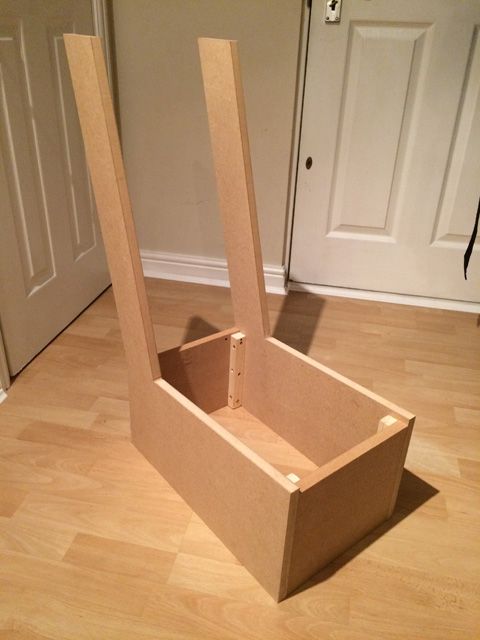
Two pieces to create a box for the lower section of the base. It will make it nice and stable for everything else to be built around.
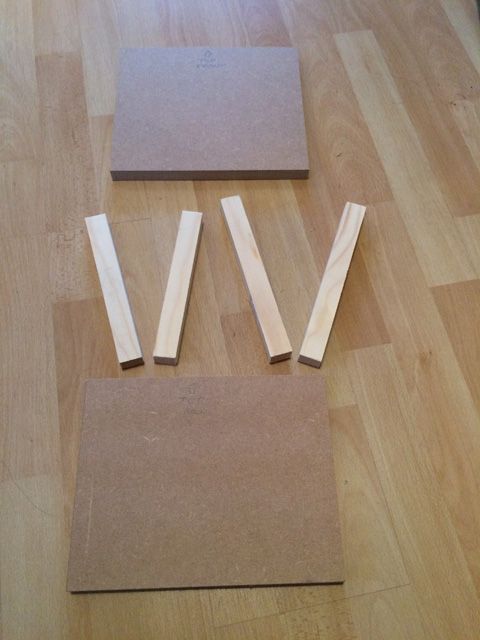
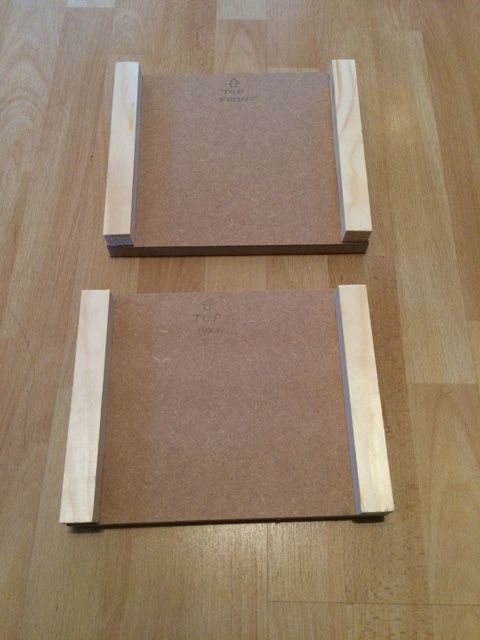
Back and seat pieces:
The back is slightly over cut and should extend to the bottom of the head rest. The top will be angled. I need to get this dry assembled and then I can start taking some measurements for shaping it.
A few more pieces cut. Dull, but important.
Two pieces to create a box for the lower section of the base. It will make it nice and stable for everything else to be built around.


Back and seat pieces:

The back is slightly over cut and should extend to the bottom of the head rest. The top will be angled. I need to get this dry assembled and then I can start taking some measurements for shaping it.
Wow you have been busy.....keep it up.
Cheers Adam, I'm trying to make steady progress with the build at the weekends. Weekdays, once it's ready, I'll be able to do the finishing and painting ... but that's a long way off yet.
It's starting to look like a seat:
Panels just placed on for now but at least I can sit on it.
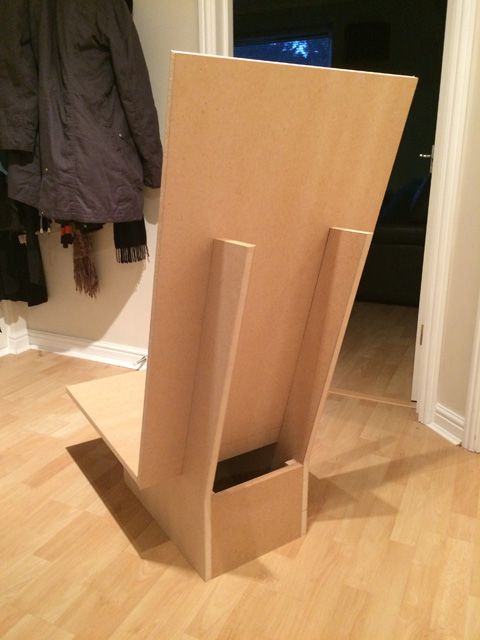
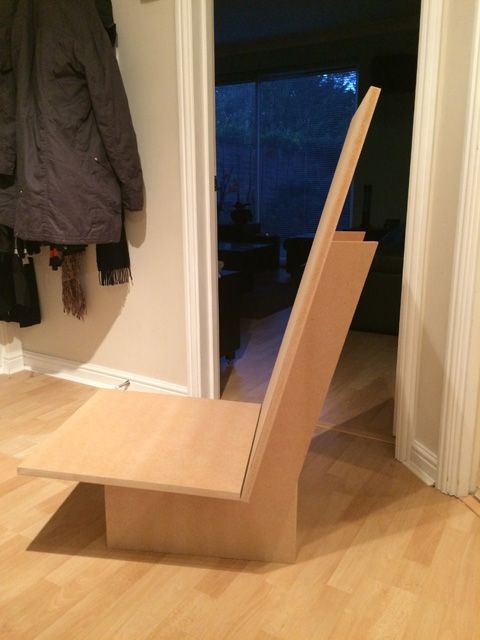
The back is massively over cut, which is great because it looked a little on the large size.
It's starting to look like a seat:


Panels just placed on for now but at least I can sit on it.


The back is massively over cut, which is great because it looked a little on the large size.
Cheers Gamma.
Now I have this assembled, I can start to figure out where to position the throttle and stick for maximum comfort. Time to get out a bunch of boxes and books. It takes a while to get everything just right ...
Now I have this assembled, I can start to figure out where to position the throttle and stick for maximum comfort. Time to get out a bunch of boxes and books. It takes a while to get everything just right ...