Community Event / Creation The C-Pod: A DIY Command seat (build log)

Today, I'll be having a go at making the seat panels. It's a slightly simplified version of the in-game seat but uses some similar design patterns.
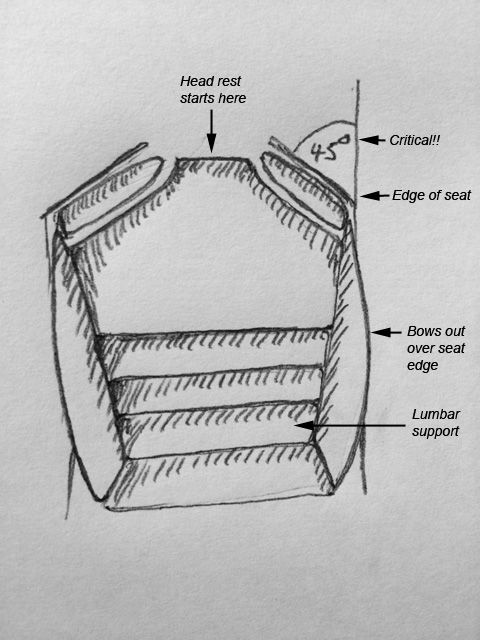


The approach will be to cut the panels from 12mm MDF, use them at a template to cut the foam and then cover in leather vinyl and staple to the back of the panels.

The side pieces will be shaped so they bow out from the side of the seat.

I've no idea how this is going to work out :D
 
You can ignore the 'critical' word on the picture above ...

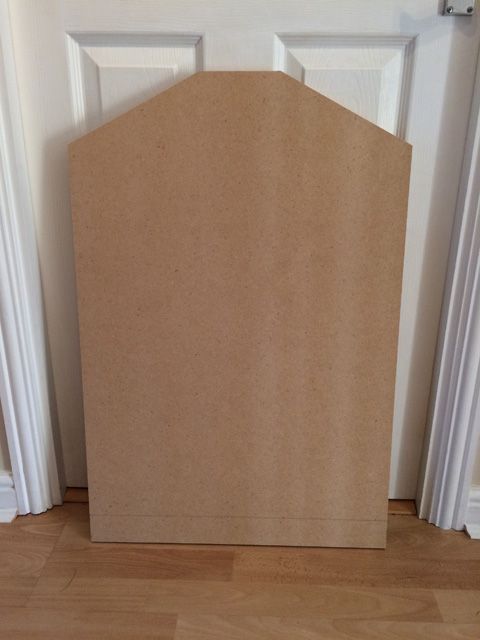
After sitting in the seat on a piece of foam and drawing around my neck and shoulders, I established the correct dimensions for the top of the seat back and cut away the excess. The head rest will be made as a separate unit.


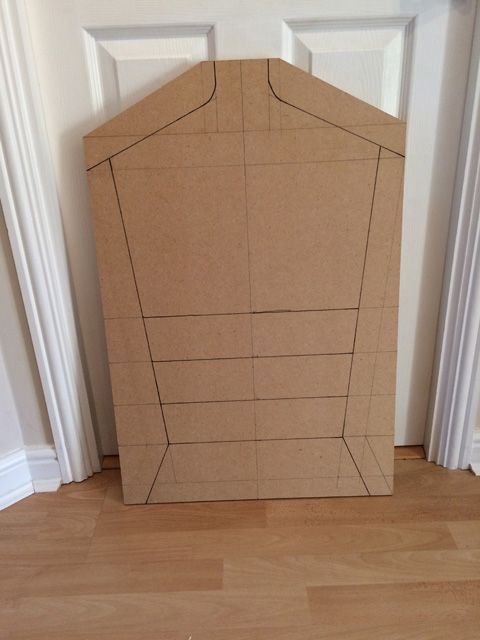
I spent a bit of time transferring the design to the seat back, taking into consideration the width of the foam and MDF. The lowest panel is slightly larger to allow for the extra height the foam/MDF on the seat base.


Now comes the interesting part ... whether this is going to work!
 
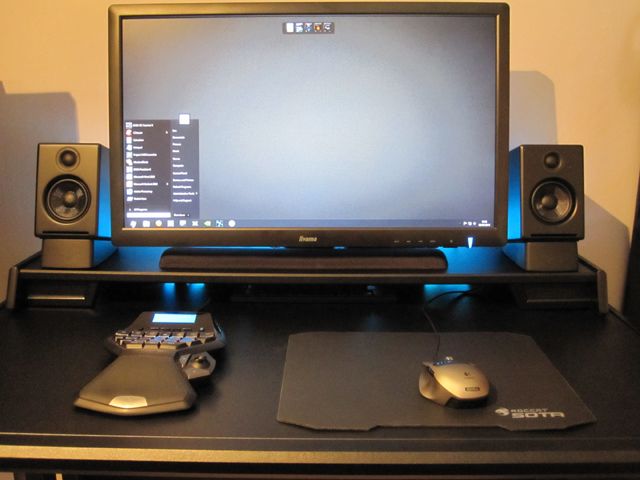
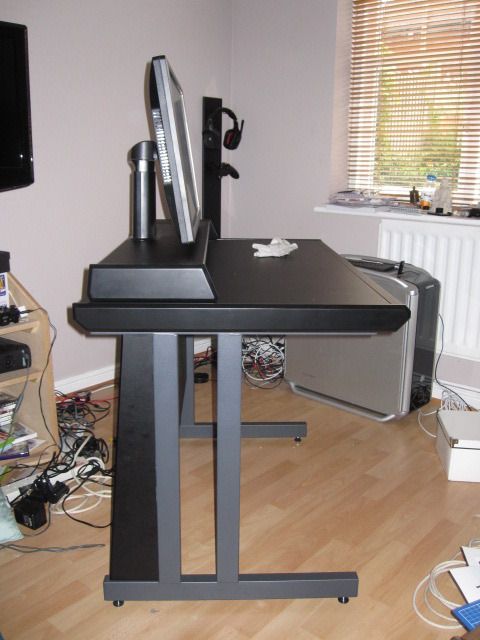
I can't do monitor stands, but I can customise desks and embed the adjustable monitor pole in it ;)


Excuse the mess in this one, mid build ...

 
Yup, that's me ... if you don't try, you'll never know :)

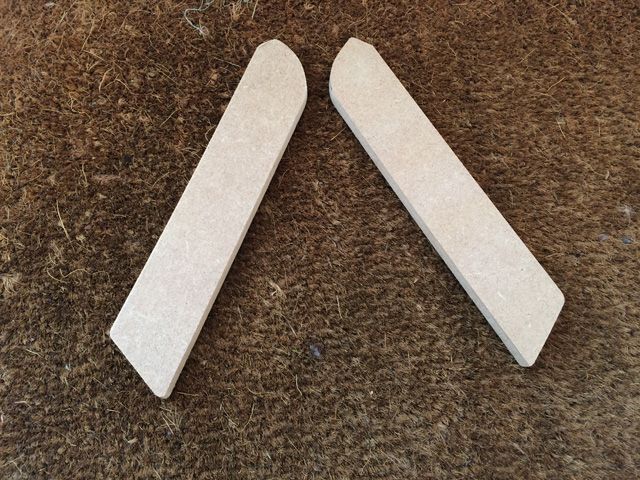
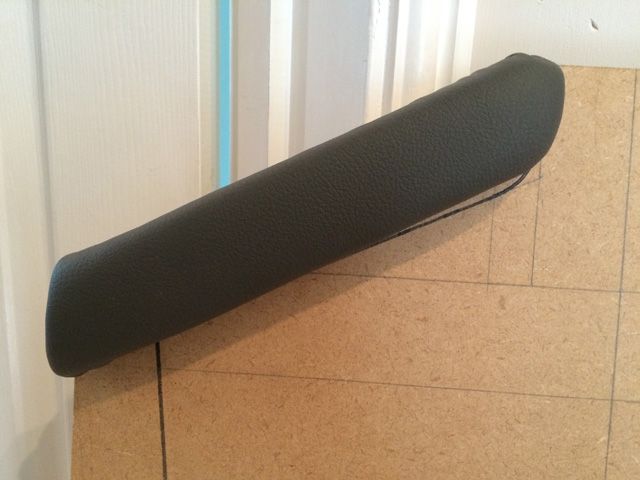
Ive cut the pieces which sit in the shoulder area:


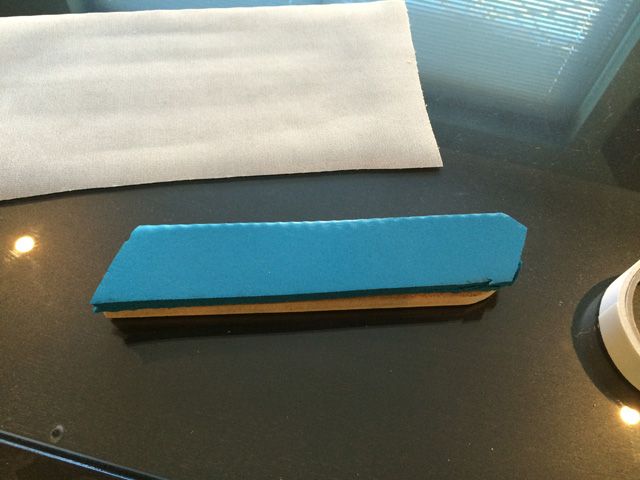
Attached some foam:


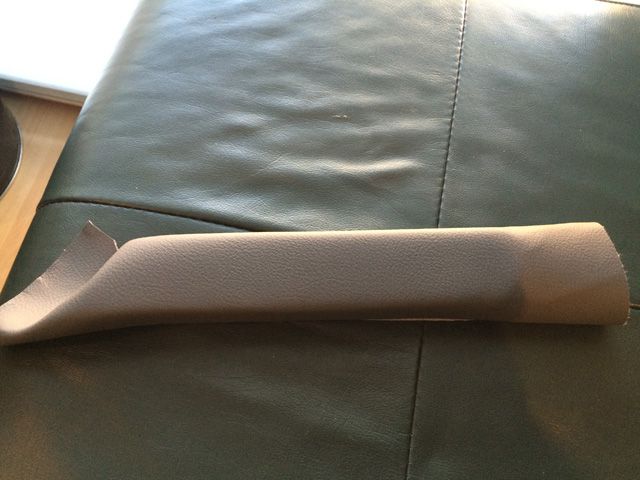
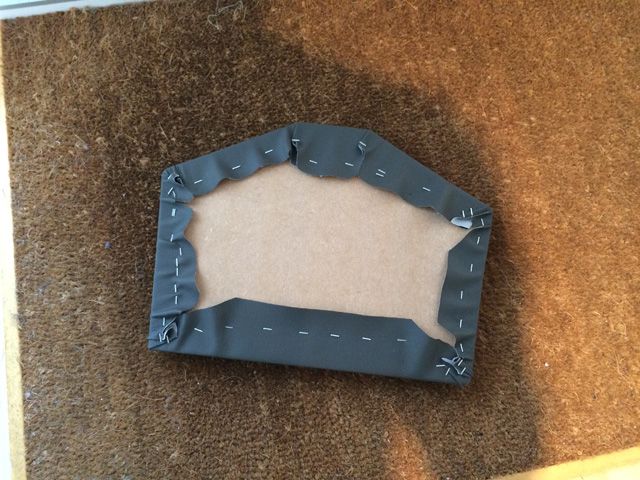
Wrapping in progress:


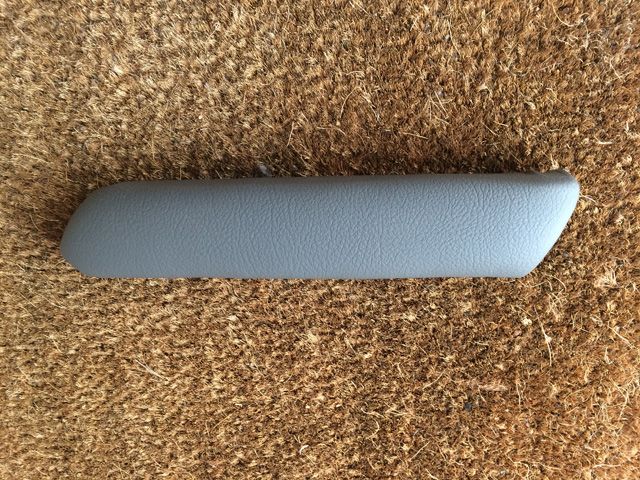
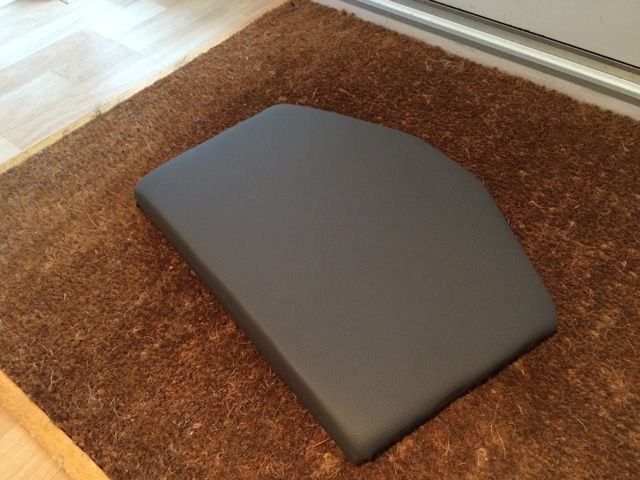
Completed piece:


Screwed into position:


I think these are the most difficult pieces; small and angled. Very difficult to cover tbh. I'm only really interested in the faces of these as the edges/ends will be not be visible when everything's fixed in place. It's going to take some time to do all of these but that won't stop me.

Feedback?
 
@Kernel Kwatz! I just hope it's as comfortable as an Ikea chair :)

@Eyota, the back is staple city, not a pleasant site! No glue used but the foam initially stuck on with double sided tape to prevent it moving. I'll take a picture of the back of one of the panels next time.
 
Last progress update for this weekend. I'll likely post a few design thoughts during the week though.

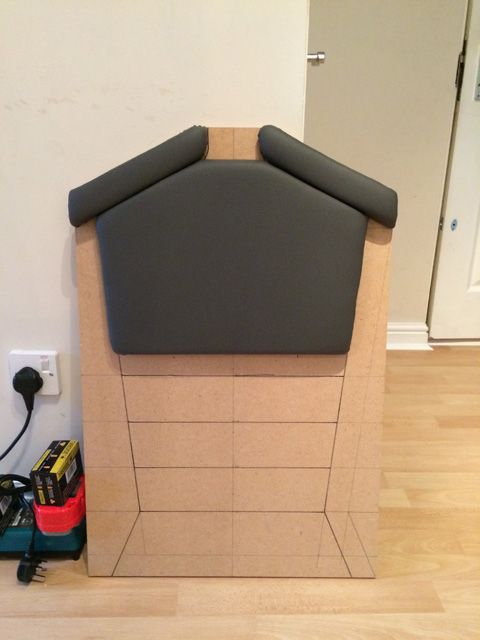
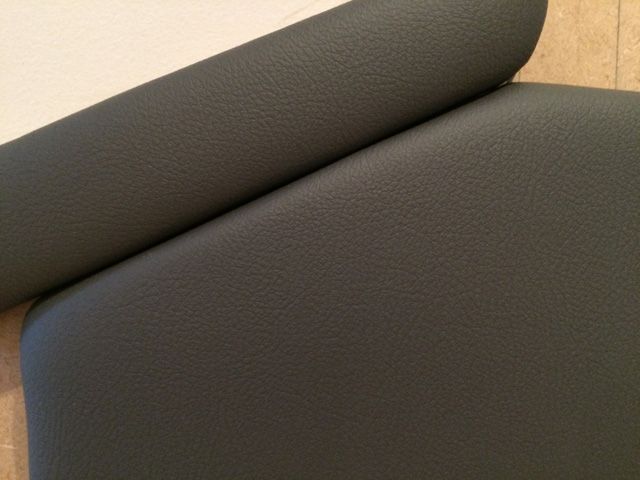
The second shoulder section has been covered as has the upper back piece.

Mess that is the back of the seat but it's not important:


Top view:


Attached to the seat back:


Close up:


It's starting to look sufficiently space age now.

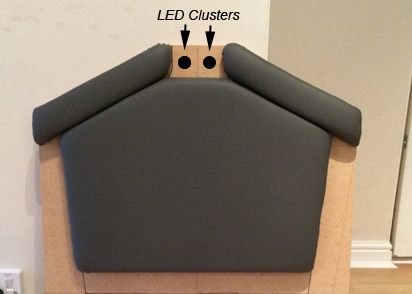
The gap between the shoulder pieces will be filled with something. Maybe a design that looks like it should connect to the back of your neck - thinking about an LED cluster of some description.

Hope anyone watching is enjoying this.

Feedback very welcome.
 
Last edited:
Cheers Sanderson :)

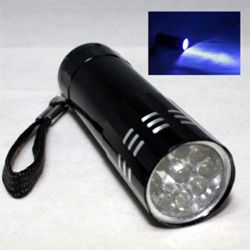
Just been looking around for something to fill the gap between the top shoulder pieces. I found a mini torch which looks to be around the size (2.5cm wide) I'm looking for so I bought a couple:


I'll make a panel and mount them here:


Edit: Cost £1.98 for 2
 
Last edited:
ThereIs0nly0ne, please don't take my post as containing a drop of ill will. But this is an outlandish and ridiculous project.

And I love it.

Assuming it it hasn't already been featured, I hope that your seat eventually gets a mention in one of the newsletters. By the looks of it I think that the end product will look pretty fantastic :).

One thing. I've heard good things about the Buttkicker. Perhaps you would think about installing that?
 
Last edited:
No hit of ill will to be found, just a smile from flattering comments. Thanks!

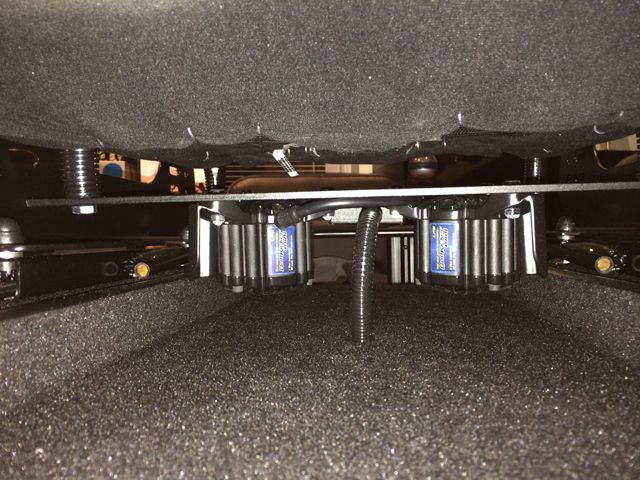
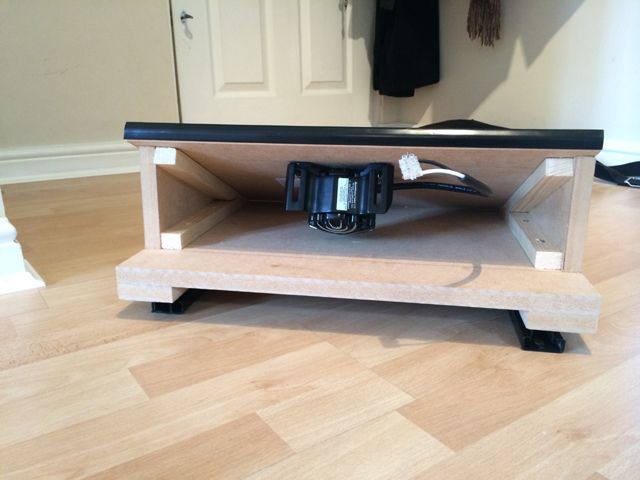
Regarding Buttkickers, I'm familiar and have 4 Mini LFEs (about the same strength as the gamer) in my R-Pod sim rig. I put 2 under the seat on an aluminium plate bolted into the seat:


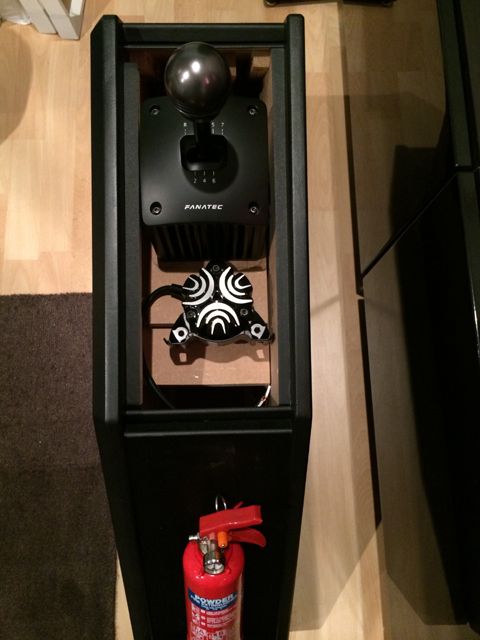
One in the shifter pod:


And one in the pedal mount:


I have the BKA1000 Buttkicker amp (1000W) to drive them. A colleague who worked for me bought it (and a couple of the mini LFEs) as a leaving gift when he left. I thought leaving gifts were meant for those who are leaving ... go figure!


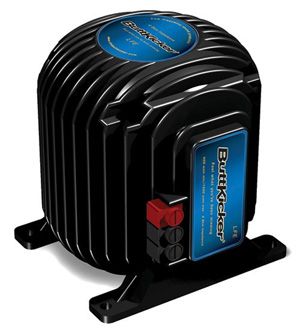
If I fit one in the command pod, it will be their bigger brother:


It's designed for a sofa rather than a seat!

I feel like I'm just limbering up with this project now and will be in full swing soon.

Thanks again for your kind words.
 
Ok if you are going as far as buttkicker etc then I would presume Rift too.
Could you take into account that your head requires a large backwards tilt motion and any head restraint would need to take this into account.
P.s. Enjoying the build :cool:
 
Okay, you're only just getting into it, but with the upholstered pads it already looks good.

Ridiculous.

By the time this is finished I will be so jealous. When you get an Oculus Rift I'll be envious.. ;)

Have you considered installing a toilet seat underneath, or perhaps one of those receptacle jobbies that race drivers use? You'll never want to get out and leave the game!
 
Have you considered installing a toilet seat underneath, or perhaps one of those receptacle jobbies that race drivers use? You'll never want to get out and leave the game!

Race drivers do not use catheters. Not only would it be uncomfortable it would be dangerous - think where a 5 point harness does up. Most race car drivers go repeatedly before a race.

There was a story, maybe an urban legend, about a young mechanic who started working at a well known F1 team. He was surprised after a race to find fluid in the cockpit. One of the old hands told him the easiest way to determine is by taste - oily would be hydraulics, alcoholic would be coolant, etc. The old hand knew what the driver did as part of his particular prerace routine and used it as part of the initiation routine of the newbie.
 
You, Sir, are an artist with your hands!
I have just bookmarked this thread to keep track of your progress, but by the looks of your fantastic previous projects, this one will look nice as well when finished! :)
 
Your previous builds look spectacular and i bet this will outshine them!
Good work, im following with interest :)
 
Back
Top Bottom