Community Event / Creation The C-Pod: A DIY Command seat (build log)

When I got into making MAME machines as practice I decided to make a stool for my good friend to sit on while we played at the stand up machine. He has a dodgy hip so I thought it would be helpful.

It was an MDF construction that I decided I wanted to paint gloss black. I reckon I spent more on painting that thing than it would cost to buy a decent gas lift bar stool :p

That put me off for some time but one day I will get back to the MAMEnstien.

Looking forward to seeing this evolve.
 
The creativity, skill and dedication shown by some members of this forum never ceases to amaze me. So, good luck with your project! If the other stuff you've shown us is anything to go by, it's going to look pretty amazing.

I can't wait! :D

Because what matters in a chair is how it looks... oh wait no it doesn't. :)
 
Since you've already gutted and rewired the DSD controller, have you considered putting it all through and arduino board? They can emulate a keyboard, thus negating the unrecognised controller issue. I'm considering doing something similar, and that's how I intend to get around that particular issue.
 
It was an MDF construction that I decided I wanted to paint gloss black. I reckon I spent more on painting that thing than it would cost to buy a decent gas lift bar stool :p

That put me off for some time but one day I will get back to the MAMEnstien.

Looking forward to seeing this evolve.

I know what you mean about finishing. The panels on my desk took around 6 weeks to paint. Waiting for it to cure without succumbing to the temptation of fiddling was really difficult.

MAME-wise, have you been to the BYOAC site? Loads of really excellent arcade builds there. Worth checking out if you haven't visited:

http://forum.arcadecontrols.com/index.php?board=10.0


Awesome project! How long are you expecting this to take? (Piece of string?)

You may be interested (especially pre-rift) in putting in additional screens using tablets... I found this thread and the programs there are GREAT (and simple to get working)
http://forums.frontier.co.uk/showthread.php?t=48011

Thanks Alsabretion. Probably about 7-8 weeks, including the finishing / painting. My wife has an iPad mini - just the right size for the centre console. Someone at OCUK has put a modified version of their Roccat Power Grid interface together for me to download and I'll be giving that a go. I'm planning on making the centre console swappable so I'll be able to use a number of different interfaces. Thanks for the link :)

Because what matters in a chair is how it looks... oh wait no it doesn't. :)

lol :) I know, I know. I tend to go a little full-on with my projects.

This is inspiring. Great stuff.

Cheers Sanderson. Thanks for your continuing interest and support. It's great to have interaction on the build.


That looks very interesting Tarman, thanks. I do like the idea of having a configurable / customised keypad rather than just a keyboard. The actual keys look interesting. I'll check it out some more ...

Since you've already gutted and rewired the DSD controller, have you considered putting it all through and arduino board? They can emulate a keyboard, thus negating the unrecognised controller issue. I'm considering doing something similar, and that's how I intend to get around that particular issue.

Synchronicity! I was just chatting to someone and they mentioned the Arduino. Considering all options at present so thanks very much for heads-up.

Just a note on the seat: the lower large pad will have some shaped pieces to line up with those at the sides. It will give it a more sculpted look. I'm almost certainly going to use some expanding foam to get the contours correct (as per Demonmaker's suggestion). I need to order some more material to do that though as I've run out.

Today I'll concentrate on a number of things:

1. Re-cut the sub-frame base to increase the recline angle.
2. Cut the access hole between the front seat pads
3. Construct the supporting structure to fit in the access hole.
4. Cut the pieces for the stowable panel mount (just the pole section at this point)
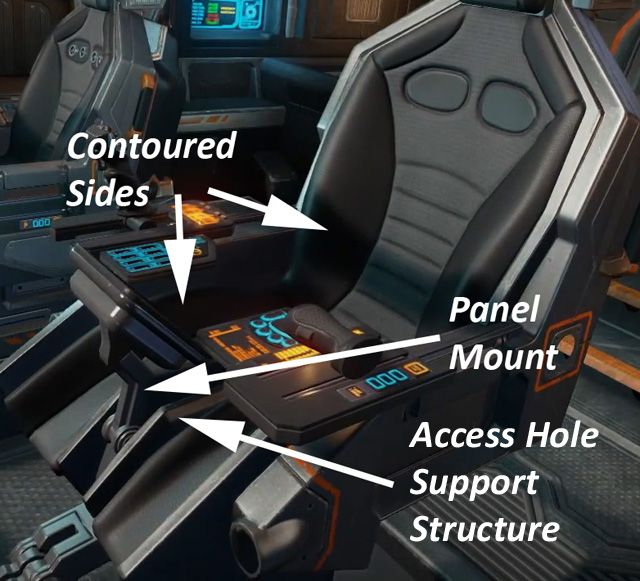


I'm planning on using some strong neodymium magnets as a means of holding the pole in-place.
 
You can definitely count on me for lots of pictures ....

Router guides in place:


Flush trimmed:


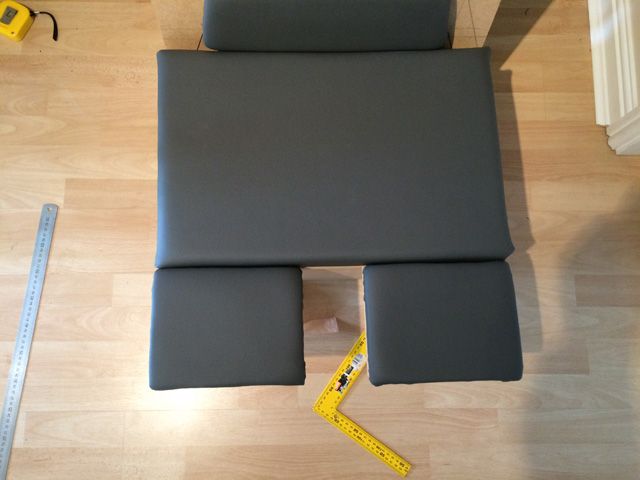
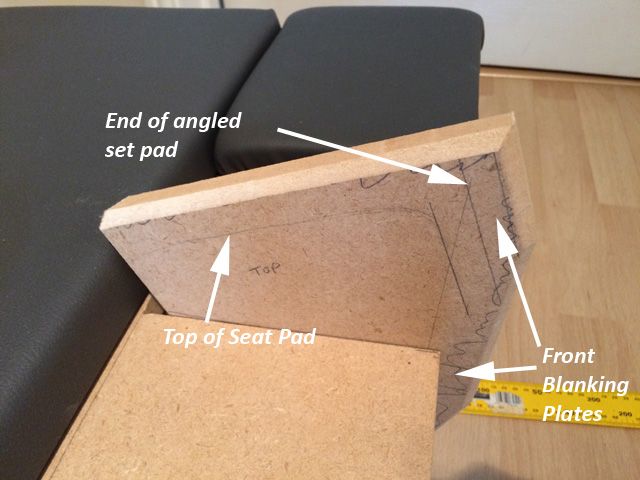
Top view with seat pads:


The rounded internal corners have been cut square with a jigsaw.

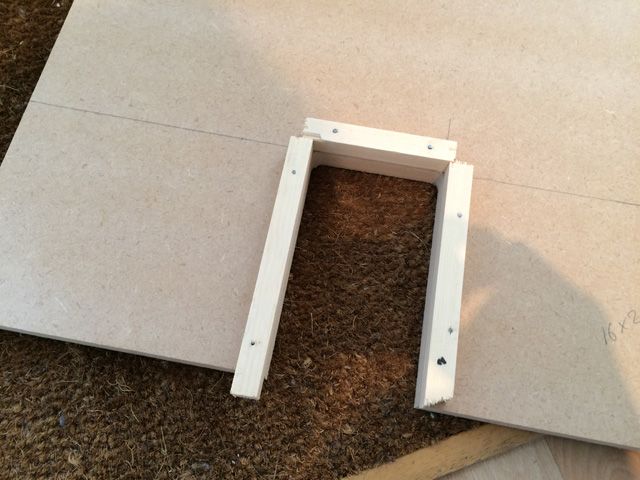
Now to build the supporting structure to fit into the access hole.
 
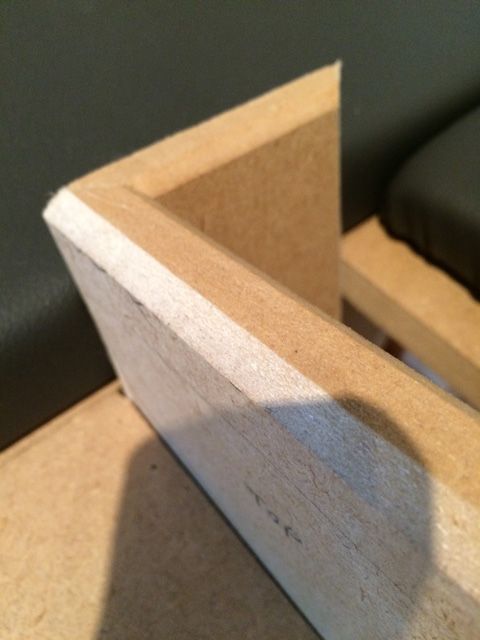
Basic sections for the internal structure cut. I've beveled the edges to ensure that when it's shaped further, everything lines up correctly.

The larger pieces have been over cut slightly as I need to measure up now they're in a position to do so.


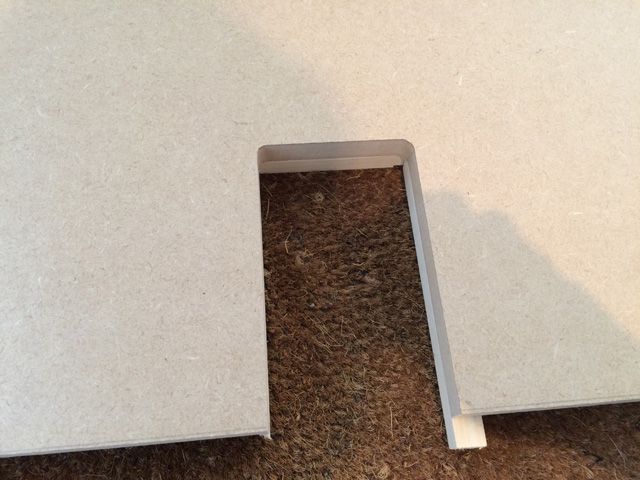
Fit:

 
Shame the weekends nearly over again.
It's horrible waiting between updates 😀

Mind if I ask, what's been the running cost so far?
 
Running costs so far:

Material - £25
MDF - £34
Wood strips - £8.50
Torches - £2
LED displays - £3
Foam - £10

Total so far £82.50

To complete this, I'm going to need some more ribbed rubber sheet, acrylic, coloured vinyl, magnets, LEDs, bolts and MDF.

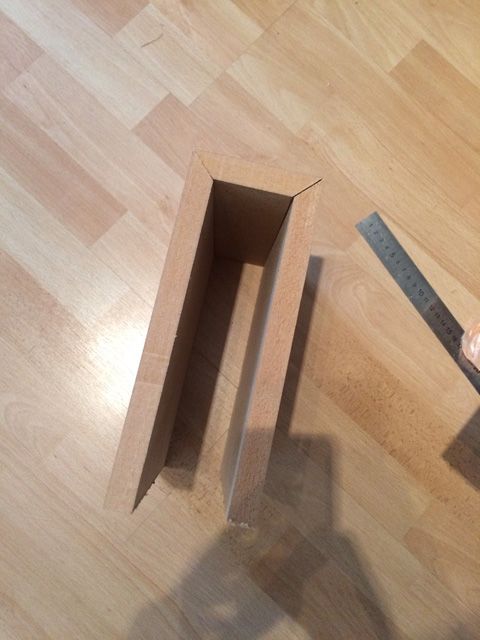
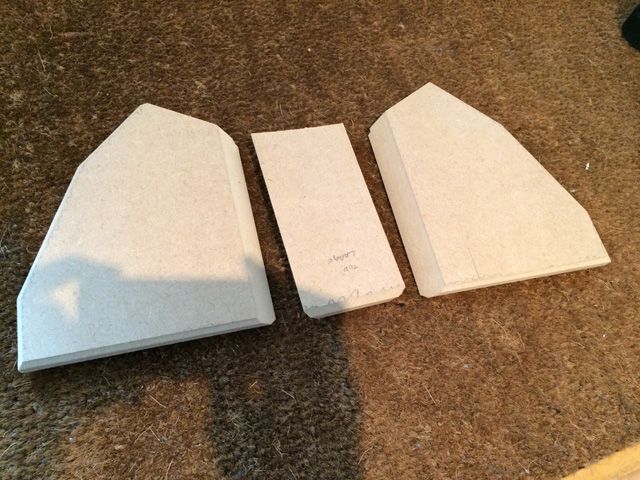
I've finished shaping the wood for the central bay area. I have a habit of making things complicated ....

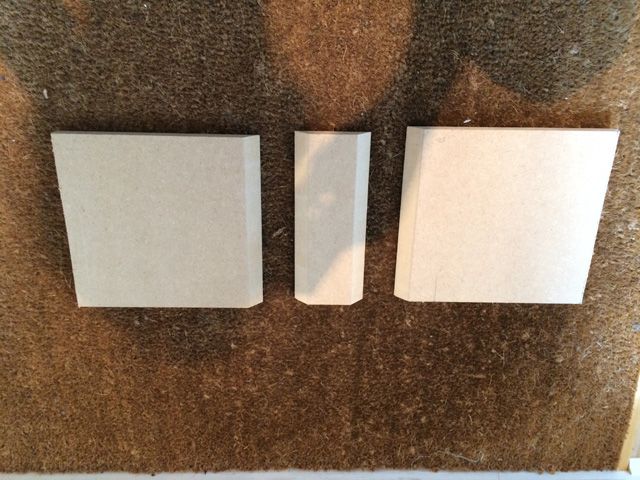
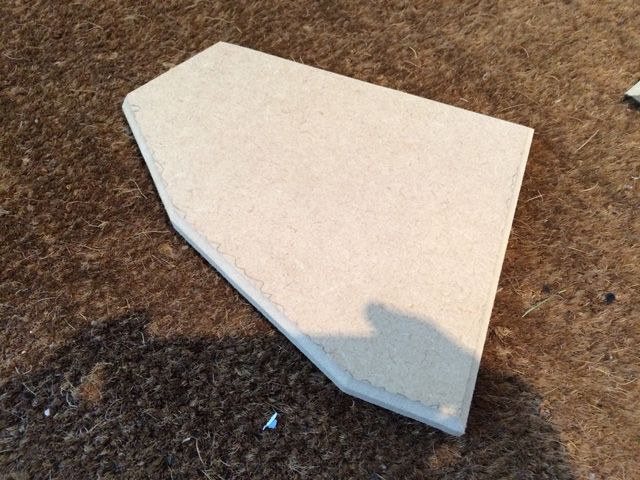
All pieces cut and shaped:


Close-ups of the beveling:


Hopefully you will see the reason for the unusual shape:


The structure will be screwed in place using wood batons.

Now to glue it together ...

I will look to design the centre pole next.
 
Running costs so far:

Material - £25
MDF - £34
Wood strips - £8.50
Torches - £2
LED displays - £3
Foam - £10

Total so far £82.50
Nice, possibly around the £150-£200 mark, depending on the small details when done, at a guess.

I will look to design the centre pole next.

Nice, this is where others will start to deviate in design, along with the side pods, as You'll be using an iPad mini? in the centre and different HOTAS systems for the side pods.
I'd either pop in an iPhone or iPad for this section, the mini looks a better size though, then a lovely set of Warthog's for the side pods for me.
I may even change it up a little more and plunk the warthog stick in the centre, leaving the right side pod free for use as a mouse table/touchpad access area.
 
I've also been an avid follower of another DIY'er over on the RPF forums.
He's building a star wars themed games room.
here
The one thing that makes the room stand out, is the back lighting.
RGB LED Strip Light kits.
I think it could be put to good use in the chair, backlighting the side pods and the like
 
Cheers for the link, that room looks utterly incredible. I'd love to have the space to do something like that!

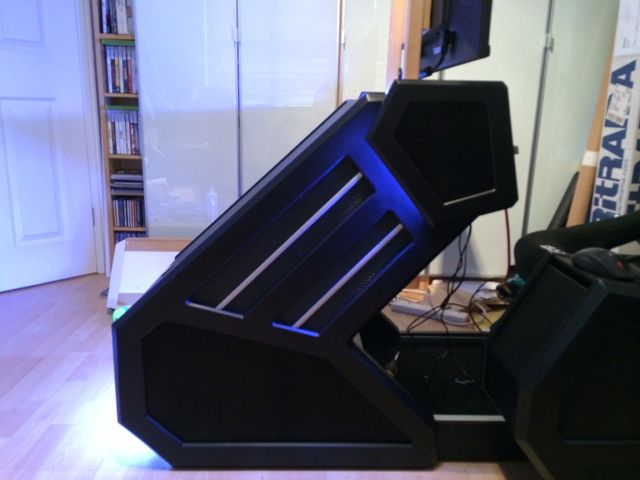
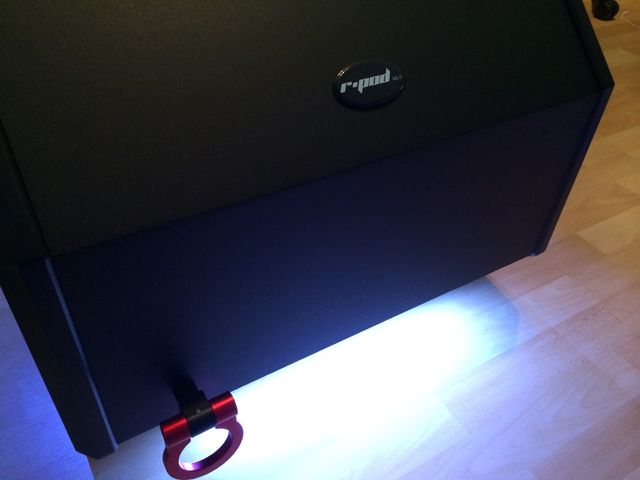
Yes, LEDs make a big difference. I integrated some into the R-Pod build:


I'm planning on using some on this as well.

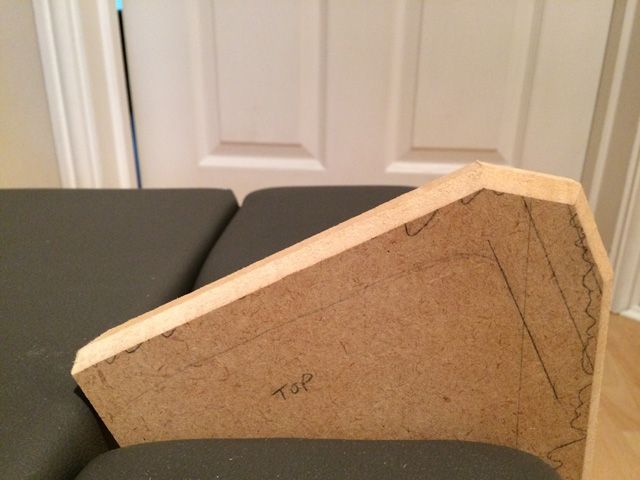
Wasn't happy with the pieces for the centre structure (the top was too pointy and could cause a mishap), so I re-shaped the ends:

 
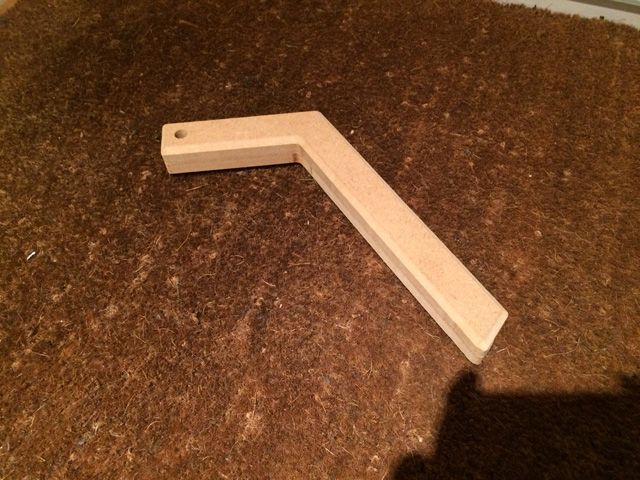
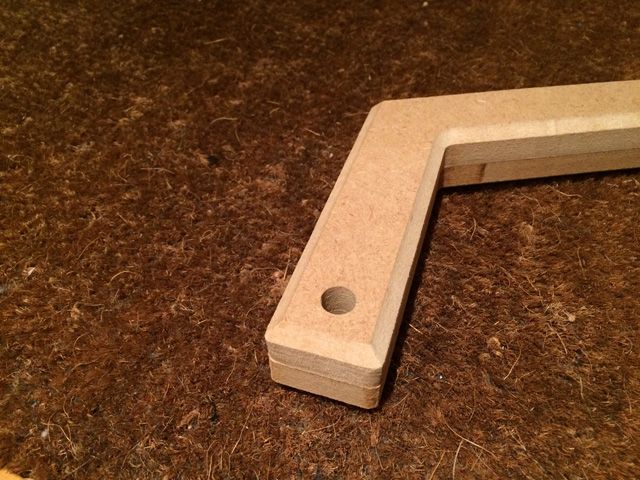
Another weekends work draws to a close. I've completed the main console pole for the middle. It will need a little tidying up when it comes to finishing, filling and painting. I've used 2 pieces of 18mm MDF for this. The top will need to have another attachment made to fit the controller.


TIOO may I ask what kind of hardware and machinery do you have at your disposal? Maybe some pictures of your "workshop"!

Your making some really nicely cut pieces and that beveling looks flawless!
My number one issue whenever I try building something is that I have access to little to no professional tools for the job.
Stuff that would take half an hour with the right tools can take me half a day and the end result will be nowhere near expectations :)
Main reason most of my projects never gets finished!
 
Thanks Attackmack. Workshop is a grand word for my single garage which houses a small Black and Decker workbench, a router, a jigsaw and a power drill/driver. Oh yes, a couple of G clamps too :) Not really much to speak of but all I need for building!

It does take a lot of time to put this stuff together. Mind you, a lot of it is spent figuring things out along with a healthy dollop of procrastination.
 
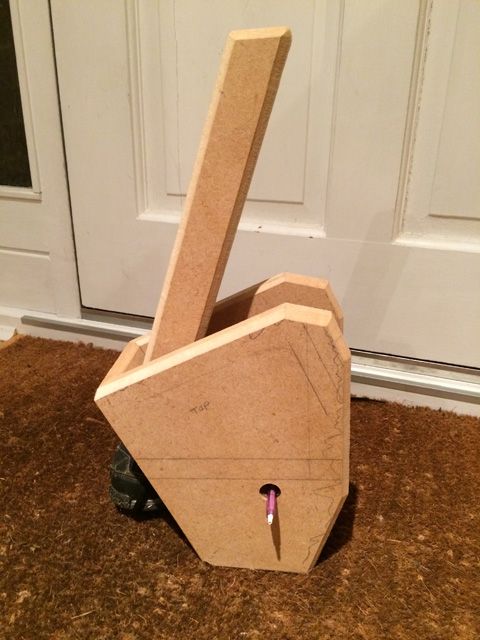
Centre console mechanism assembled:


The top needs a hole drilled to make an articulated mounting area.

I will use a bolt rather than a pencil when it comes to fitting!
 
Back
Top Bottom