Community Event / Creation The C-Pod: A DIY Command seat (build log)

My favourite thread is back ..
This seat is going to be epic, I know it.

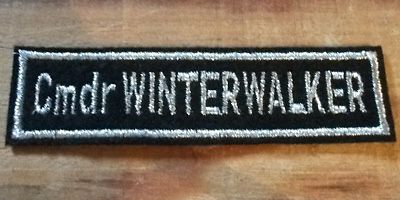
In case of interest, a friend of mine down in Bristol has agreed to machine embroider sew on patches for anyone interested,
A standard issue, silver on black badge of honour .. looks good on your best gaming onesie

:D
 
Last edited:
Thanks Winterwalker and MarkOzzy! Definitely interested in the patch. LEt me know the details when they're available!

The vinyl wrap is really cool stuff. What I like about it the most is the fact that it's much easier to adhere to difficult shapes, unlike regular sticky backed plastic.

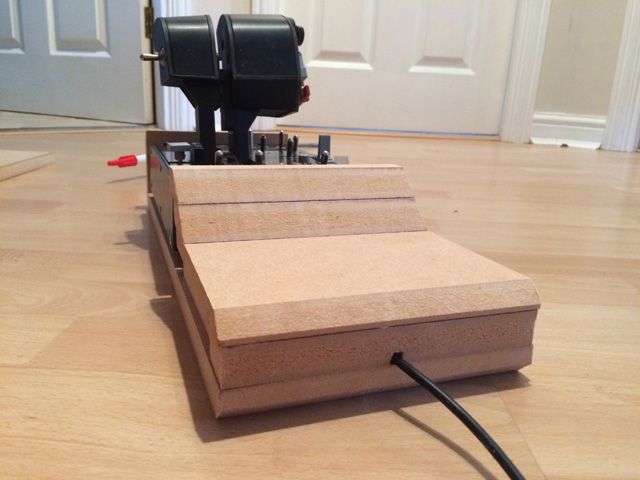
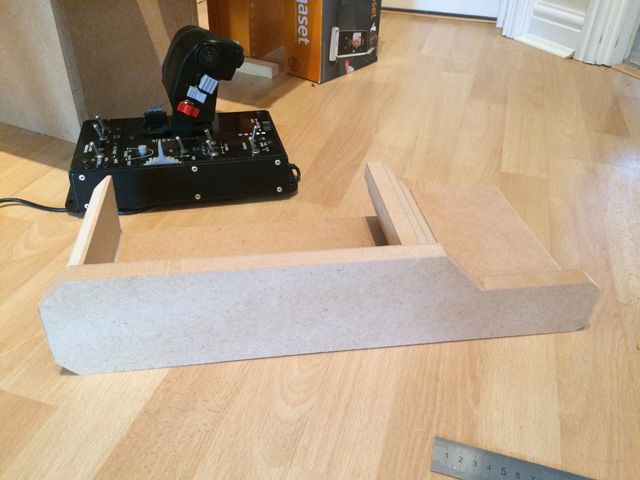
Cut a few more pieces and glued them in place. I will need to leave these to dry and then smooth off with car body filler. I've cut an exit hole for the cable. As mentioned, the top rear panel will be detachable to allow access to the throttle.

Anything undercut will be filled to make it true.


Edit: It'll look a whole lot smarter once the sides are done.
 
Yup, you are correct. I only looked at the first image :eek: Here's yours:


It's ME! (Never sold anything on eBay before .. hence not very sure it works, until I "bag" a customer :rolleyes:) Photo's not the greatest, the lettering is mildly shiny .. anyway this is WAY off-topic .. please get back to work ;D


.
 
Might have to get me one of those patches :)
and on a lighter note, have finished my deep immersion project, going to order this http://www.ebay.co.uk/itm/FORD-TRAN...CommercialVehicleParts_SM&hash=item1e927954aa

for I, I sir fly the Hauler don'cha know :D

Great choice for "spaceman with van" .. proper authentic :D

I've been thinking arout something similar .. maybe even so far as heated memory seat. I liked the idea of linking the heater to ship temp., so if you over heat your sidewinder, it also warms your real back end .. or can recline for long space cruises. Good in winter .. hopefully an "integrated cup holder" not too far beyond me (though, as many know, I'm still saving up for a CPU!) :cool:
 
Your work is superb! I have been following it since I have been here.

I have a special interest in it because I'm doing my own which is/will be a cockpit with a bit of ship at the back.Mine is just a generic/let your imagination run riot,no plans whatsoever,ship though.My thinking was If I based it on one ship I might then feel a bit odd about flying anything else,but that's just me.
I liked the carbon fibre look of the Ozzy blokes link.I have been searching and testing materials for a while now..from fibreglass to resin,foam sheeting,to different paints...I am probably going to settle on my own walls with greeblies over them in the end,but it's not set in stone,indeed nothing is about my build.
My biggest problem is electronics:(
Keep up your astonishing work:)
 
Last edited:
Thanks Ven Jarvik and I know what you mean about feeling a bit odd. However, this will be the 5th item in my games room with a similar style so I'm just looking at it as fitting in with everything else :)

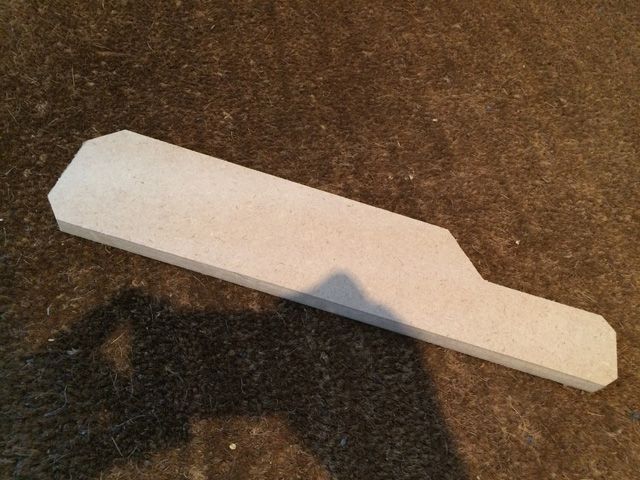
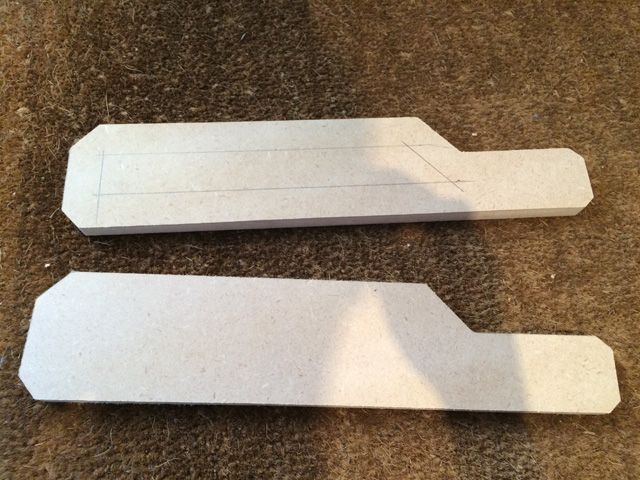
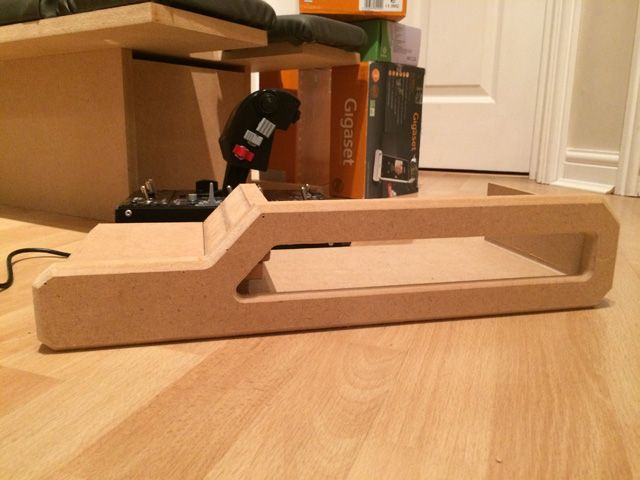
Cloned the side piece and marked the window cut-out:


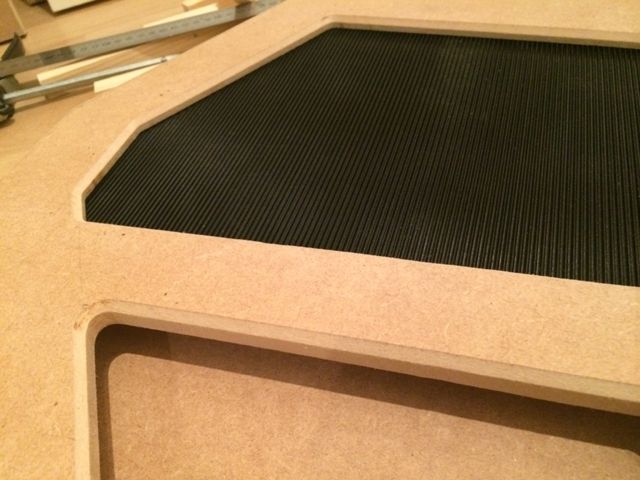
I've ordered some fine ribbed rubber sheet for the inlay so it will have this type of effect when complete:

 
What's the electronics' problem you have? :cool:

A complete,total and utter lack of knowledge for one thing:)

I want to,as simply,cheaply,and easily,install a few buttons/toggle switches to the inside of the 'pit,and have a couple of LED's to signify that the switch has been changed.I also want a few LED's which have no apparent purpose,but come on when I flick a switch.
It needs to be cheap,because to cut a long story short,I was thinking about the younger generation who will probably play this game on release,and wanted to show it was possible to do with limited resources etc...Blue Peter with knobs on if you like.
The only things I have are a few LED's,an Arduino Mega (which I haven't even opened yet,and LED strip(although even I can do that one);)
 
Thanks Ven Jarvik and I know what you mean about feeling a bit odd. However, this will be the 5th item in my games room with a similar style so I'm just looking at it as fitting in with everything else :)

Cloned the side piece and marked the window cut-out:


I've ordered some fine ribbed rubber sheet for the inlay so it will have this type of effect when complete:


This really is looking hot! I am almost not wanting you to finish because the fun is watching the build.
Regards feeling odd...If you have an imagination which most of us seem to have,I don't think it matters in the slightest;)
 
Thanks again Ven Jarvik :) Don't worry, the build will go on for a few weeks yet!

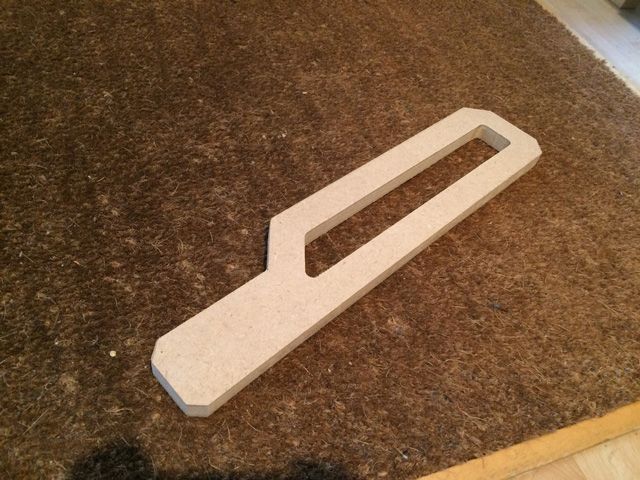
Window cut in one of the side panels:


I'll do the same to the other side and then start beveling the edges. The main pieces for this side will be done. I will still have to cut the backing board and insert the rubber when that arrives.
 
Last edited:
The ribbed rubber has a brilliant effect.Looks very sci fi.."Alien-esque"

Tell me,will you be weathering this when complete? If so what technique do you plan to use?
 
The ribbed rubber has a brilliant effect.Looks very sci fi.."Alien-esque"

Tell me,will you be weathering this when complete? If so what technique do you plan to use?

Strange you should say that, I try and make my designs futuristic military - don't know why though :)

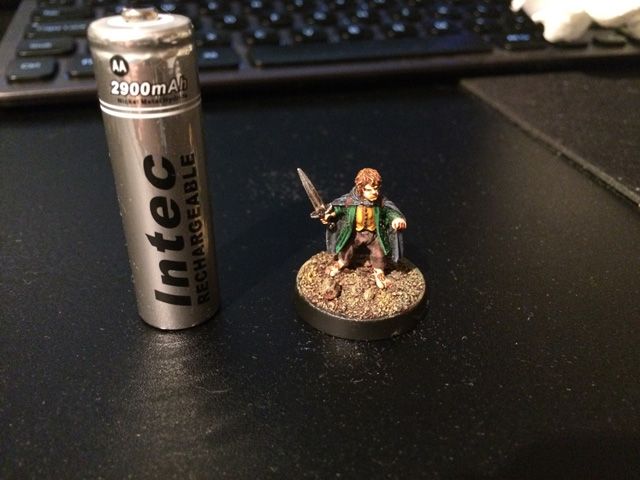
I'm not going to weather it. If it was more of a show piece, I may have considered it. Technique-wise, I'm a fan of dry brushing (sorry, the model in this pic is extremely small). Basically remove practically all of the paint from the brush and run it over raised areas. Just keep going until it is highlighted sufficiently:


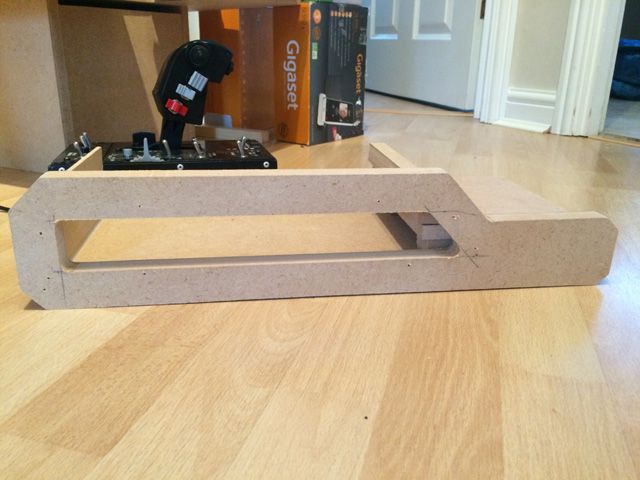
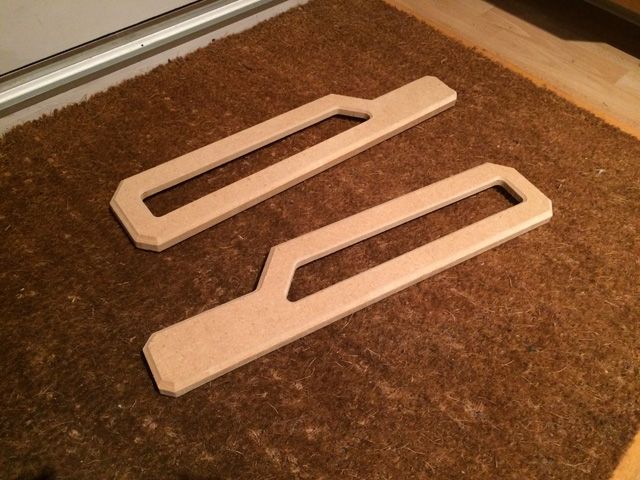
Completed both sides:


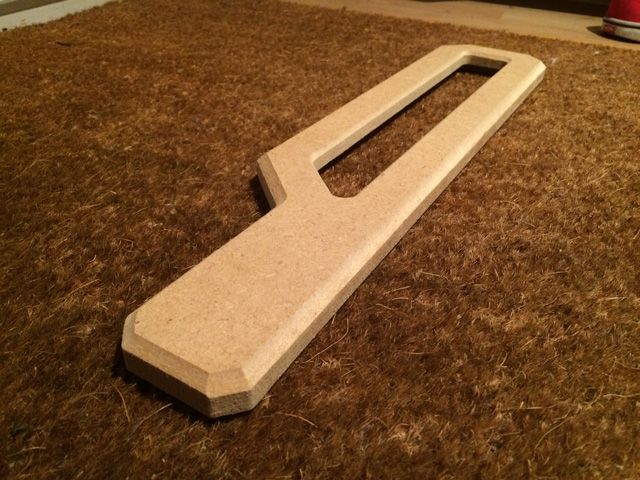
Outward facing beveling. This will be smoothed off around the edges to make the edges slightly less defined:


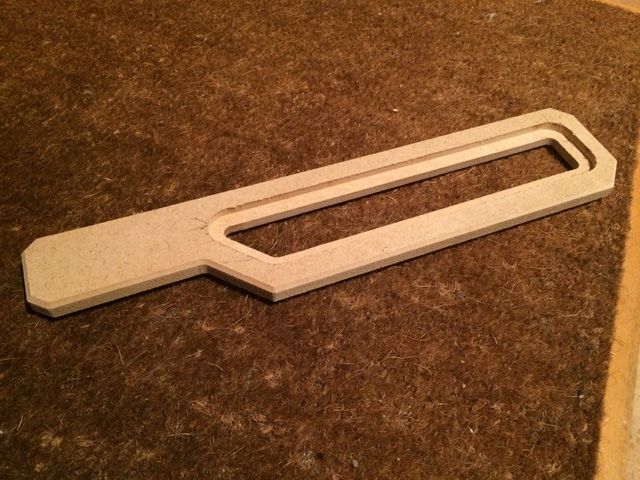
Routed to accept the inlay (about 6mm depth):


Upright:


That's the building done for today :smilie:
 
Back
Top Bottom