Sound like you have it all in hand
You are using an out of date browser. It may not display this or other websites correctly.
You should upgrade or use an alternative browser.
You should upgrade or use an alternative browser.
Community Event / Creation The C-Pod: A DIY Command seat (build log)
- Thread starter ThereIs0nly0ne
- Start date
Yes, on this occasion! If you do notice any potential design issues, please chip in, it's appreciated.
I do love when the vinyl goes on.
Yes, it makes a very big difference very quickly. Much more so than painting; I'm still filling and sanding the sides - these will take some time.
I thought of a couple more Oculus Rift specific ideas.
1, Ginger Biscuit Dispenser (great for sim sickness)
2, Bucket (for when the ginger biscuits are not enough)

Yes, change the ship bobble head for a PEZ-like ginger biscuit dispenser. Flip up DB's head and out pops a biscuit
Yes, it makes a very big difference very quickly. Much more so than painting; I'm still filling and sanding the sides - these will take some time.
It looks really great, it that really made for chalkboards!? Such a great texture.
Is it selfadhesive or do you glue it on?
OK .. that's a total class act!
It looks really great, it that really made for chalkboards!? Such a great texture.
Is it selfadhesive or do you glue it on?
Yes, it's really made for blackboards and the texture is fantastic. It's self adhesive also. I spend a lot of time looking for interesting materials and this is a stand-out one.
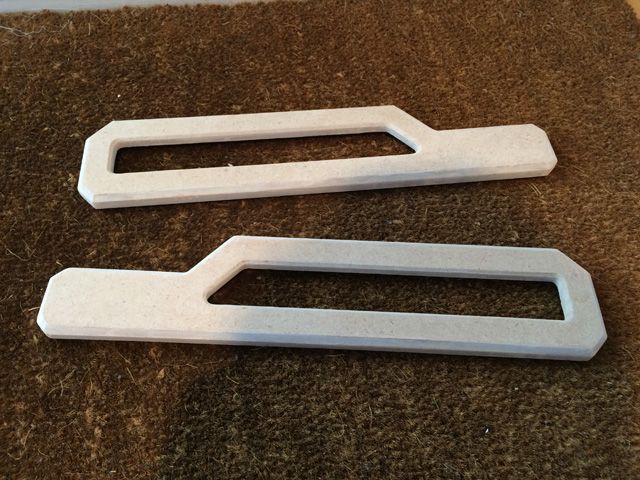
Boring bits - anemic side panels ready for undercoating after 2 rounds of filling and sanding. There will be further filling and sanding required once the blackboard paint has been applied and further blemished show up.
OK .. that's a total class act!
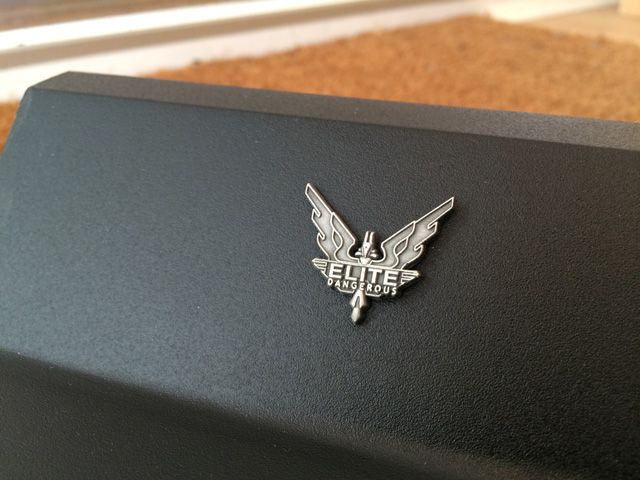
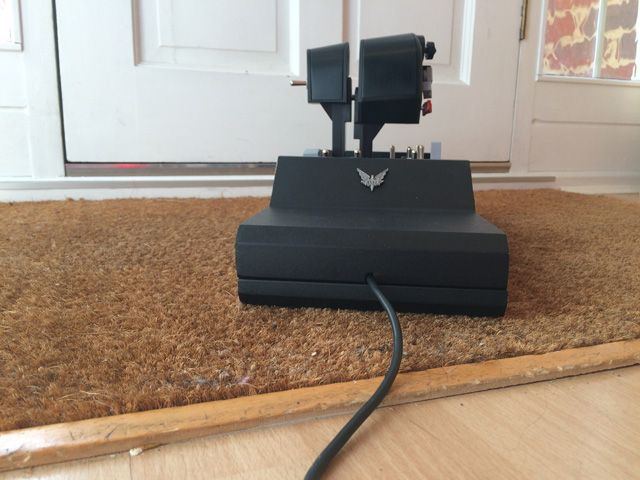
Cheers Winterwalker - I'm pleased with the result. It helps having used this material before and knowing what to expect. I'm glad I decided to place the badge where I did as well, it adds some interest and personalisation
Edit: hopefully this will sell a few badges as well ...
Yes, change the ship bobble head for a PEZ-like ginger biscuit dispenser. Flip up DB's head and out pops a biscuit
Nah. DB head flips up and out pops a Pez. Now that would be worth having in RL too.
Edit: hopefully this will sell a few badges as well ...
You mean like almost exactly like these ones ??
Hope so !! (They're a bit dear really, but I'm having to have them made and posted to me first for QC, as each one is unique .. I'd have liked to have done for £4 but eBay won't let me edit the listing now anyway so ...)
The badge looks spanking on the throttle assembly .. Have you thought about a cup holder? It's maybe not a bad idea?
My badge goes on bomber jacket btw, and to give scale ..

I think a lot more will be possible if / when controller "rumble" or even panel UI's output to a tablet computer, as seems "a maybe" later?
I'm semi-messing around with a headset and throat mic., waiting for subcontractors to finish finish at work work .. Integral EDTracker plus Voice Attack of course but it's a "spiffing" old leather headset .. As voice, for other hardware, not quite sure how I'd do a ginger biscuit dispenser atm, but I'm hacking the broken down thermostat of an old kettle .. ready and able for "computer .. tea .. earl grey .. hot!" on exit of supercruise, so the cuppa's ready as docking successful
Nah. DB head flips up and out pops a Pez. Now that would be worth having in RL too.
Yep, a real life DB PEZ dispenser would be very cool!
Have you thought about a cup holder? It's maybe not a bad idea?
I think a lot more will be possible if / when controller "rumble" or even panel UI's output to a tablet computer, as seems "a maybe" later?
I'm semi-messing around with a headset and throat mic., waiting for subcontractors to finish finish at work work .. Integral EDTracker plus Voice Attack of course but it's a "spiffing" old leather headset .. As voice, for other hardware, not quite sure how I'd do a ginger biscuit dispenser atm, but I'm hacking the broken down thermostat of an old kettle .. ready and able for "computer .. tea .. earl grey .. hot!" on exit of supercruise, so the cuppa's ready as docking successful
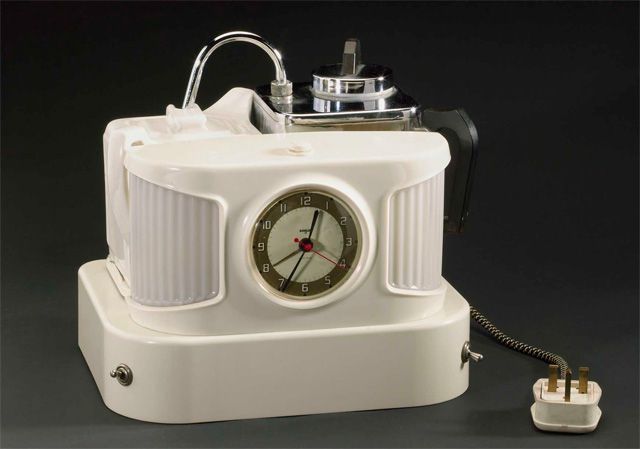
Maybe incorporate a Goblin Teasmade?
For feedback effects, I'm really hoping for Simvibe support. That would be very cool.
Definitely going to purchase Voice Attack once I get a new headset - my mic is broken atm.
First layer of undercoat for the side panels is done.
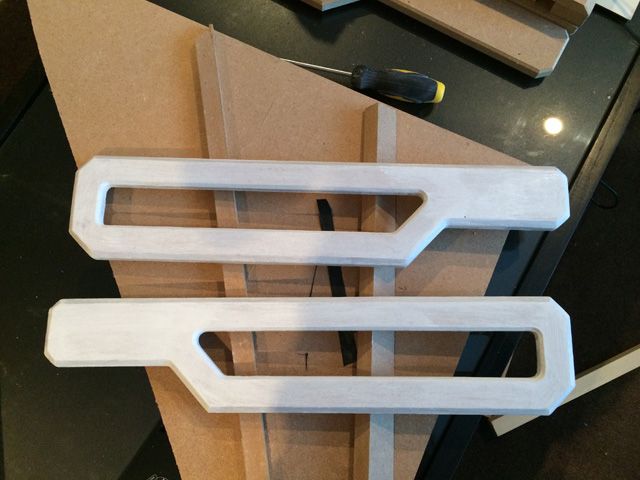
Another coat is needed followed by sanding and probably some more filling ...
Liking the teasmade .. just needs covering in black vinyl? 
.. maybe replace the clockface with this beauty? .. circular oLED
Simvibe .. exactly!! .. and wouldn't it be fun to hook up "canopy breach" with a "dry ice machine" .. ?
"My cockpit's fogging!!"
paint / sand / repaint / saind .. preparation is key in P&D !!
.. maybe replace the clockface with this beauty? .. circular oLED
Simvibe .. exactly!! .. and wouldn't it be fun to hook up "canopy breach" with a "dry ice machine" .. ?
"My cockpit's fogging!!"
paint / sand / repaint / saind .. preparation is key in P&D !!
I was gonna ask ya about the paint, does it have the same texture as the vinyl or will it be more smooth?
Not that I think it will matter since it will look superb anyway, but just out of interest
On top of the undercoat, I use water based blackboard paint applied with a foam rolled (2 - 3 coats). It dries nice and flat:

I then apply 3 thinnish coats of water based polyurethane varnish again applied with a foam roller. It leaves a slightly textured finish which I really like:

To give an idea of the contrast between the finishes:
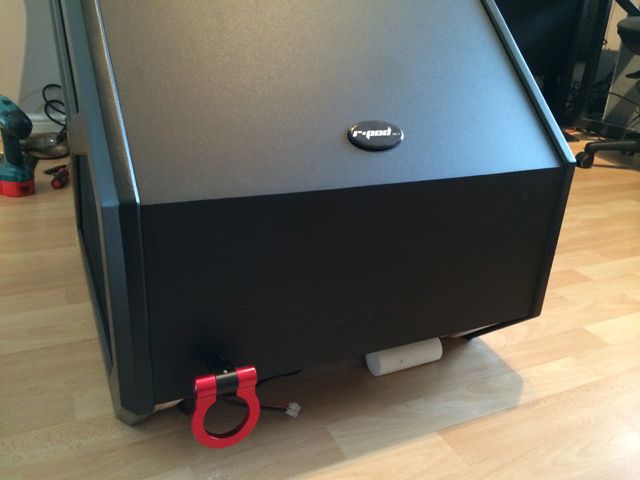
Hope that helps.
Edit: That's where that foam roller went ...
Last edited:
.. maybe replace the clockface with this beauty? .. circular oLED
Now that looks very swish!
Greatly enjoying it me too
Ive followed (and read through finished) builds for some time, mostely replicas of real world cockpits and im always awestruck by the quality and skill/craftmanship by some people.
What makes this build so special is that there is no real world exemple to take measurements and designs from. I mean, if you want to make an f-16 cockpit there are countless sources on just about every single detail of that pit.
But this, its all up to tioo to "make it up"! And what is really impressive is that this fact aside, you still manage to capture the small details that make such a huge difference! Makes it come out so professional.
And for what its worth, just so you know that this thread is a great inspiration and I can see a fair amount of "C-Pods" appearing the coming winter
This is true.pretty much like playing music by ear.Having said that,there soon will be a real world example.
Thanks for the kind words and I really do hope other people start building these!
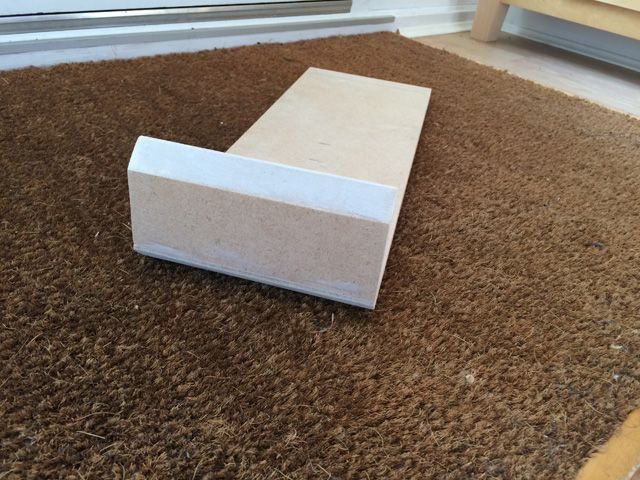
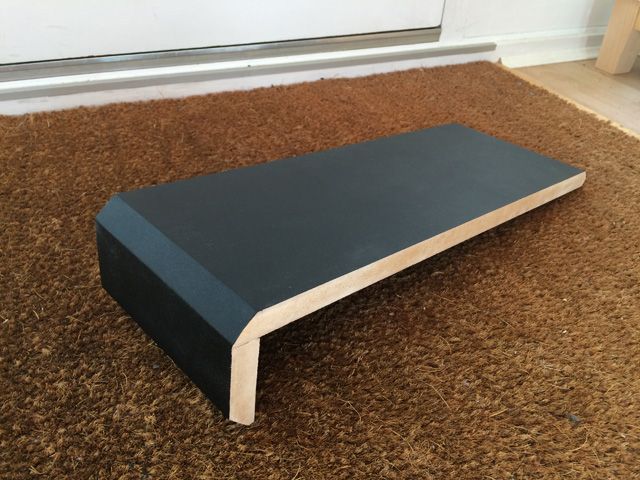
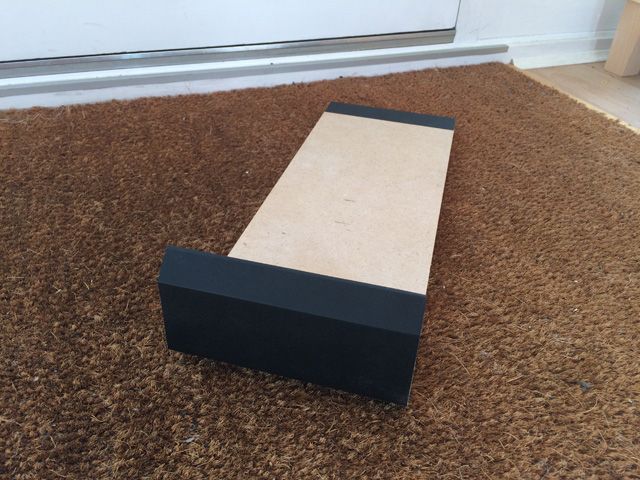
Finished the prep for the throttle base:
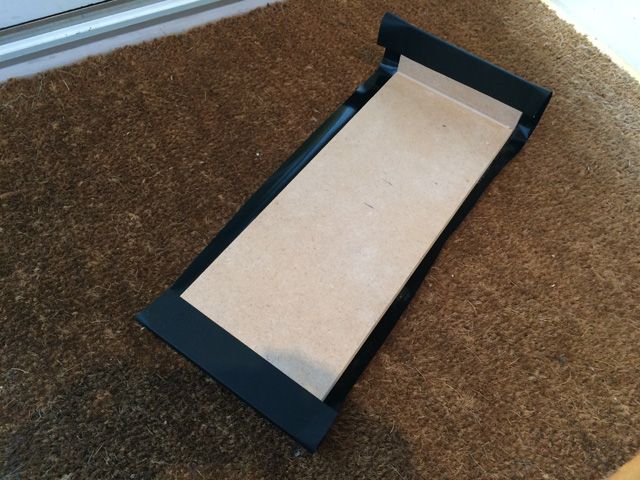
Blackboard vinyl applied:
Trimmed:
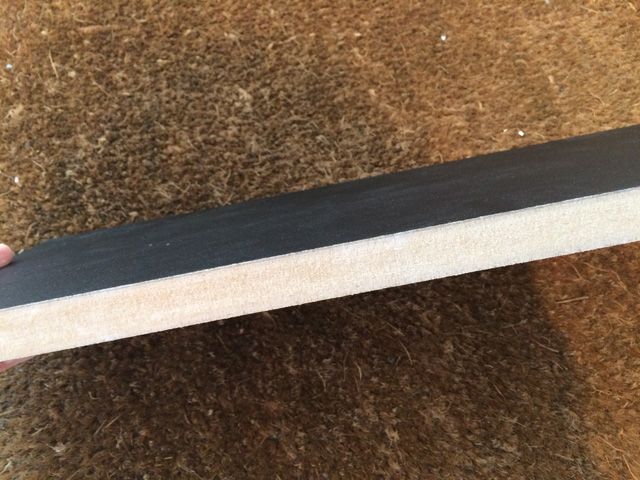
Close-up:
The critical things to remember are to dust the surfaces of well, slightly round off any 90 degree angles with a light sanding (avoids bubbling) and press really firmly using your thumbs (this will hurt a bit after a while) and pull/stretch the last edge parts.
The blackboard vinyl is a go-to material for me now. Much better than regular vinyl; it is slightly thicker, slightly more forgiving on uneven surfaces and has a lovely texture to it.
That material really does the job,it looks like something you would happily pay for in a shop.Great skills you have,and thanks for the advice on this too,so many people make great stuff but never share their techniques.
On top of the undercoat, I use water based blackboard paint applied with a foam rolled (2 - 3 coats). It dries nice and flat:
I then apply 3 thinnish coats of water based polyurethane varnish again applied with a foam roller. It leaves a slightly textured finish which I really like:

To give an idea of the contrast between the finishes:
Hope that helps.
Edit: That's where that foam roller went ...
That finish (at least from the photo) gives it a sort of hammered look,makes it look like it is actually metal all the way.
I'm full of admiration for your brilliance.This is unquestionably one of the best builds I have seen.You ought to share it on youtube when youre finished,there are other sites out there too,where people will drool over this.

