Community Event / Creation The C-Pod: A DIY Command seat (build log)

Dude.. I just spent 3 hours enjoying every post in this thread.. I have to say, I am thoroughly impressed with not only your build quality, but your creativity. A couple years ago, I gave building a sim racing cockpit a go. With my illness though I ended up abandoning the rest of the build, and ended up instead buying an obutto with all the bells and whistles.. Still though, seeing your passion for your design reminds me why I started my build to begin with, and as I sit in my obutto, with triple screens and the x52 pro mounted, it all feels a little cheap in comparison. I believe you've given me inspiration today that I haven't seen in quite some time. I thank you for sharing your project, and that motivation may yet make me pick up a pen once again and design a cockpit I'd be truly proud of. Thank you for this..

Gary
 
And with these latest pictures, every other pitbuilder scraps their projects…

Damn, how good this looks…Amazing…I find no other fitting word :D
 
Dude.. I just spent 3 hours enjoying every post in this thread.. I have to say, I am thoroughly impressed with not only your build quality, but your creativity. A couple years ago, I gave building a sim racing cockpit a go. With my illness though I ended up abandoning the rest of the build, and ended up instead buying an obutto with all the bells and whistles.. Still though, seeing your passion for your design reminds me why I started my build to begin with, and as I sit in my obutto, with triple screens and the x52 pro mounted, it all feels a little cheap in comparison. I believe you've given me inspiration today that I haven't seen in quite some time. I thank you for sharing your project, and that motivation may yet make me pick up a pen once again and design a cockpit I'd be truly proud of. Thank you for this..

Gary

It's a pleasure Gary and thanks very much, it's sincerely appreciated :) If the log has given you ideas and sparked your imagination then that is truly the best reason for me sharing this here. I remember reading so many build logs other people had posted before I even had a clue about what I was doing - I was thankful to them for getting me interested and sharing ideas. Best of luck on your endeavors and if you start, I look forward to seeing you bring your ideas to life.

And with these latest pictures, every other pitbuilder scraps their projects…

Damn, how good this looks…Amazing…I find no other fitting word :D

Thanks Enride but I know that yours will turn out extremely well; it's a fantastic and very creative design.

There comes a point in the build process where things start to come together and I feel I'm at that point now. It also helps having a nice sunny day to take some decent pictures as well :)
 
I've been slowly reading through this thread over the weekend, and I have to say: Awesome!

I'm looking at making a pair of PVC fitting-based holders for my Cougar HOTAS and a regular office chair. Fortunately, it already has armrest mounts, but no armrests (I salvaged the chair from recycling). I'm thinking of heat-flattening a section of PVC pipe into the holder, using a screw to keep that in place, and mounting rest of the assembly on it so I can adjust it both up/down and front-back in a T-configuration.

However, your project has given me confidence in trying to create a simdesk or even a simchair, as soon as I can source materials that don't cost me beyond my means. Fortunately, I have access to a woodworking/metalworking shop, so tools and workspace and such aren't such an issue.

I'm glad you enjoyed reading it Finwolven and thanks for your comments :) I hope that you'll be able to start work on that project build. I've probably said this before but there's little more satisfying (for me, anyway) than having an idea and bringing it to life. There are a lot of creative people here so I'm sure that if you need a sounding board for anything, someone will be able to offer assistance.

Having access to a good workshop is something I'm extremely envious of!
 
That is looking very nice TIOO and coming together very well. It's amazing the quality in this build, every time I check the thread I am stunned and amazed by the c-pod!
 
That is looking very nice TIOO and coming together very well. It's amazing the quality in this build, every time I check the thread I am stunned and amazed by the c-pod!

Same here.
And take a look at how clean and tidy the thing looks even though its in the middle of the build!
I think im good at planning before starting work and still, everything I touch looks like a buckshot target.

This….Put some clearcoat on it and its a piece of art…And we havent even seen the half of whats to come :eek:
 
Thank you both :) It helped today having a hallway bathed in glorious sunshine when taking those pictures. That and a spot of tidying up before taking them.

Base fitting and side panels are up next ...unless the artwork arrives.
 
Can't beat a bit of late night shopping. I figured that the USB connections into the Neutriks from the HOTAS may well stand up a little too much so I ordered some short, right angled adapters:

 
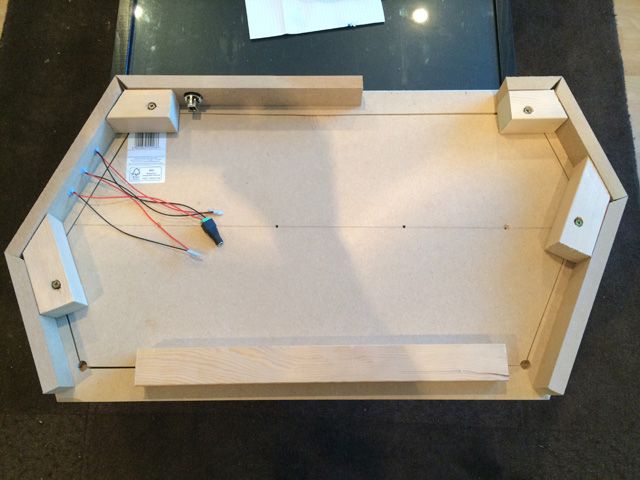
I've cut enough perimeter pieces and supporting blocks to start gluing things together. The remaining blocks will be straight cuts rather than angled ones so are much simpler. I will will need to apply the glue to the pieces in 2 passes. I will complete the left pod first and then start on the right pod.

The screws have been countersunk to enable them to be screwed (and glued) into the outward face once everything is ready. There will be more pieces to accept the HOTAS poles and also an additional brace running across the centre.


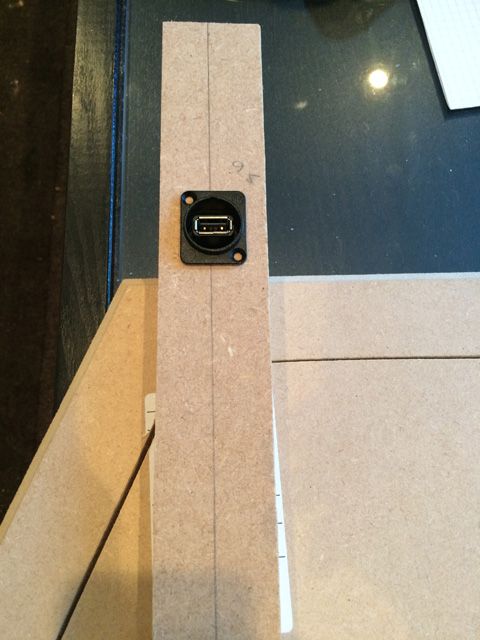
I have also cut the hole for the Neutrik USB connector in the top panel:


The sign of a good and thorough craftsman. Even the INSIDE of the piece that will never be seen is neat and tidy. Kudos.
 
The sign of a good and thorough craftsman. Even the INSIDE of the piece that will never be seen is neat and tidy. Kudos.

Thanks Armante :) Attention to detail is getting better with each build. Looking inside some peoples' projects, especially the wiring, they are works of art even though it will never be seen. A little bit of that has rubbed off on me I guess!

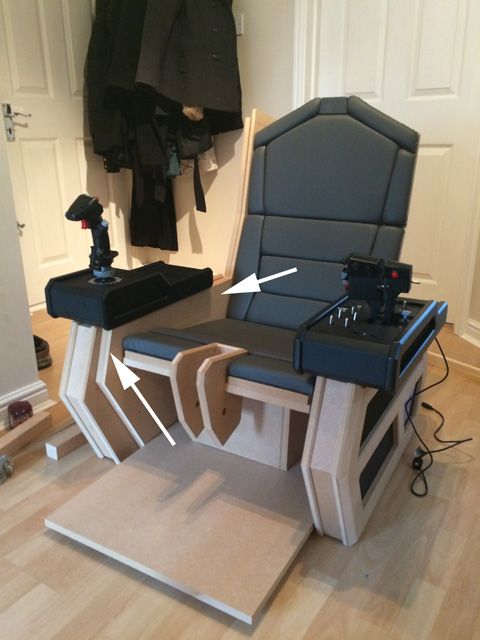
Started on the sides and positioned the HOTAS cases to where they're comfortable. Unfortunately, there are a couple of things wrong here. Firstly, the HOTAS will sit on platforms so will be raised a little thereby making the handling position less comfortable. Secondly, the inside of the seat just isn't a good shape relative to the side pod. There was also an additional minor issue where the sloping angle of the front of the side pod didn't line up with the angle on the side of the seat.

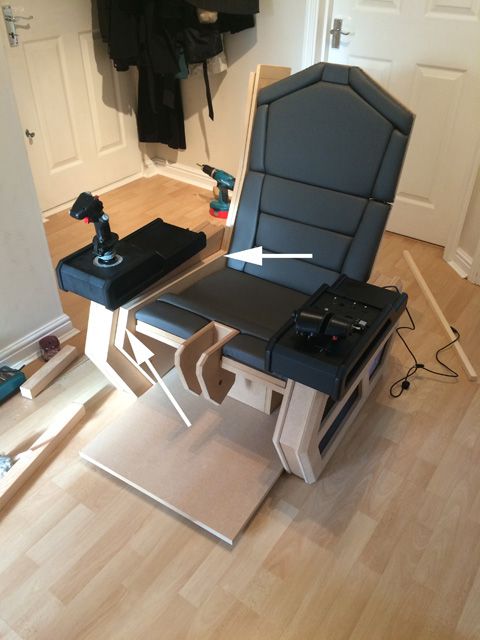
I've fixed both issues by reshaping the lower areas of the sides; it looks much better now I feel. As the front section has been lowered by a few cms, I can also lower the side pods and retain the current height of the HOTAS when they're sitting on their platforms.

The pictures shows the before and after positions with the white arrows indicating where it has been adjusted.

Before:


After:


The lower angle on the side panel doesn't mirror that of the side pod but now that the seat sides have been reshaped, the symmetrical asymmetry (if you know what I mean here), looks better imho.
 
sideafter_zps2eafa906.jpg

Yup. Great work on the angle / styling

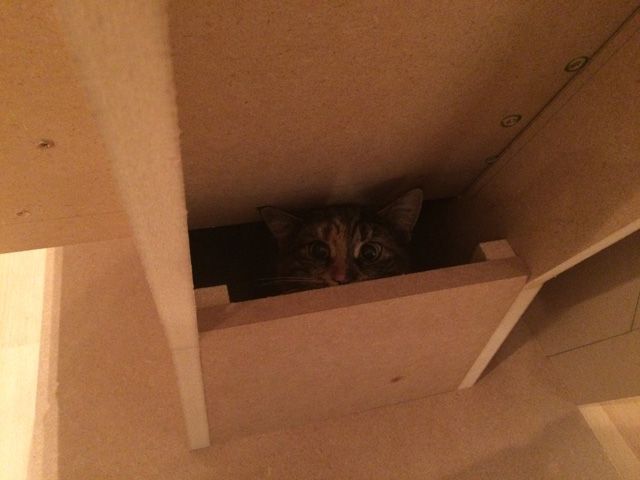
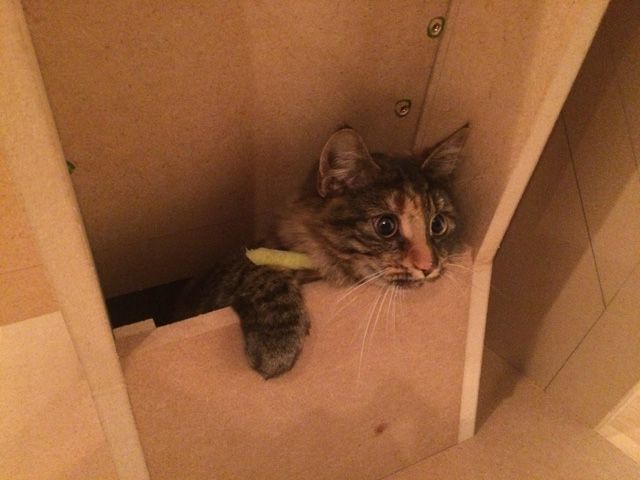
Ship's Cat too .. every Cobra should have one!
(to keep the Trumbles under control!)
 
The look on that cats face! 'I will suffer this indignity until i find a paw operated can opener'

I think he's just giving us the V's for taking the mickey.

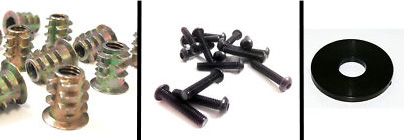
More bits bought. Inserts, plastic washers and cap head bolts to attach the pods to the side of the seat - I want them the be removable ... so the seat will actually fit through the door.


Artwork has been dispatched today so should receive that soon.
 
Back
Top Bottom