Community Event / Creation The C-Pod: A DIY Command seat (build log)

Well this suddenly got busy again! Thanks for the feedback Magic Man, Sanderson, MarkOzzy and Winterwalker.

That automotive site has a few interesting materials on there - the honeycomb mesh caught my eye.


Nothing wrong at all with that Sanderson. I'm trying not to share all my ideas before getting started on the related parts of the build (in case I change my mind) but was contemplating something not too far removed from that for the back of the seat. I need to figure out how complex it will be to implement and whether other ideas may be more appropriate though.

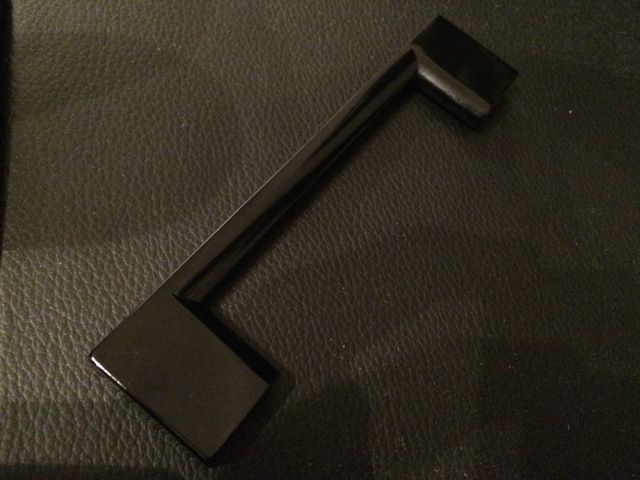
The handles arrived - I have to say they're really nice - I may add some really long ones to the back of the seat.


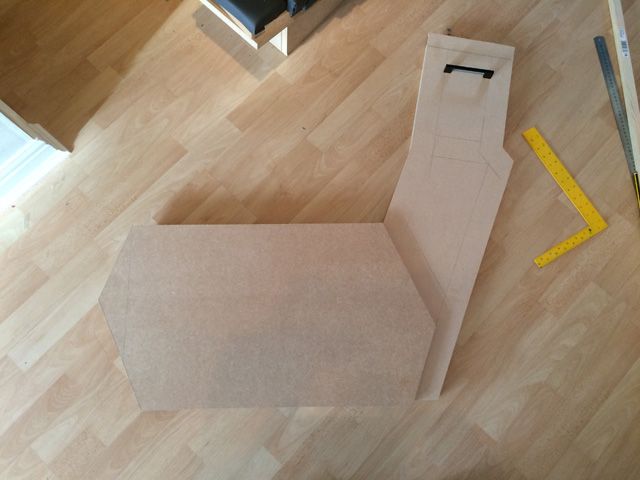
I will start working on the side pods tomorrow. Once I have all the pieces cut and the windows figured out, it'll be easy to replicate for the other side.

Edit: That dash vent looks cool!
 
Last edited:
Some nice ideas here, great to see your back at the woodworking mate :)
Ive had so little time to the build lately and havent even had much time to post in these threads but im checking at least once a day to see what you fellas are up to.

Really excited to see the pods come together!
 
It can be a real challenge to get sufficient time to make progress Enride - you need a good chunk for the main construction to get going in the first place :)

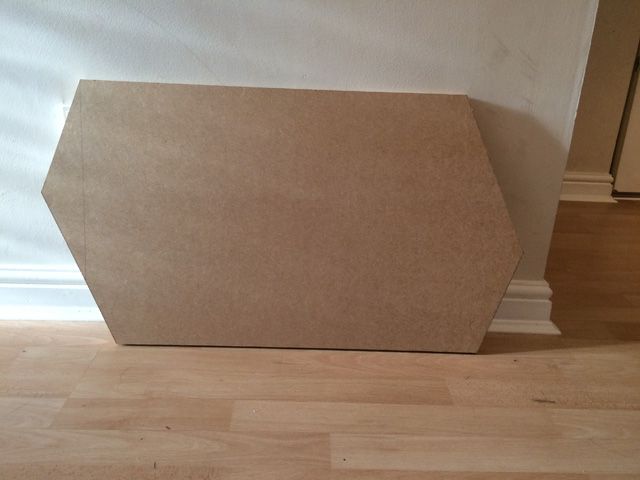
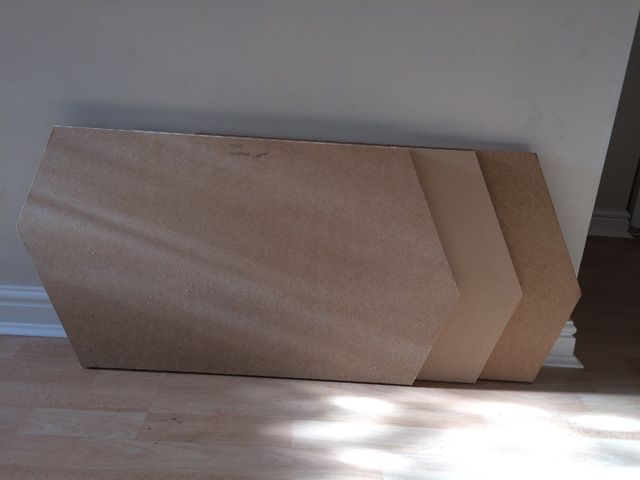
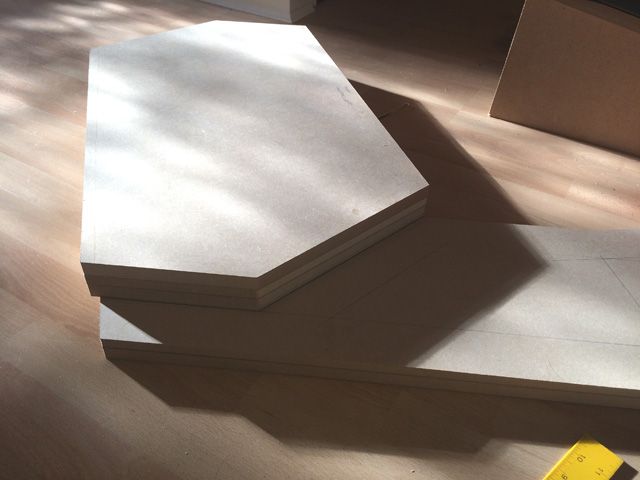
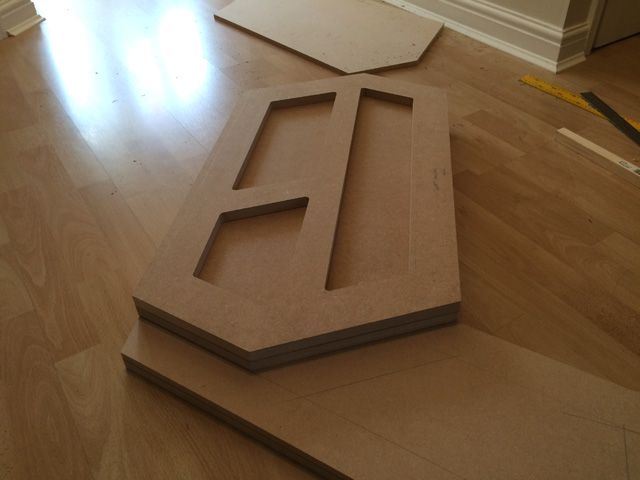
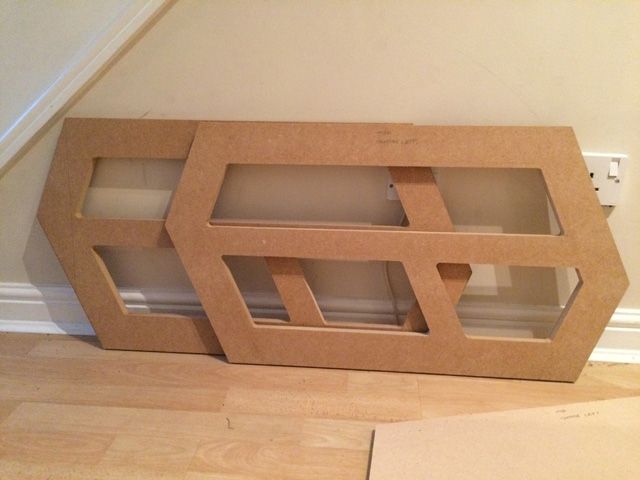
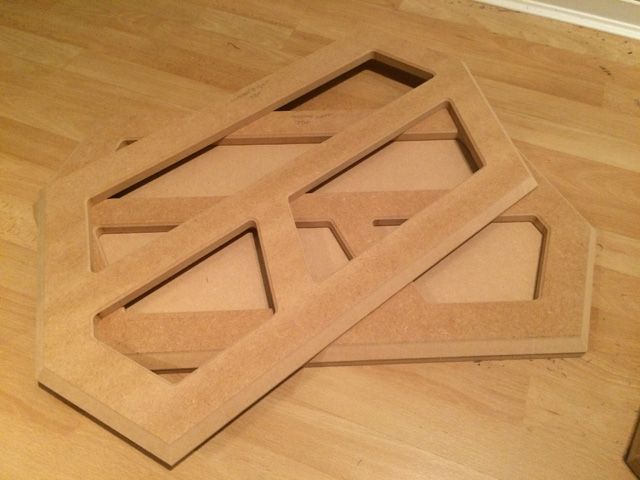
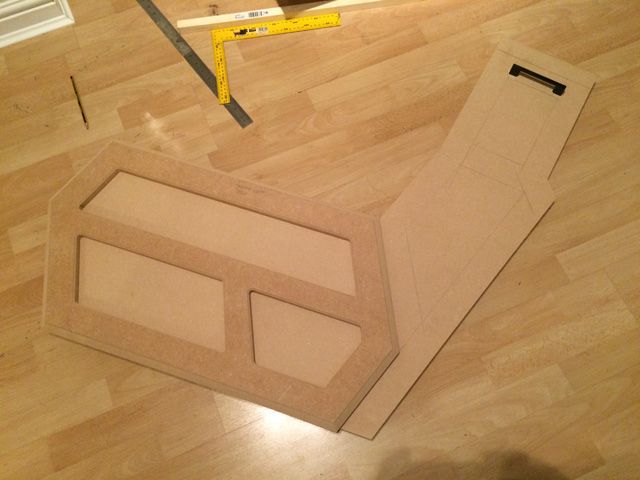
I decided to go for 3 panels for each of the side pieces to keep the weight down. 1 x 18mm on the inside and a 12mm + 18mm on the outside. These pods will be bolted to the main seat.

Bright sunlight preventing me from taking decent pictures unfortunately.


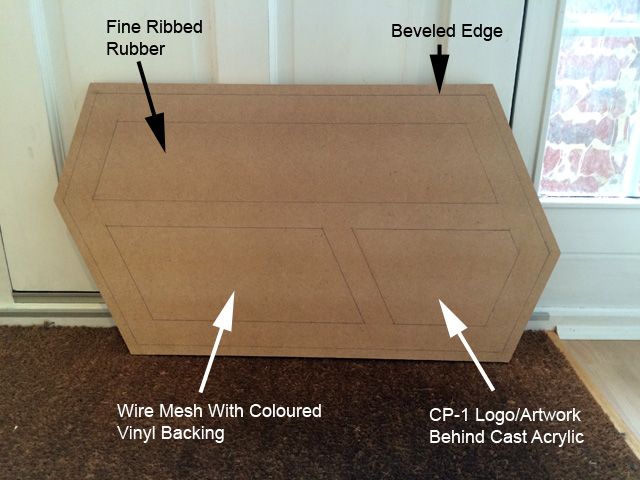
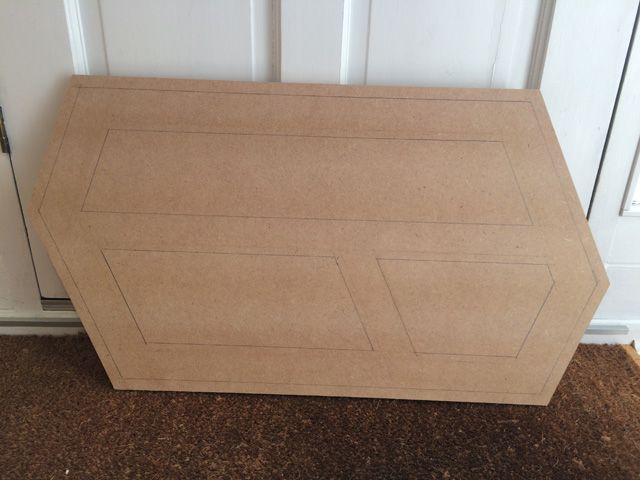
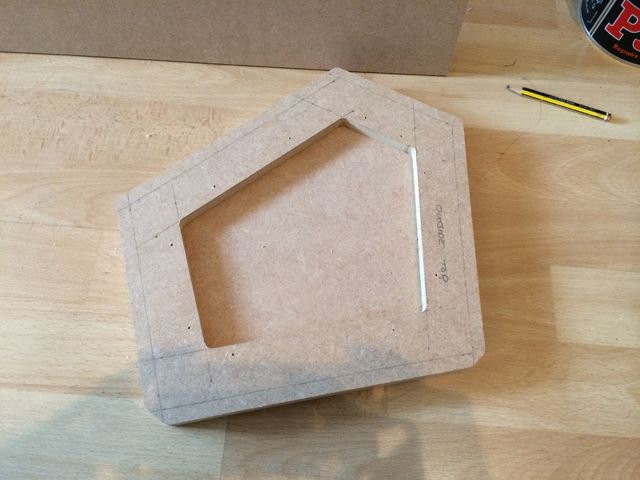
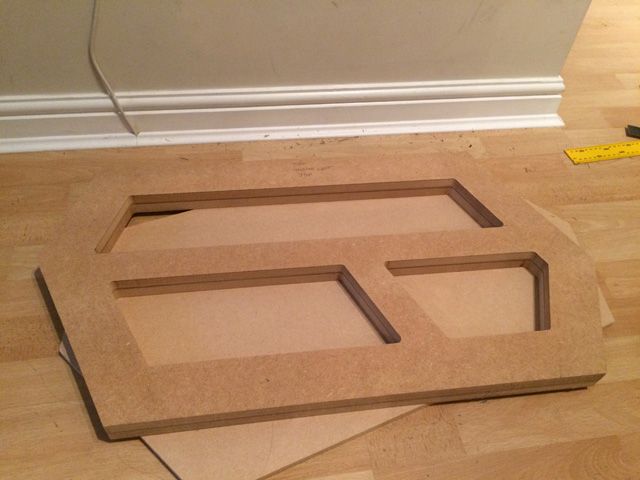
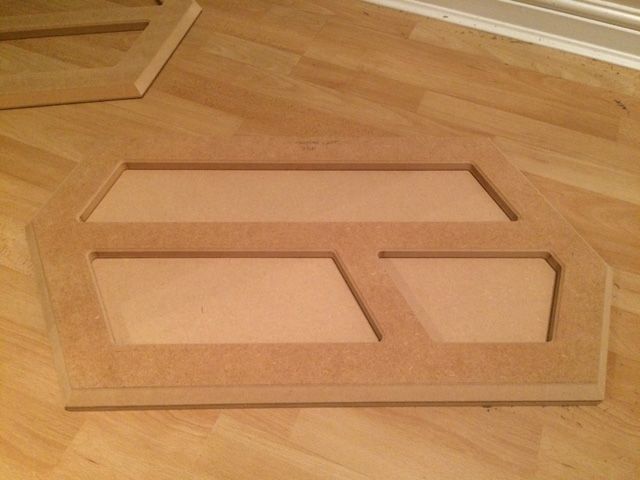
The windows have been drawn out:


Edit: looking ad the width of the sections between the windows and the outer borders, I decided it looked too skinny. I added an extra 1cm to ultimately give a bit more of a bulky and substantial look:

 
Last edited:
Are these all cut with a free jigsaw .. or do you run it down a straight edge maybe?

I think you must have some kind of steady hand if not ...

An expert at the game of Operation ??

boardgames1.jpg
 
Are these all cut with a free jigsaw .. or do you run it down a straight edge maybe?

I think you must have some kind of steady hand if not ...

An expert at the game of Operation ??

boardgames1.jpg

:D

I believe its a jigsaw roughcut followed by routing the edge to make it straight and smooth.
Though, everything tioo does looks cnc routed and im more then a little jealous of his woodworks
 
Enride's correct. Everything is finished off with a router and straight edge using straight wood pieces as a guide:

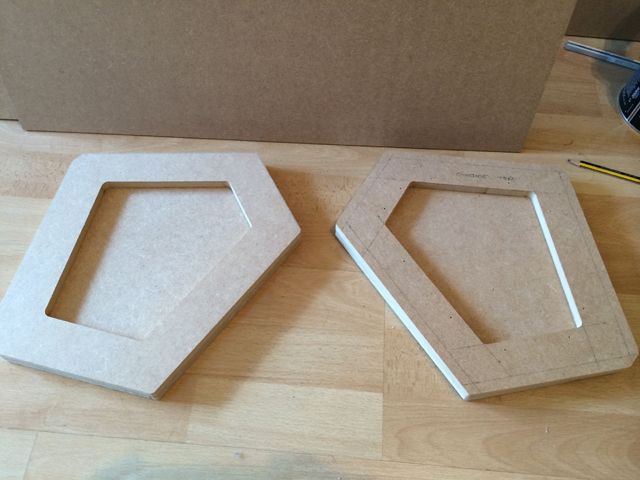
Cut the main pieces using a flat edge and router for the outer lines:


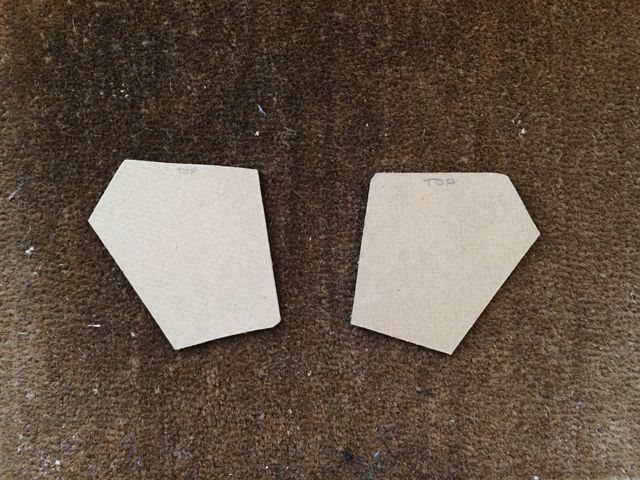
Rough cut the shape:


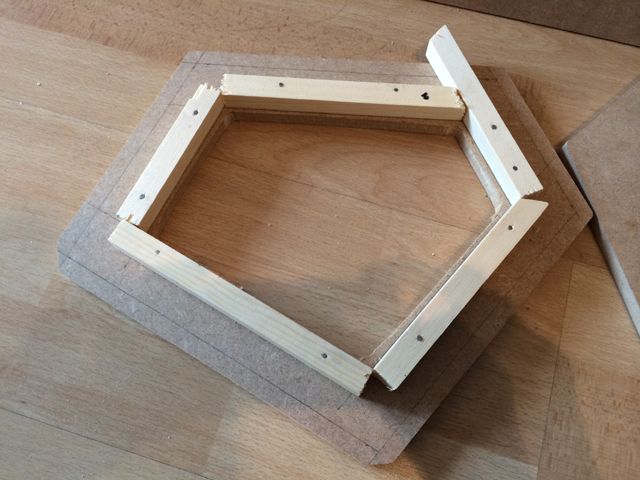
Attach the guides:


Flush trim:


Use this piece to clone any further pieces rather than using guides again:


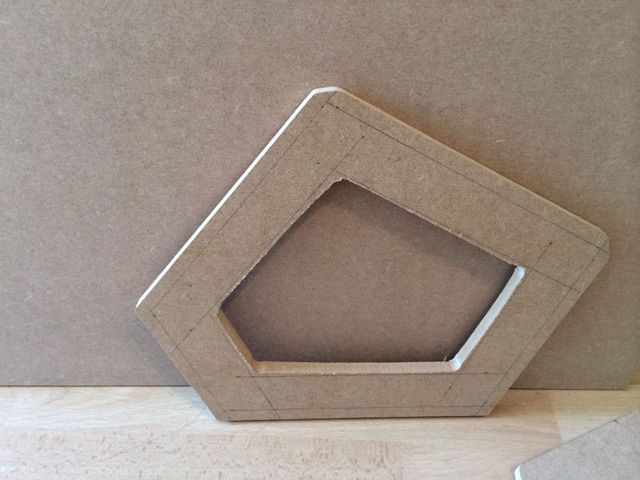
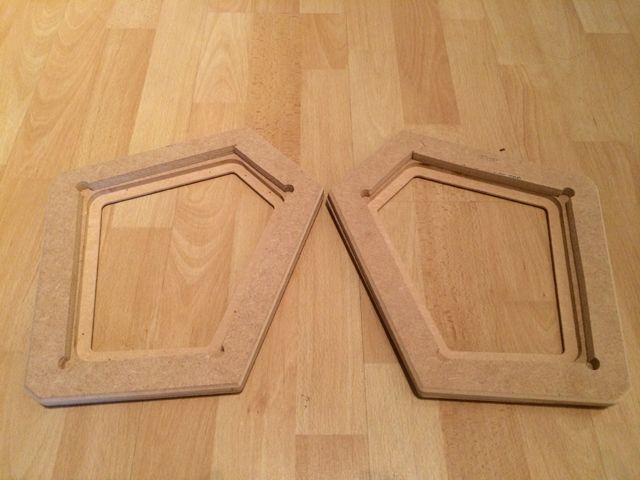
Bevel the edges:


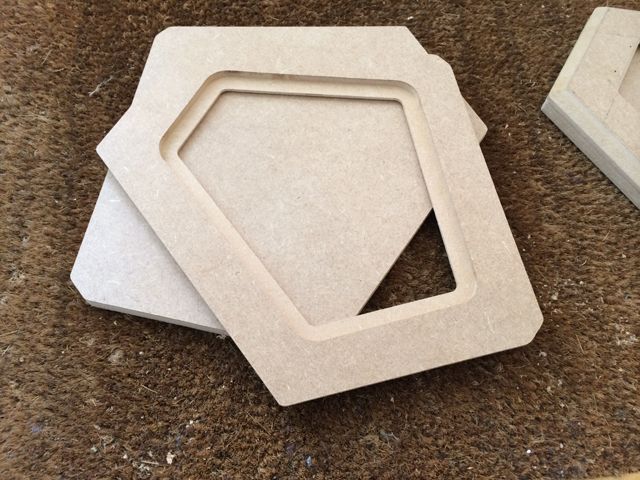
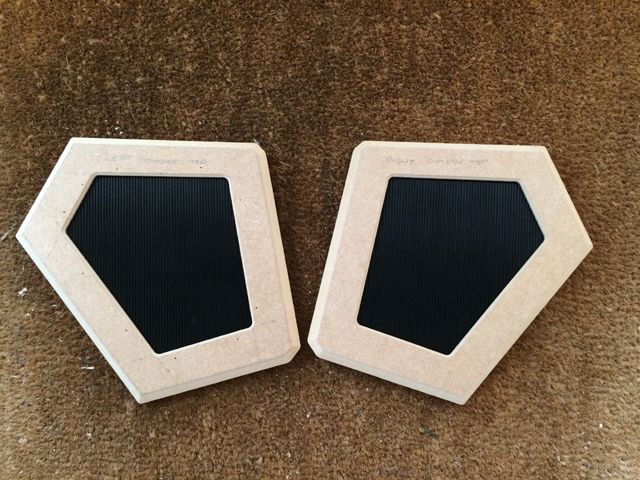
Route out the section for the inlays:


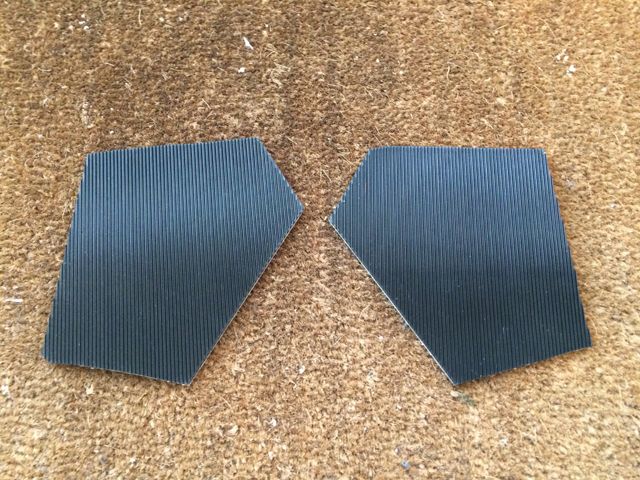
Make the inlays (mount on backing board if necessary):


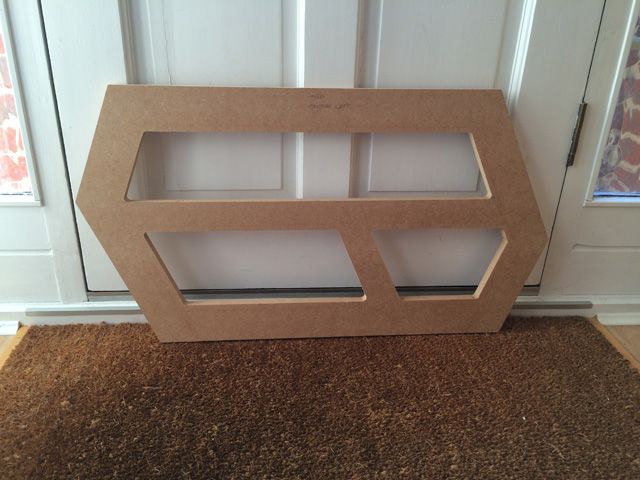
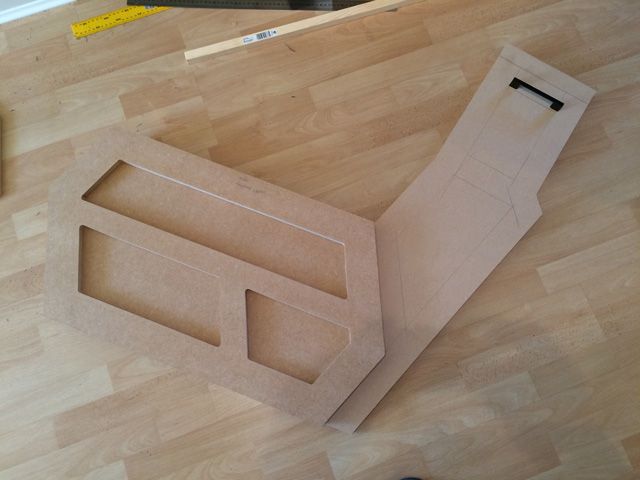
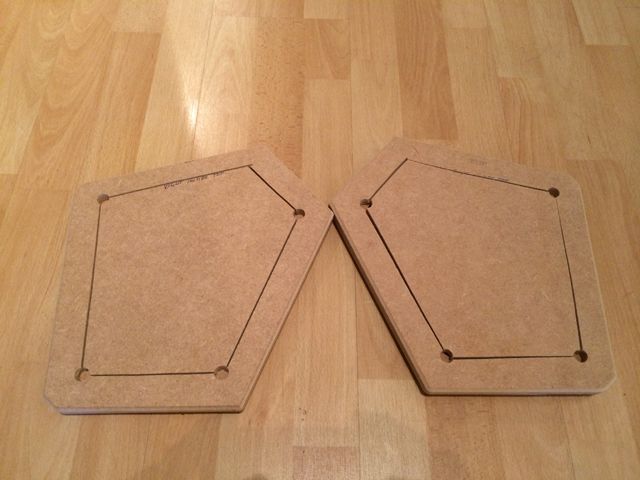
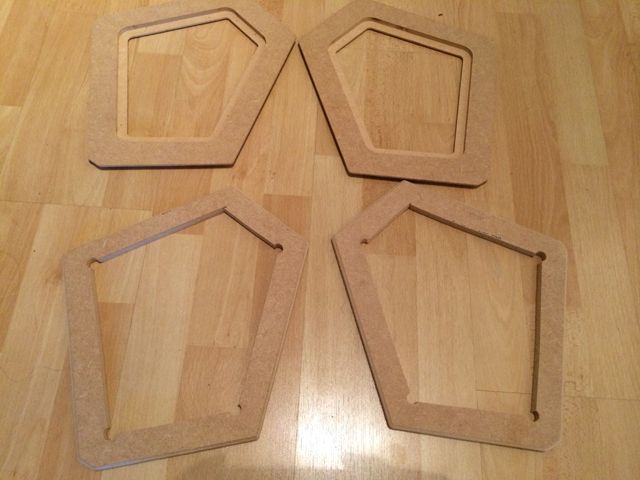
Take the backing piece (this is why I use double thickness panels) and cut a window out:


Glue the inner and outer pieces together:


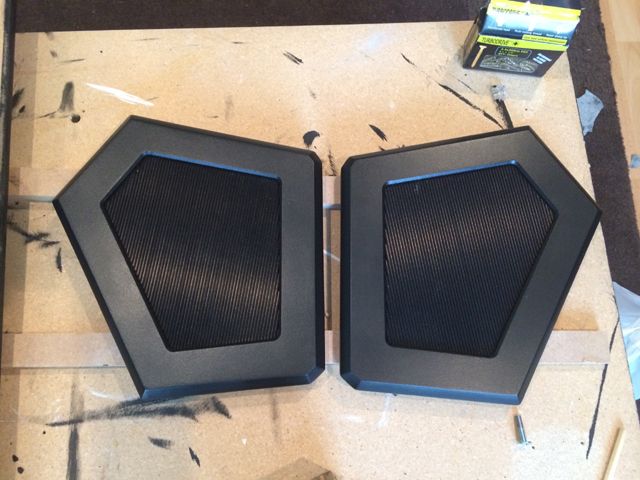
Paint:


Place the inlays into the back and glue/screw into place.
 
Last edited:
Amazing quality of work. The backing pieces are to 'just' get the thickness you want rather than for any other specific construction/design purpose?
 
Thanks Magic Man. The backing pieces (usually 12mm MDF with the front pieces 18mm) serve 2 purposes. The first is to make the panels thicker/more substantial (looks much better imho). The second is to allow me to make these windowed double thickness pieces as a single panel. It's a lot easier to integrate everything into the build if you end up with just single panels to work with. When I was originally trying to figure out how to integrate cut-outs into my builds, this is the approach I came up with.

The down side to all of this is that you end up with very heavy project builds.

I hope that makes some sort of sense!
 
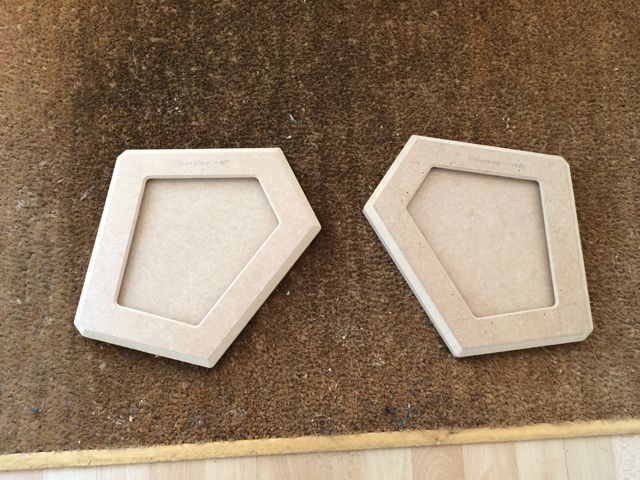
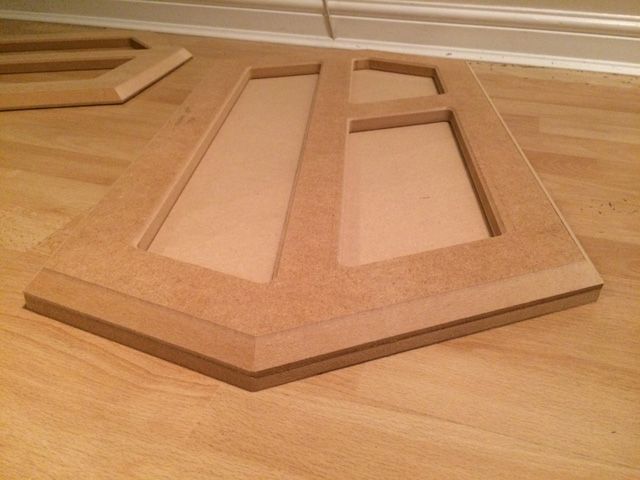
The outside and inside edges of the cutouts have been beveled:


Both sides have been completed:


In-place:


Edit: That's it for today.
 
Last edited:
Oh yes .............

I have noticed before that "big red eject buttons" can be pretty expensive but just spotted this panic button one ... [ link ]

Interestingly, there's a key (which normally resets after you pushed the button and the button locked) I'm wondering if it could be worked or reworked (and I think it could be) so, unless you remember to put the key in (hang it around your neck when away from cockpit?), it's not safe to fly, as you can't eject eject eject (the button is locked without the key, so eject switch is depressed when leaving seat, as a "safety precaution", unlock when starting again)?

Maybe more for Cmdr Pigfumbler, as it could do with his distress-it paint effects .. but there's a flat facia version [ here ] or a different design which I also quite like .. [ link ]

And this is the massivest, cheapest, big button that I can see on this particular e-search (linked off the picture) .. no key this time .. just a wailing "ALARM" (haha)


edit:

And for the man who has everything? I suppose there's always the ...
Martin Baker Vampire Fighter Ejector Seat c1950 - Fully Polished

This is what I would use, an emergency stop button.

You can smack these things really hard, since that is what they are made for. Once depressed, you have to twist it to reset it.

C-pod is coming along nicely :)
 
Last edited:


Place the inlays into the back and glue/screw into place.

Wow. Just - wow. You make it look easy, and the outcome is just amazing. I'm looking forward to the final completed product. Can I request a short video tour of the C-Pod when it is done? Lights off and on. It will look amazing in the dark..
Keep it up TIOO - awesome work :D
 
Back
Top Bottom