You are using an out of date browser. It may not display this or other websites correctly.
You should upgrade or use an alternative browser.
You should upgrade or use an alternative browser.
Community Event / Creation The C-Pod: A DIY Command seat (build log)
- Thread starter ThereIs0nly0ne
- Start date
Thanks for the feedback on this project. It really helps.
@Adam Lusardi, I will be getting a Rift at some point. The headrest issue had been mentioned previously so I will need to have a think about this. I've only tried a Rift once and don't have access to one to test Elite out with. The headrest section will likely be a separate piece so I could always modify it later.
@Armante, a leather covered commode. There's a thought. I'd have to build a pull out slop bucket for that.
@Loren Lovanchi, thanks and I hope it comes out as I hope. No doubt there will be a few things which don't work but generally other options present themselves, sometimes for the better.
@Attackmack, I think it will be difficult to beat the R-Pod as it was a complicated beast to put together. Still, that leaves me more time to invest in the finer details for this I guess")
@MarkOzzy, thank you. The Buttkickers do add a great deal of immersion although they're best used with software such a Simvibe - specific effects reproduced rather than just the bass. Just bass wouldn't be a problem though!
One element I do need to consider before I can complete the seat pads is the centre console:

I've come up with a basic design for that which I will share later. I'd like to incorporate either a 3D mouse (for use with a Rift) or hold my wife's iPad mini with Roccat Power Grid running:
Thanks to Eyota Winterwalker for pointing that option out to me.
@Adam Lusardi, I will be getting a Rift at some point. The headrest issue had been mentioned previously so I will need to have a think about this. I've only tried a Rift once and don't have access to one to test Elite out with. The headrest section will likely be a separate piece so I could always modify it later.
@Armante, a leather covered commode. There's a thought. I'd have to build a pull out slop bucket for that.
@Loren Lovanchi, thanks and I hope it comes out as I hope. No doubt there will be a few things which don't work but generally other options present themselves, sometimes for the better.
@Attackmack, I think it will be difficult to beat the R-Pod as it was a complicated beast to put together. Still, that leaves me more time to invest in the finer details for this I guess
@MarkOzzy, thank you. The Buttkickers do add a great deal of immersion although they're best used with software such a Simvibe - specific effects reproduced rather than just the bass. Just bass wouldn't be a problem though!
One element I do need to consider before I can complete the seat pads is the centre console:

I've come up with a basic design for that which I will share later. I'd like to incorporate either a 3D mouse (for use with a Rift) or hold my wife's iPad mini with Roccat Power Grid running:

Thanks to Eyota Winterwalker for pointing that option out to me.
I'm following this thread with great interest... amazing concepts!
Thanks Aquila Oculus. I have to thank FD for giving me the inspiration to build this. The in-game seats look fantastic.
I'm using 2 types of foam Sanderson. To get the pieces with a nicely defined shape (not saggy), I've cut up an old exercise mat which is 15mm thick. This is very firm which is great for my back but will be less so for my behind:
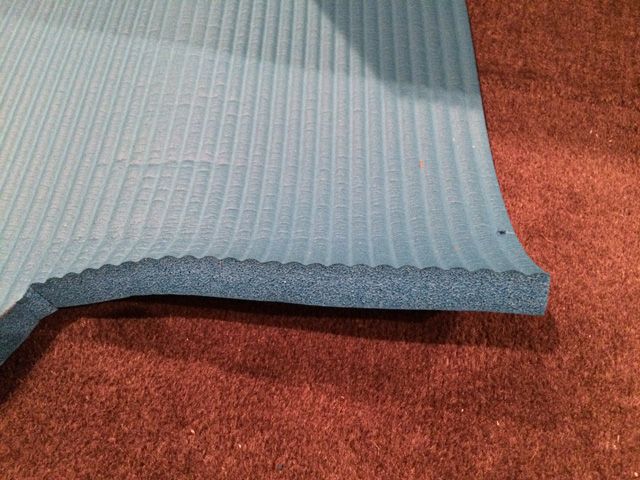
The other foam (25mm) I ordered did not allow me to to achieve the definition I wanted for the back panels. I will however try placing this over the other foam when I come to cover the lower panels. Experimentation (and using different materials) is where I derive a lot of the enjoyment when building ...
Edit: The lower panels will be shaped a little like a bucket seat (but less pronounced) to hold me in place.
Last edited:
ThereIsOnlyOne
About your center stand, why not make your own switchpanel for it!
With some planning, you could very well make it detachable (with a suitable connector) and working as a single unit "Button Box" with your own choice of switches, buttons and artwork
There are many various USB interfaces for use, for example the ones ill be using, the Leo Bodnar BBI-32 is small in size, comes with quickconnectors for wiring so wiring them is a matter of minutes, and connects to the pc via usb to offer another individual 32 buttons for you to control!
Backlighting isnt difficult to arrange either.
There are countless tutorials and sites giving various designs but heres one that shows backlighting good looking panels doesnt have to require extensive tools or alot of money:
http://www.hanskrohn.com/BuildingTips/Backlit_Panels/Backlit.htm
And in a shameless attempt to boast my own build, please check in my thread in the hardware forum as im in the process of building a dektop simpit for ED (and other sims) and right now im in the process of making the switchpanels!
Desktop Simpit
Some very good ideas.
Thanks for the info Attackmack. I'd looked at your build earlier, looks really good. I know you a looking to make this a modular/swappable design also which is a great idea. Some good ideas you have shared as well, thanks.
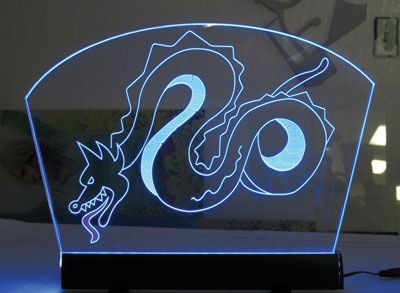
I've considered using edge lit LED lighting for acrylic overlays to get a glow effect - I need to figure out how to incorporate this into the design. It's a really effective technique.
The EL (Electroluminescent) panels look amazing (but expensive) also:
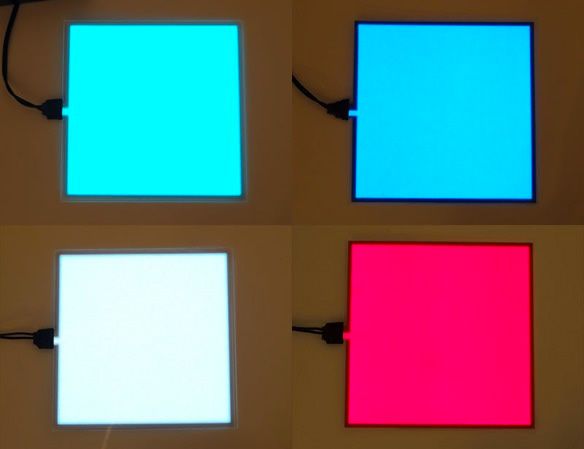
I have some of the EL Wire and haven't used it yet - it emits a strange buzz when power is applied. It could be used for backlighting also.
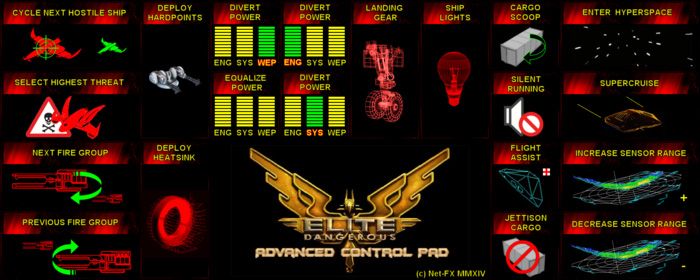
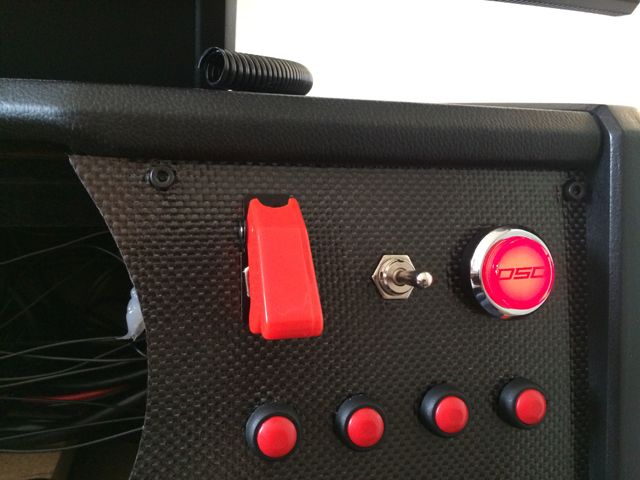
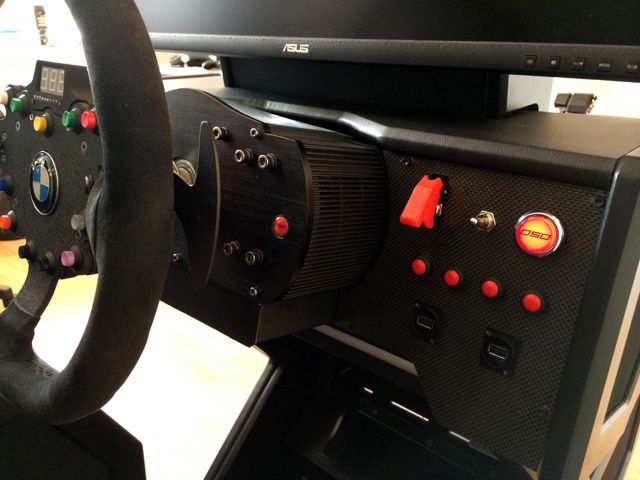
A button box would be cool and is also an option. I made some panels for the R-Pod using a hacked DSD control board and buttons
The top will almost certainly have to be detachable so there's plenty of option open!
Nothing shameless about linking your project, it looks excellent
Edit: that link to the backlit panels looks very interesting ...
I've considered using edge lit LED lighting for acrylic overlays to get a glow effect - I need to figure out how to incorporate this into the design. It's a really effective technique.

The EL (Electroluminescent) panels look amazing (but expensive) also:

I have some of the EL Wire and haven't used it yet - it emits a strange buzz when power is applied. It could be used for backlighting also.
A button box would be cool and is also an option. I made some panels for the R-Pod using a hacked DSD control board and buttons


The top will almost certainly have to be detachable so there's plenty of option open!
Nothing shameless about linking your project, it looks excellent
Edit: that link to the backlit panels looks very interesting ...
Last edited:
For button boxes, I cannot recommend the work of Leo Bodnar enough, although as a man of taste (fellow Fanatec wheel owner) you may already be familiar with his work. http://www.leobodnar.com/shop/index...ath=86&zenid=adea2294e9df68e0db7d318d4352520f
Once my third one arrives I will be able to finish "The Button Box of Doom"

Once my third one arrives I will be able to finish "The Button Box of Doom"
Very nice button boxes Cabe! I'm familiar with the Bodnar's work ... just wish I could get my hands on one of his wheels
@Georgio, I'm intending to make the panels on the base of the seat more pliant by using 2 different types of foam. The side panels on the upper section will be angled to hold me in place better. Those side panels are going to be an interesting challenge to get right, particularly as I have to carry them over to the seat base and make sure all the angles line up correctly.
@Georgio, I'm intending to make the panels on the base of the seat more pliant by using 2 different types of foam. The side panels on the upper section will be angled to hold me in place better. Those side panels are going to be an interesting challenge to get right, particularly as I have to carry them over to the seat base and make sure all the angles line up correctly.
The side panels on the upper section will be angled to hold me in place better. Those side panels are going to be an interesting challenge to get right, particularly as I have to carry them over to the seat base and make sure all the angles line up correctly.
You look like your a dab hand with the woodworking, but this may be a faster/easier option on getting the angles to your liking.
Use expanding foam and a craft knife. Custom car dashboards are done this way and the average cosplayer also use it for weapon/model making.
Here's an example.
www.youtube.com/watch?v=YrsOO4SMAaA
Thanks for that demonmaker, it definitely does look like an interesting option. I'll go the standard route first but if that doesn't work out, this is certainly something to try. Cheers!
Just looking around a hand controlled mouse options for navigating the menus. This looks interesting:
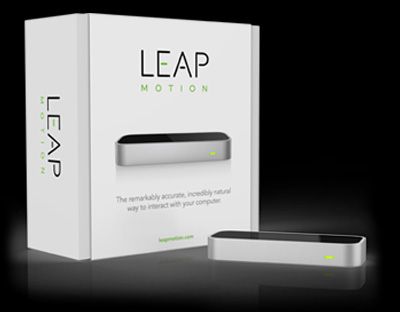
VR Version:
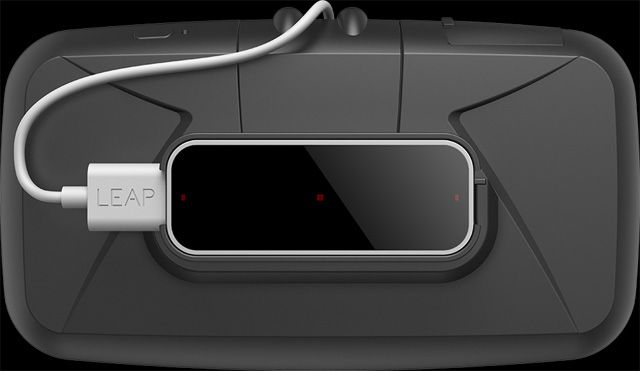
https://www.leapmotion.com/product/vr
Does anyone have any experience with it?
Just looking around a hand controlled mouse options for navigating the menus. This looks interesting:

VR Version:

https://www.leapmotion.com/product/vr
Does anyone have any experience with it?
No experience but I have 3 of these on my wish list with Oculus Rift.
Waiting for V2 which has been in beta since the May time.
Waiting for V2 which has been in beta since the May time.
@Graham, thanks. It sounds like you are mightily interested in it then!
@Sanderson, I'm designing this to be compatible with a number of slot-in components so it could accommodate any type of HOTAS within reason without the need to dismantle. The only thing I have concerns about at the moment is the weight of the throttle of my Warthog. I need to ensure everything is very stable.
I'm seriously thinking about using this to replace my office chair ...
Does anyone have any experience with it?
I have one. I tested it out when it first arrived and have never used it since. Their is a fairly small zone that it will read your hand gestures in, and it does not always read them accurately.
I haven't used it since it first came out. They may have improved the software or sensors over the last year.
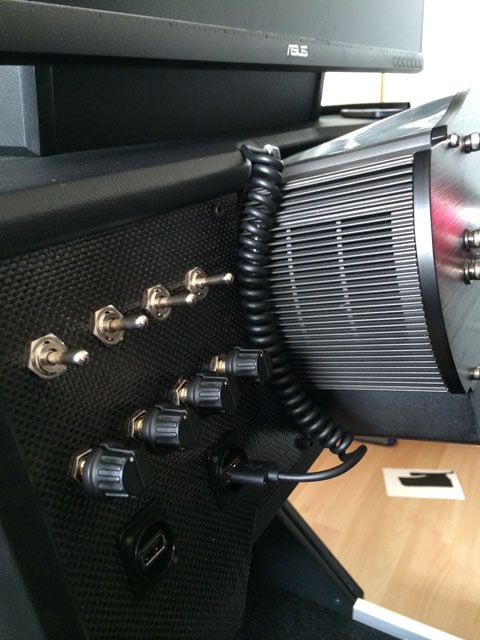
Question, where do you source your pots and push buttons from? I really like the look of those dials.
Last edited:
Thanks for that demonmaker, it definitely does look like an interesting option. I'll go the standard route first but if that doesn't work out, this is certainly something to try. Cheers!
Just looking around a hand controlled mouse options for navigating the menus. This looks interesting:
VR Version:
https://www.leapmotion.com/product/vr
Does anyone have any experience with it?
A big, built in trackball would get my vote!
Well this is awesome work and I've subscribed to the thread to keep an eye on what you do. This is teh sort of mad project i occasionally embark on.
I read earlier some mention of control panels and may i suggest an excellent option for that is the iPac arcade control interface. Very easy to setup, works as a USB keyboard and fully programmable.
I used one for my own control panel project

http://www.austinamusements.com.au/index.php?_a=product&product_id=107
I didnt buy mine there but cant find relevant link in a hurry.
I read earlier some mention of control panels and may i suggest an excellent option for that is the iPac arcade control interface. Very easy to setup, works as a USB keyboard and fully programmable.
I used one for my own control panel project
http://www.austinamusements.com.au/index.php?_a=product&product_id=107
I didnt buy mine there but cant find relevant link in a hurry.