Community Event / Creation The C-Pod: A DIY Command seat (build log)

This is gonna be my first post on these forums. Been watching this thread for a couple of weeks and this comment / question made me want to finally post :)

First off to ThereIs0nly0ne I love your work so far on this project. I have seen your racing cockpit before, bit of a race sim guy here myself and loved that work as well. Cannot wait to see the finished project, I am sure it will be excellent.

Now to respond to the quoted question. This thing is gonna weigh a tonne when it's finished, MDF board is stupidly heavy. I have worked with this stuff in the past and I personally despise it with all the hate I can muster but it does have it's advantages such as being very easy to sand and finishes up very nicely. I much prefer to work with real wood.

While I would love to built a sim cockpit at some point I am going to go the route of an adjustable desk add on for my X55 which I am hoping to have done this weekend. The desk is already built, it's a custom built oak desk me and my dad built earlier this year. I will post a couple of pics when the add on is done. Nothing anywhere near as elaborate or awesome as this project but very functional and clean.

Welcome Lordmonkus and thanks for the comments and pleased to see a fellow sim-racer here :) I agree with a lot of what what you say about MDF inasmuch as it is really heavy stuff which can end up being a problem. If I didn't have a room to put all my projects in, I would certainly think twice about using it too often. As I'm a relative novice with woodworking, it does have the benefit of being really easy to work with but can be very messy also. Despite it's drawbacks, it's something I'm happy to use. I dream of having a proper workshop one day and would love to work with some real wood.

I'll look forward to seeing your desk project when you post it! I like functional and clean :)
 
Yeah MDF dust is nasty stuff, i just really dislike the fact it is really difficult to nail and screw directly into it securely. It can be done but it really depends on how it is done and you really don't wanna move it around too much. Looking at some of your pictures it seems you are using wooden corner blocks to secure joins to which is the best way in my experience with it.

I should have some pics up this weekend of my setup. I got the parts all made up tonight. I am waiting on a quick release clamp to come in at my local hardware store and I have to stain the "sliding shelves" to match my desk. The idea I am going for is 2 sliding shelves mounted underneath the desk. They will slide out and clamp into place while playing and when not in use they will slide back in under out of the way and the X55 will sit up on an upper shelf on my desk. The two shelves the stick and throttle sit on will be slightly below the desk inline with the arm rests of my chair with the top of the bases will match up with the height of the rests. Pics will make it more clear.

I get what you're saying and that sounds like a really neat solution Lordmonkus. Look forward to seeing this when you post it :)
 
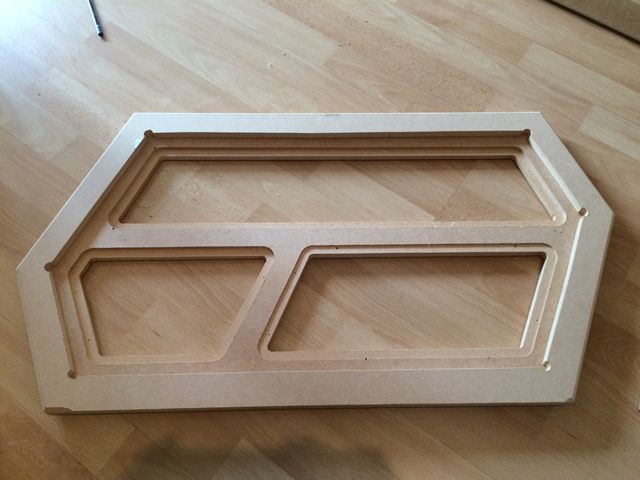
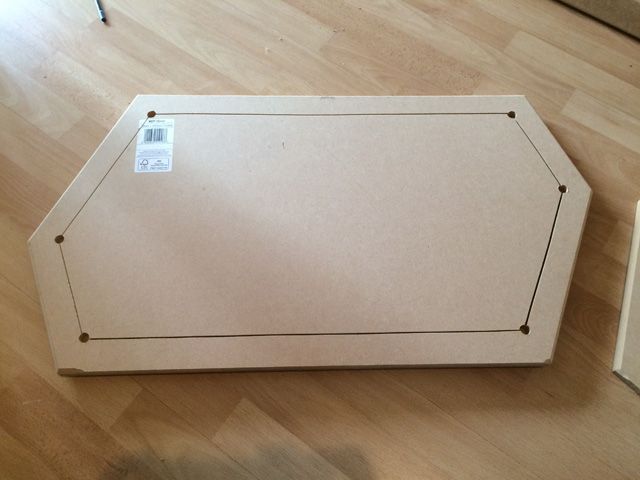
I have cut out the frames for the inside sections of the outer panels. The perimeter pieces will be glued into place:


Last edited:
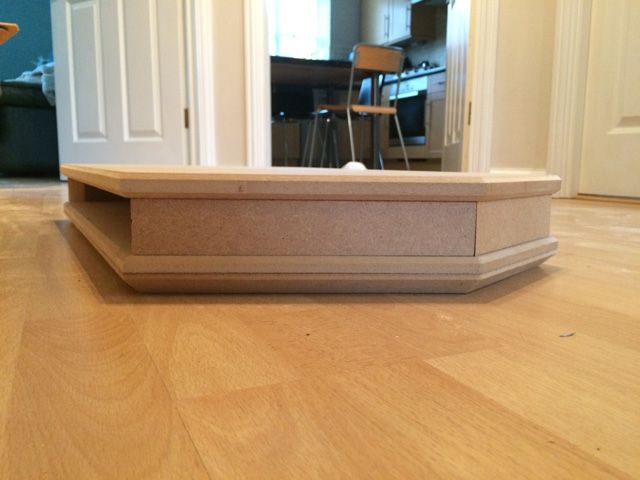
I started work on the inner sections of the left pod:


These will not be supporting structures. This is to be the full width of each of the side pods (89mm total):

 
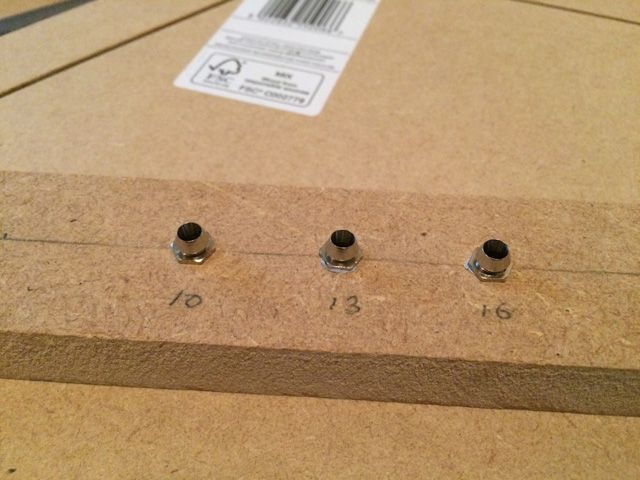
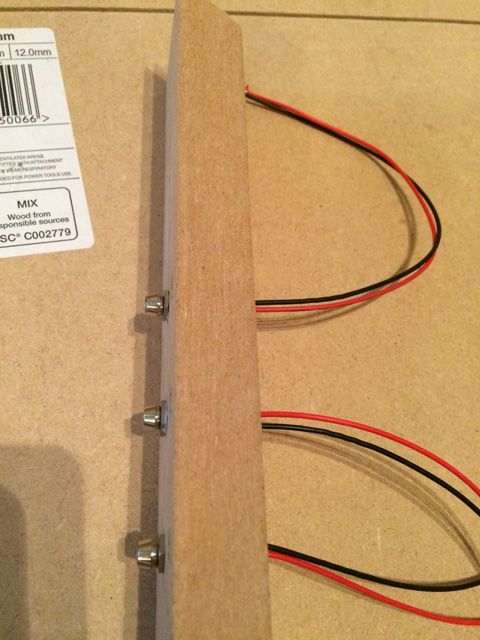
I started on the LED cluster for the downward sloping side on the rear of the side pod. Just trying to get the spacing how I want it; it just needs to be reasonably subtle and unfussy:

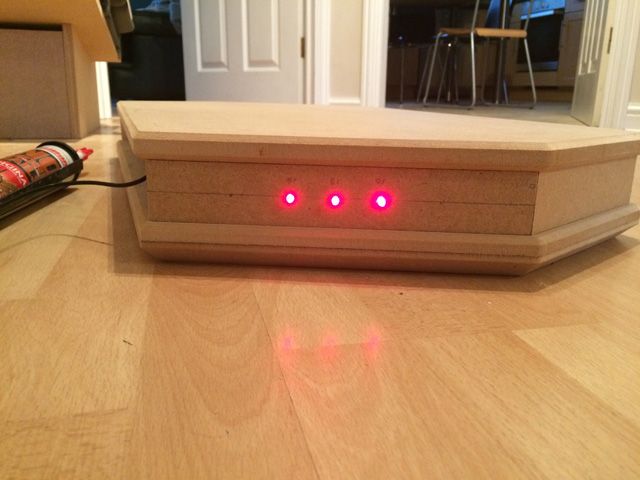
These are held in with Blu Tac at the moment. The bezels will eventually be epoxy'd in place and the LEDs hot glued into those:


Thanks Enride and PF :) They sell the LEDs in alternating blue and red so I will be ordering some of those also ... along with a couple of green ones. LED love :)
 
I know mate but they way we drink in this country, its a good thing it aint too cheap!

I know i was doing the touristy bits but it was about 70 pounds for the cheapest bottle of wine i could find in Gamla stan. With a habit like mine I had the shakes by the time I got home! However, a gorgeous city!
 
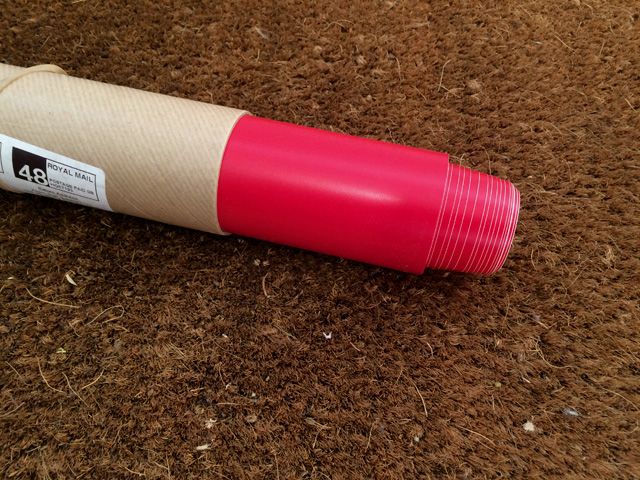
The dark red vinyl arrived today. The picture doesn't accurately portray the colour at all unfortunately. It's a couple of shades darker:


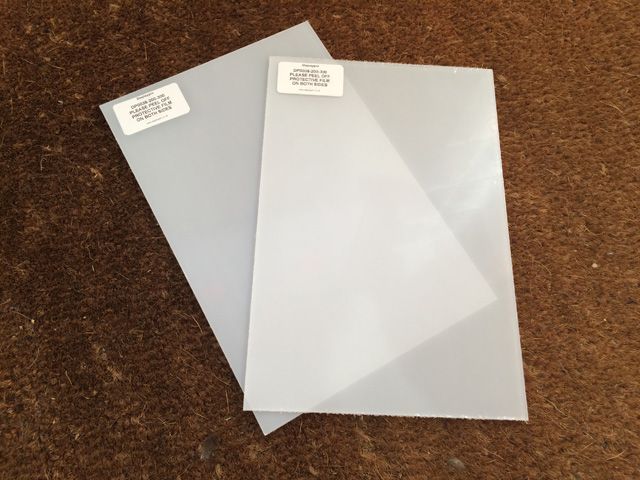
The 3mm acrylic also arrived.


Currently cutting the supporting pieces for the side pods ...
 
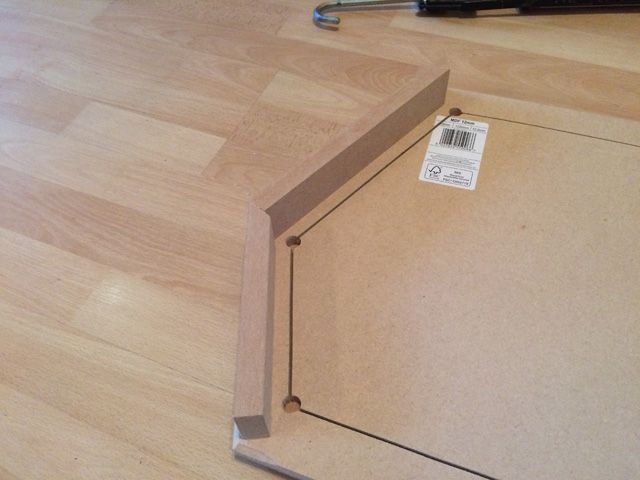
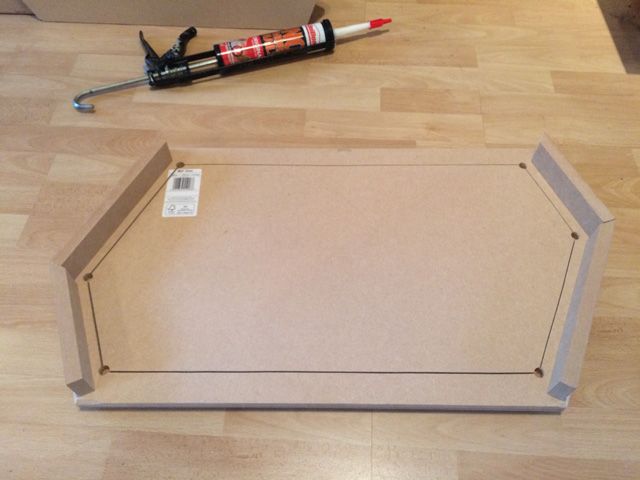
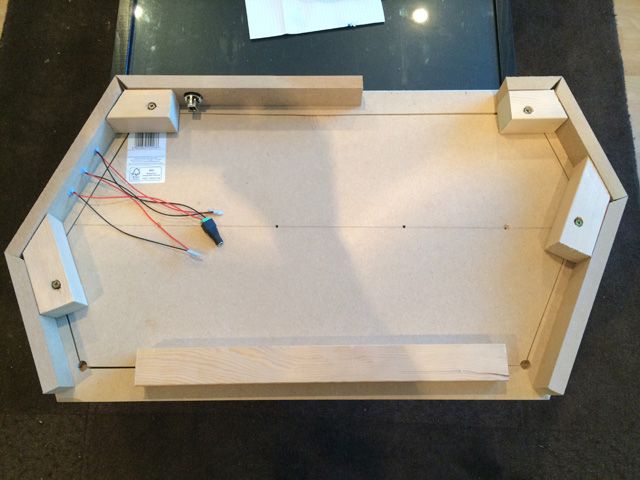
I've cut enough perimeter pieces and supporting blocks to start gluing things together. The remaining blocks will be straight cuts rather than angled ones so are much simpler. I will will need to apply the glue to the pieces in 2 passes. I will complete the left pod first and then start on the right pod.

The screws have been countersunk to enable them to be screwed (and glued) into the outward face once everything is ready. There will be more pieces to accept the HOTAS poles and also an additional brace running across the centre.


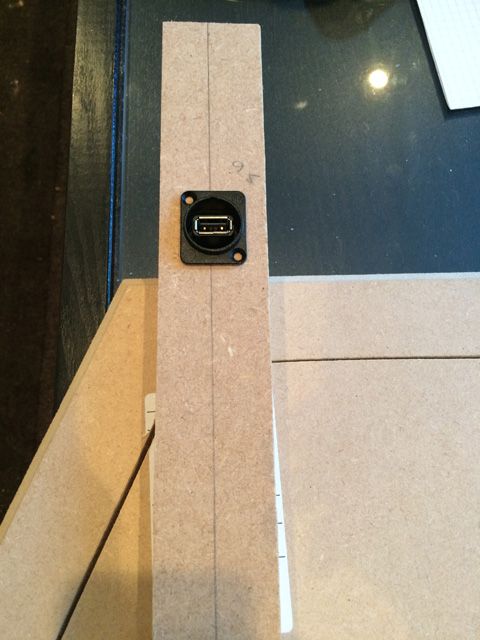
I have also cut the hole for the Neutrik USB connector in the top panel:

 
Some great progress going on here ...
The LED's look superb don't they .. I can't wait to see this painted up.

As I seem to have taken to updating here ...

Geraint! (..... How are you today?)

A mood program is continuing, autonomously on the desk now, powered by USB. He chatters away on USB too, especially when he's thinking about what face to show, and a few verbal responses are currently hard coded on Arduino processor. Alternative faces, and responses, I hope to put on (interchangeable) memory card or (possibly) grab from a windows folder later.

The PC is also successfully talking to Geraint! also on USB (this is a big step!) although at the moment he doesn't understand, and takes a puzzled look, returning whatever he's being sent back through the serial connection (verbally, ie. not decoding any ASCII just flopping it back).

A basic GUI shown. This is successfully poking Geraint! (who looks puzzled as mentioned), and the textbox shows some garbles, generated from variables used in software when he's drawing a new "mood".

he should probably be renamed, Sam.


gggg.jpg


(The GUI is a total test .. if I'm using his name too much .. but, can I show a pic, can I write a name, can I label the window? Design comes after functionality here!!)

I'm an absolute 100% total and utterly complete novice with Python (1 1/2 days now), so have been scrounging websites for bits of code. I think I can add Geraint!'s chattering, to the GUI.

He can ask a random question ("Are you hungry Sam? a la Moon link) .. or make comments, randomised, but depending on his "mood". If paired to jotsick / switches, obviously his user interface must run background to ED, but I've found he's pretty cool company even if just left to his own devices, and can easily prgram text responses for his GUI .. probably with a bunch of Zen like quotes, so he can be annoyingly calm at all times! :D

I think I've found some useable code (that I understand enough to stitch as bits together) to set up"hotkeys" to poke Geraint! with, gaining a specific response. If mapped in the same way as a HOTAS might be, or on Voice Attack, and a major aim, that will generate randomised sequences that aim to emulate (vaguely) what might be going on in-game ED, if for instance you just deployed hardpoints.

Finally Geraint! looks better in flesh than he does in photos (the above are screen caps from the PC). Clean looking, though he needs a casing, the screen is approx. 50 x 35 mm (and low illuminated).

gerrraint.jpg


Touchscreen is a possibility (the screen is capable at least) but for now it's worth mentioning that although the background .gif is purple ... when lit, Geraint!'s background is a twighlight sky-blue, closer to the swatch in the pic.

Hardware total is under £10 (software I think could be floggable, as a themed memory card, if I was business planning).
 
Last edited:
Back
Top Bottom