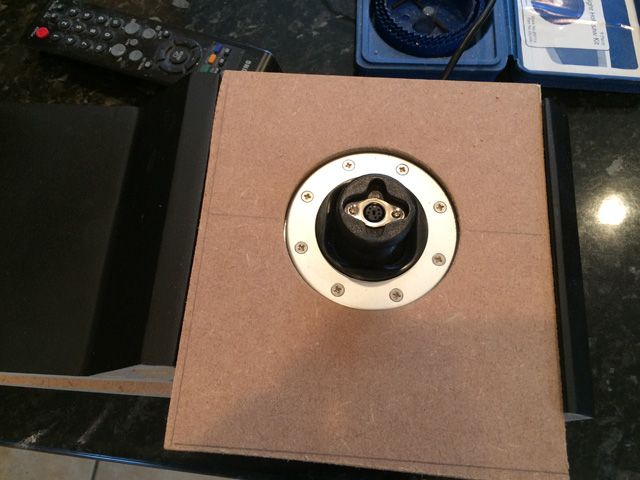
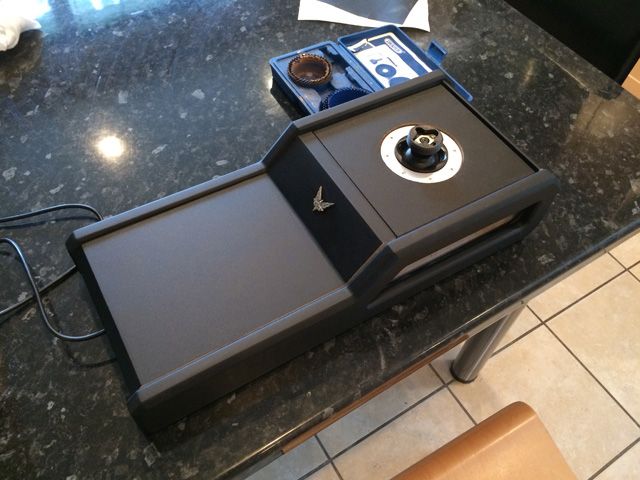
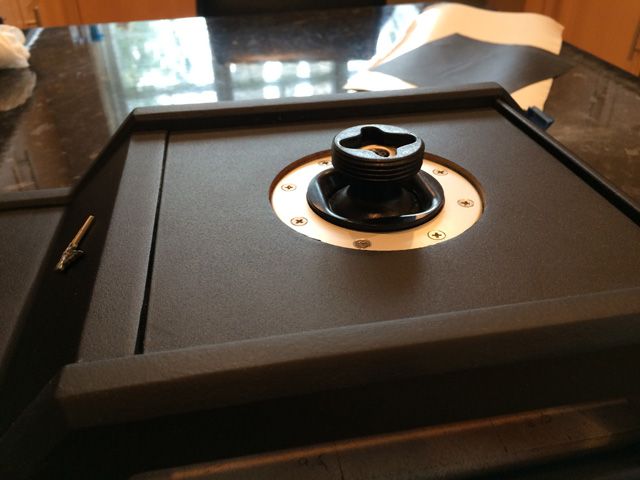
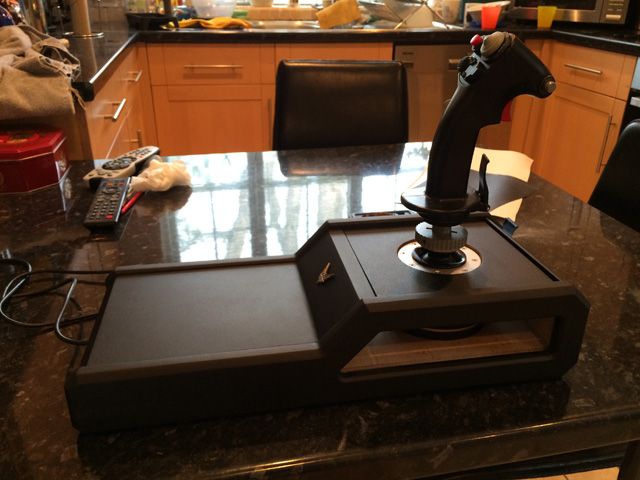
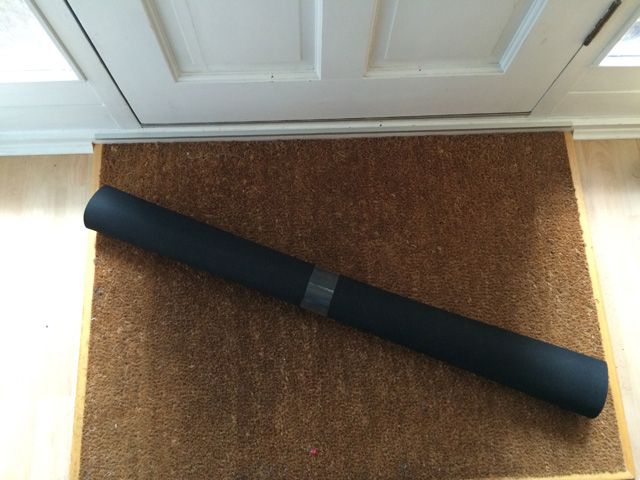
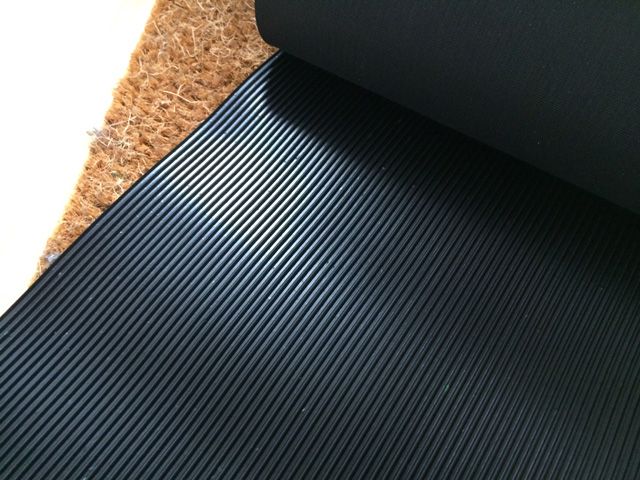
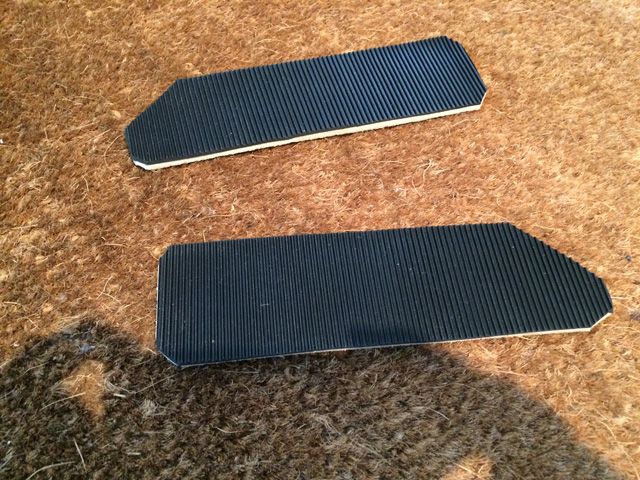
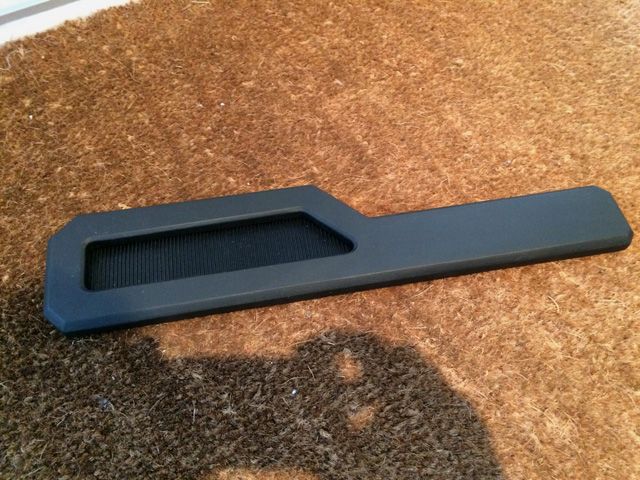
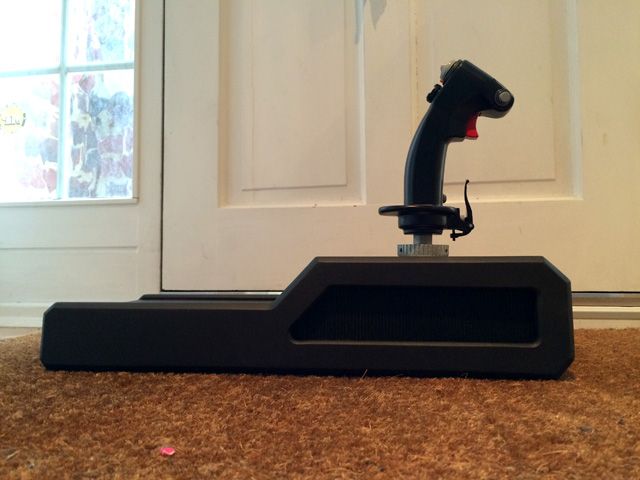
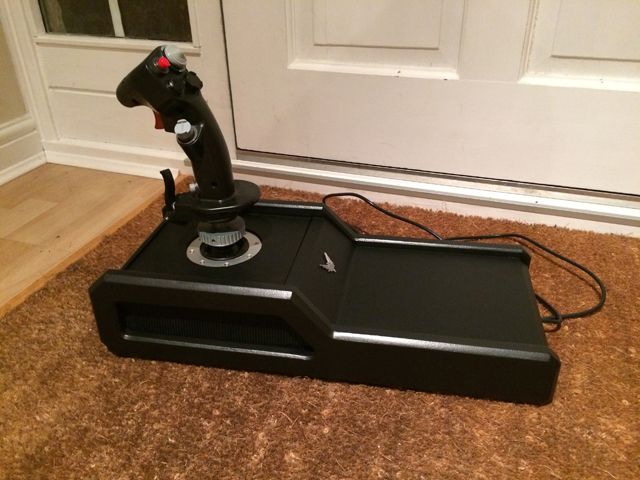
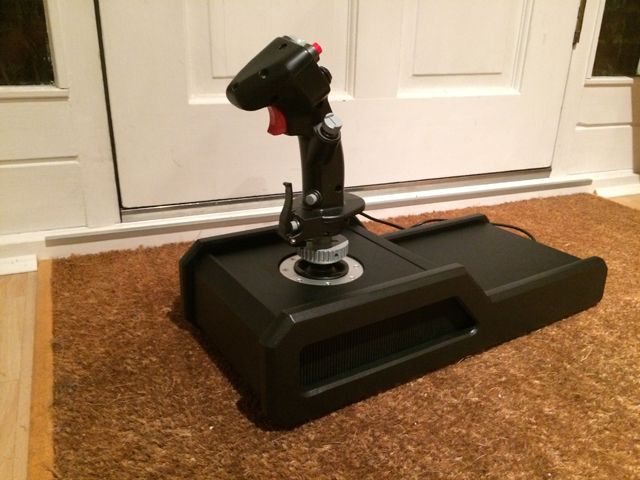
loving this build log, inspired me to smarten up my shaped plywood with this fabulous stuff. Could be of interest for you and certainly for Rafe as an alternative to paint and a wipe clean surface to boot
 http://www.ebay.co.uk/itm/4D-GLOSS-...t=LH_DefaultDomain_3&var=&hash=item2c6a7851bb
Been away for a week in New York and look at all these thread posts! Great progression !!
@ Markozzy - OH HELLO!!! Now ain't that just purty

I've used fablon in the past, but it never occurred to me to think of it this time, what an excellent idea TY.
@ TIOO - thanks for the idea of pipe insulation for the arms too, brilliant; just glue some fabric on and stick them on, simples.
As for your idea covering the throttle top with 6mm mdf - one of the reasons I didn't like the warthog is the pre-labelled switched, but I realised they are detachable, so you could in theory get some thin sheet metal maybe, and using the detachable faces as templates; shape accordingly and attach.
Edit: NVM, you've got that in hand
If the originals light up, you could get really funky and do it with clear sheet, add some letters to the underside, spray then remove letters to reveal clear sheet for light up labels, or a lighting led rig, not too hard I wouldn't think.
Thankfully the X55 has generic labels I can live with.
Edit: NVM, you've got that in hand too

That numeric display, what are you going to use it for?
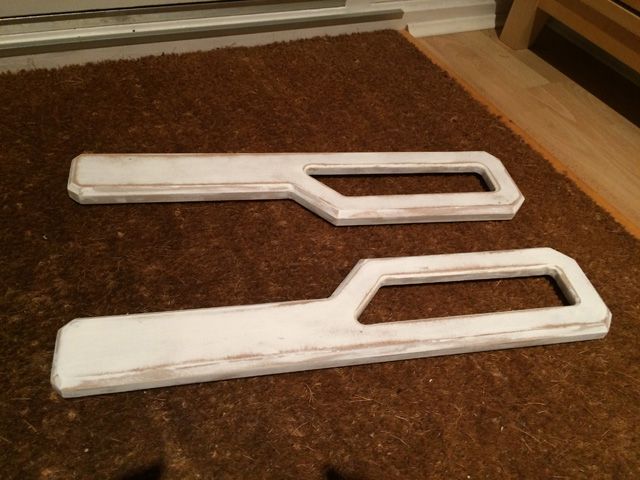
It's a bit late to be of help now, but I've found that using car body filler, mixed 50/50 with fibreglass resin is brilliant for using as a surface grain filler. The resin uses the same catalyst and thins the body filler so you can almost paint it on - I tend to spread it using an old credit card so it goes much further and requires less sanding, it also soaks into endgrain of MDF making it really solid.
Another tip I can impart is if you need to fill inconsistancies, use a 70 / 30 filler / resin mix; spread some of it but blob in the deeper areas where it needs to be then press the parts together, if you need them to separate after just use a sheet of paper between, it's thin enough not to matter, and can be sanded away if absolutely necessary. This trick is especially good for filling plywood edges where there can be void holes and such if it needs to be superflat for finishing.
It's the same technique as classical cabinet makers used with a product called Gesso, which is a mixture of whiting and rabbit glue used as a grain filler, as a base for gold leaf gilding, decorative shapes (like all that fancy stuff on a mirror frame) or as a base for supershiny paint work (it's how they get that perfect flawless steinway piano black finish), but is simpler, and sets much faster.
I've used this trick lots of times to get things back into "true" where needed.
You can use the same trick with waxed formers; flat to get super flat surfaces pretty much right off with little finishing, or shapes, textures, homemade moulds, all sorts.
Edit: If you want a super duper uber super flat surface ,
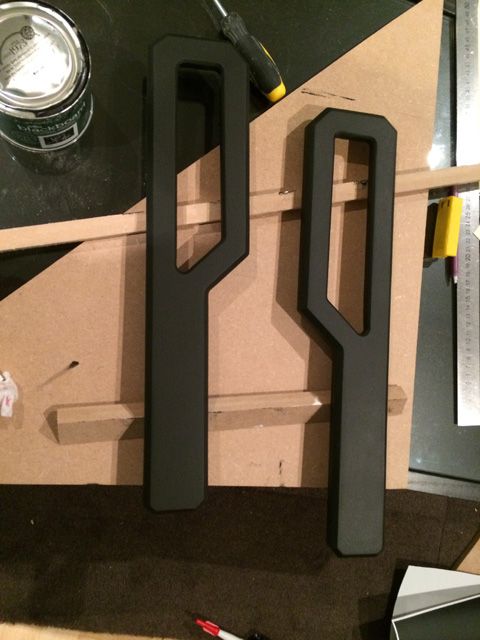
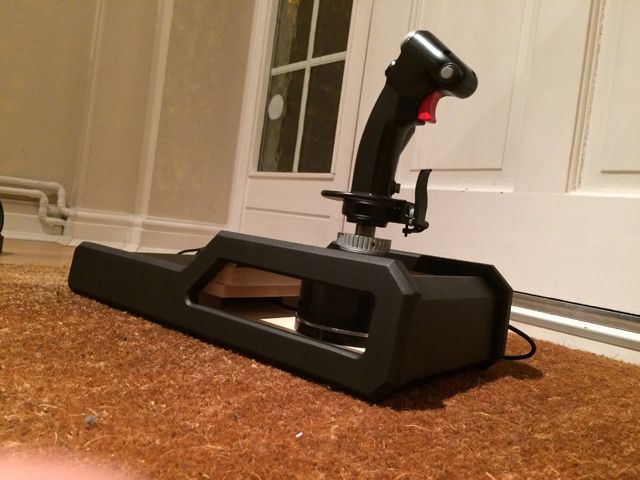
first time, with almost no finishing; like on the joystick pod sides, go to your nearest PVC window company and ask then for a mis-made double glazed unit (the glass bit), they will have hundreds. Get it home and disasemble to get just 1 pane of glass. Put that onto some MDF as a base. Now do the runny epoxy mixture and spread THINLY onto the surface you want flat using a NOTCHED bit of card or old credit card - use small notches - same size as on a handsaw, the notches are to allow for spread. Place that side face down onto the glass carefully and walk away. The epoxy is a catalytic cure as you know so it'll still cure properly, give it several hours or overnight if you can as the runny mixture (with less catalyst so you have a longer working time) takes longer to cure, and you do not want to lift it when still wet as it'll go .
It will seem like it's stuck to the glass, but it isn't, a sharp knock should see it free, but DO NOT HIT THE GLASS!!! a knock on the edge of safety glass will shatter it.
You might wish to do this before beveling the sides so you don't have to deal with squeeze out.
The glass will impart a perfectly flat high gloss finish and if you do have any bubbles just fix them as normal.
Edit: - oh and another trick, you can add coloured paint powder to add a precolour which will reduce how many primer / colour coats you'll need. You could do this to route a groove or something for detail and fill with orange metallic coloured epoxy. You could even..even, route all the way through say for the switch covers if you added those lines you mentioned and use colour mixed resin to fill that, which will then light up with a light kit below.... (sorry I just gave you more work didn't I ?) just place it on top of glass or something then fill the routed shapes.
For applying the vinyl - use a rubber squeegee - so much simpler and how the proffs do it.
@ Ven Jarvik - this link might help for getting your hands on greeblies, any old machine will do to take apart, plus you'll get your hands on PCB's too for that extra authentic look in your simpit:
http://www.ghostofzeon.com/diy/salvage/dvdparts.html
You could also use the filler / resin trick on a sheet of ply with electronic parts pushed into it or used as a texture shaper.
Your issue with the shiny cardboard covered in resin is easy to solve - a scotchpad and elbow grease, that will dull it down - alternatively 240 - 400 grit wet and dry, supersmooth and you can get the finish you want from matt to semi satin, (or go as high as you like to mirror polished).
The 48 hr drying time is down to how little catalyst you used, you need to add more, longest drying time I've ever had was 6 hrs and that was for a super runny consistency I needed to get inside a cavity. 48 hrs is way too long, could be an issue with the components there.


